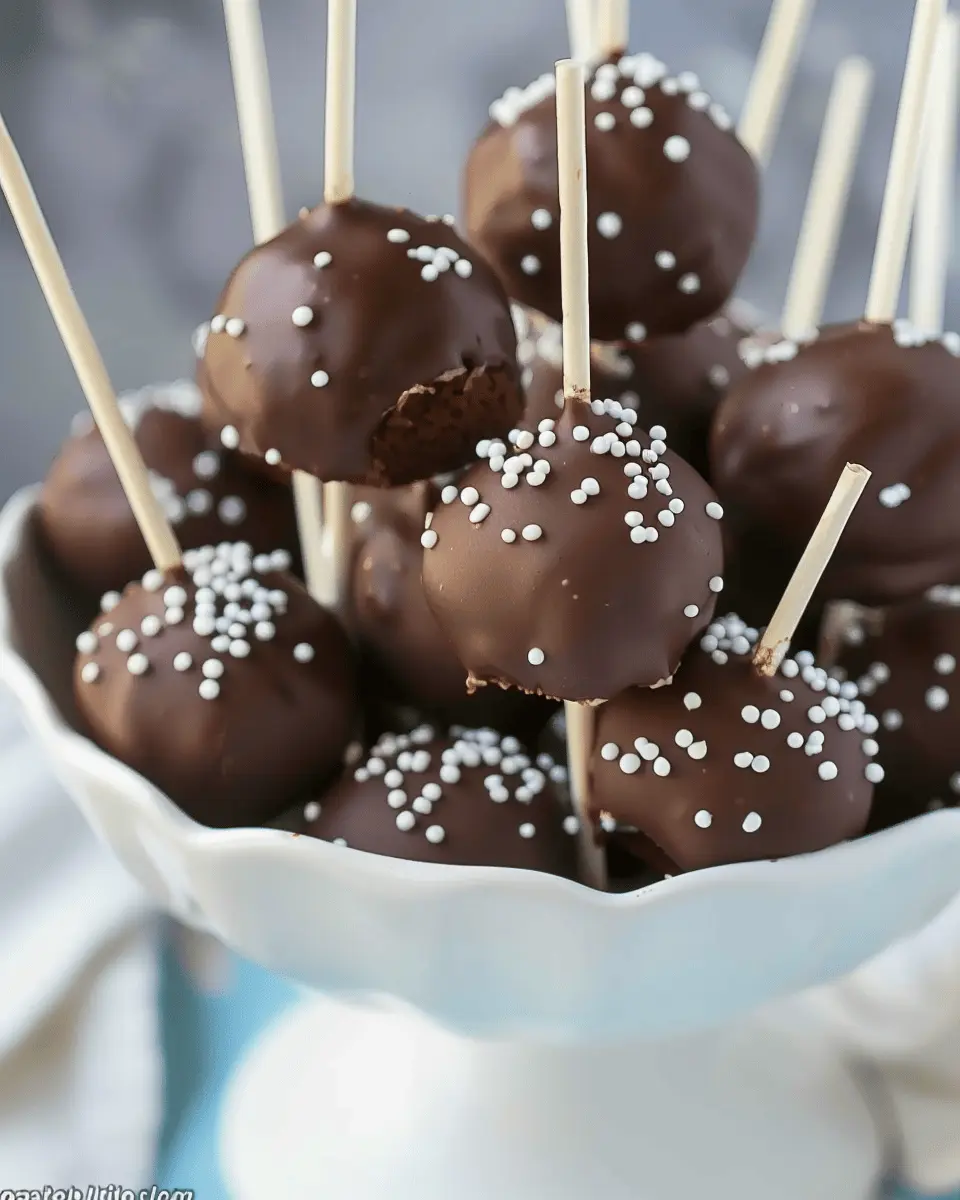
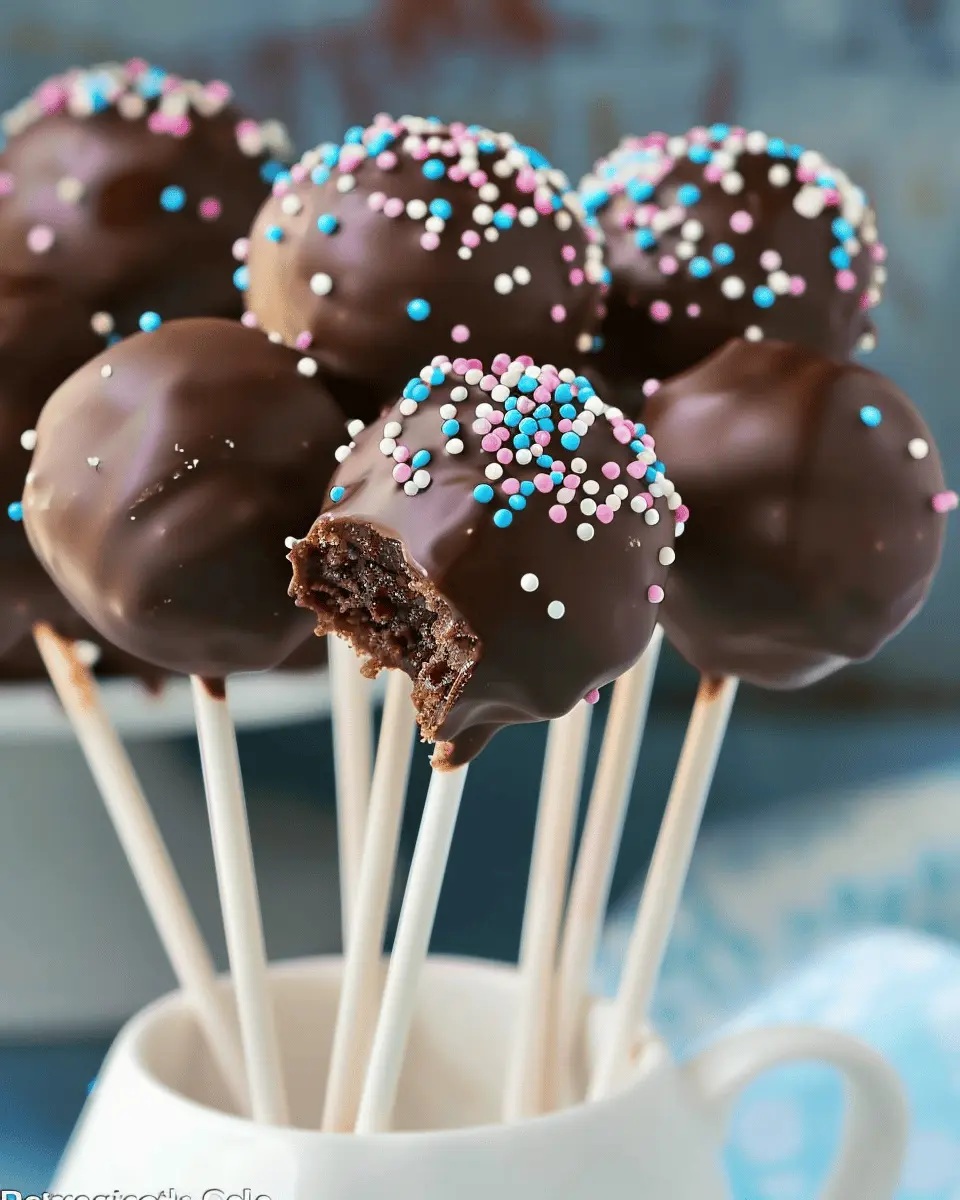
Introduction to Brownie Cake Pops
If you’re a young professional juggling the demands of work and life, you know how important it is to find moments of joy amidst the hustle. Enter brownie cake pops—a delightful fusion of rich brownie texture and the playful presentation of cake pops. These little treats aren’t just a sweet indulgence; they’re a fun way to engage with coworkers, sweeten your weekends, or even impress guests at a casual get-together.
Why Brownie Cake Pops are a Must-Try for Young Professionals
Imagine this: after a long day of back-to-back meetings, you come home to a cozy kitchen, and you just want a little something to brighten your evening. That’s where brownie cake pops come into play! Unlike traditional brownies, cake pops come with a whimsical twist—stick them on a stick, dip them in chocolate, and voilà, you’ve transformed a simple dessert into a pop of joy!
-
Perfect for Sharing: These cake pops are ideal for potlucks or office parties. Everyone loves a good treat, and brownie cake pops are easy to grab and enjoy. Plus, they make for a beautiful display—who wouldn’t want to stop and grab one?
-
Adaptable Recipe: Whether you’re gluten-free, vegan, or just someone with a sweet tooth, you can customize these treats to fit various diets. This inclusivity makes them a hit among diverse groups.
-
Stress Relief: Cooking can be a therapeutic outlet. Taking the time to create your own brownie cake pops can be a good way to unwind after a busy week. Plus, the satisfaction of sharing something homemade is unbeatable.
A Treat with a Twist
Beyond their delicious flavor and gorgeous presentation, what truly makes brownie cake pops special is their versatility. They’re not just for dessert—they can also make a charming centerpiece or a thoughtful gift. Thinking of something unique for that upcoming birthday or celebration? Consider crafting a customized box of these delightful bites.
If you’re eager to get started, you can find an excellent base recipe on Food Network, or chat about tips and tricks on forums like Reddit. Each pop is a small journey filled with sweetness, making them a memorable treat worth diving into!
Ingredients for Brownie Cake Pops
Essential ingredients for perfect brownie cake pops
Creating brownie cake pops that wow your friends and family doesn’t have to be complicated. With just a handful of essential ingredients, you can whip up these delightful treats effortlessly. Here’s what you’ll need:
- Brownie Mix: Go for your favorite boxed mix or bake your brownies from scratch. Rich, dense brownies form the perfect base.
- Eggs: Usually, you’ll need two eggs to help bind the ingredients together, giving your cake pops structure.
- Butter: About half a cup of melted butter not only enhances flavor but also guarantees moisture.
- Cream Cheese or Frosting: For that rich, luscious taste that binds your brownie crumbs, opt for cream cheese frosting or any chocolate frosting you love.
- Chocolate Candy Coating: This adds not just taste but also a smooth, shiny finish! You can use various flavors like white chocolate or dark chocolate.
- Lollipop Sticks: Essential for the final presentation. Plus, they make your pops fun and easy to eat!
Getting these ingredients right is the first step to perfecting your brownie cake pops. For some great brownie mix recommendations, check out Serious Eats. Enjoy creating these delicious treats!
Step-by-step Preparation of Brownie Cake Pops
Creating delicious brownie cake pops is not just an activity; it’s a delightful experience that blends creativity and flavors. Perfect for parties or a cozy evening at home, these tiny treats pack a fudgy punch that’s hard to resist. So let’s dive into the process!
Prepare the fudgy brownies
To kick things off, you’ll want to start with a rich, fudgy brownie. You can either use a box mix for convenience or bake your own from scratch using a classic recipe. If you’re going the homemade route, use good-quality cocoa powder and butter to ensure that your brownies are moist and decadent. Bake them according to the recipe instructions until they are firm but still have that gooey center.
- Ingredients you’ll need for brownies:
- 1 cup unsalted butter
- 2 cups granulated sugar
- 4 large eggs
- 1 teaspoon vanilla extract
- 1 cup all-purpose flour
- 1 cup unsweetened cocoa powder
- 1/2 teaspoon salt
After baking, let them cool completely. This step is crucial because if you don’t let the brownies cool, they might end up too warm and gooey for shaping. You can even prepare them a day in advance and store them in an airtight container.
Crumble and shape the brownie mixture
Once your fudgy brownies have cooled, it’s time for the fun part—crumbling! Break the brownies into small pieces in a large bowl. The idea is to make fine crumbs that can easily hold together when shaped.
Here’s how to do it:
- Use your hands or a fork to crumble the brownies until they resemble coarse crumbs.
- Once crumbled, add a little icing (about 1/4 cup) to the mixture to help bind it together. You can use homemade buttercream or store-bought icing.
Scoop out small portions of the crumb mixture and roll them into balls, about the size of a tablespoon. The heat from your hands will help make them a little more cohesive. This shaping process is where the magic begins, as each one will turn into a delightful brownie cake pop!
Freeze the brownie balls for stability
After you’ve shaped your brownie balls, place them on a parchment-lined baking sheet. This is an essential step—freezing the brownie balls ensures they maintain their shape when dipped in chocolate later.
- Pop the baking sheet into the freezer for about 30 minutes.
- This quick chill gives the brownie balls a firmer texture, making the next step (dipping) much easier.
While they’re chilling, you can prepare your chocolate coating, which brings us to the next step.
Melt the chocolate candy coating
For the chocolate coating, you can either use chocolate chips or candy melts. Each has its benefits—the candy melts are a little more forgiving and easier to work with. If you love a specific flavor, consider using white chocolate or even colored candy melts to match your theme!
Here’s how to melt effectively:
- Place your chocolate (about 1 pound) in a microwave-safe bowl.
- Microwave in short bursts (20-30 seconds), stirring in between until smooth and fully melted. Alternatively, use a double boiler for a more controlled melt.
Don’t forget to check out articles from sites like Serious Eats for tips on chocolate melting perfection!
Dip and decorate the brownie cake pops
Now for the fun part—dipping! Take your brownie balls from the freezer and dip the end of a lollipop stick into the melted chocolate, then insert it halfway into a brownie ball. This little trick helps the stick adhere better.
Next, dip the entire brownie ball into the melted chocolate by holding it upside down. Gently tap the stick against the bowl’s edge to remove excess chocolate. Here’s how to bring your brownie cake pops to life:
- Choose your favorite toppings! Consider options like sprinkles, crushed nuts, coconut flakes, or just drizzle some extra chocolate on top for flair.
- Place them back on the parchment-lined baking sheet to set.
Give your pops ample time to harden at room temperature or refrigerate for about 15-20 minutes until firm.
And there you have it—delicious, delightful brownie cake pops ready to be devoured! They’re perfect for sharing or treating yourself after a long day. Enjoy your creation and perhaps share them with friends. Baking together can often lead to cherished memories!
Variations on Brownie Cake Pops
Classic Brownie Cake Pops
The foundation of any great brownie cake pop starts with a rich, decadent brownie base. Begin by baking a batch of your favorite brownies and allowing them to cool completely. Crumble the brownies into fine pieces in a large bowl and mix in your choice of frosting until the mixture holds together. Roll the brownie mix into small balls and chill them before dipping in melted chocolate. For a classic touch, consider sprinkles or crushed nuts on top, adding both texture and flavor.
You can check out this great brownie recipe for inspiration if you’re looking to perfect your base!
Peanut Butter Swirl Brownie Cake Pops
Looking to elevate your brownie cake pops? Try adding a creamy peanut butter swirl! Follow the classic brownie recipe, but before cooling, swirl in a generous dollop of peanut butter directly into the brownie mix. This creates a scrumptious, nutty flavor that’s hard to resist. After chilling and rolling the pops, dip in white chocolate for a beautiful contrast, and drizzle melted dark chocolate on top. The combination of rich chocolate and creamy peanut butter is a match made in dessert heaven.
Vegan Brownie Cake Pops
For those following a plant-based lifestyle, vegan brownies offer a delightful alternative. You can replace eggs with flaxseed meal (1 tablespoon of flaxseed mixed with 3 tablespoons water is equal to one egg) and use almond or coconut milk in your recipe. Once the vegan brownies are baked and cooled, crumble and mix them as mentioned above. To keep it all vegan, choose dairy-free chocolate for dipping and use natural sweeteners. These brownie cake pops not only cater to dietary preferences but are sure to please every palate!
By exploring these variations, you can find the perfect brownie cake pop for any occasion! Don’t forget to share your creations on social media using hashtags like #BrownieCakePops!
Cooking Tips and Notes for Brownie Cake Pops
How to Avoid Common Mistakes
Making brownie cake pops can be a delicious endeavor, but it’s easy to trip up along the way. One common mistake is overbaking the brownie—keep an eye on your timer and check for that perfect fudgy texture. Another pitfall is not allowing the brownie to cool completely before crumbling; warm brownie can result in mushy pops. Finally, when dipping, ensure your melting chocolate isn’t too hot, or it might crack the cake pop.
Recommended Tools for Creating Perfect Pops
To achieve those picture-perfect brownie cake pops, certain tools can make the process smoother:
- Cookie Scoop: For uniform sizes that ensure even baking and serving.
- Melting Pot or Double Boiler: For gently melting chocolate without scorching.
- Styrofoam Block: An easy way to let your cake pops set without them touching each other.
- Lollipop Sticks: Sturdy yet flexible options are essential for a reliable dip.
These tools don’t just make things easier; they can give you that professional touch at home! For more in-depth techniques, check out this guide on cake pop fundamentals to elevate your baking skills.
Serving Suggestions for Brownie Cake Pops
Ideal occasions for serving cake pops
Brownie cake pops are the ultimate crowd-pleasers, perfect for just about any occasion. Whether it’s a birthday celebration, a bridal shower, or a festive holiday gathering, these delightful treats fit the bill. Their fun, portable size makes them an excellent choice for parties or casual gatherings. You can even surprise your coworkers with a batch in the office—who can resist a chocolatey dessert during a busy workday?
Creative ways to present your brownie cake pops
Presentation is key to making your brownie cake pops shine! Here are a few creative ideas to elevate their appearance:
- Display options: Use a decorative foam block or a stylish cake stand to hold your cake pops upright. This not only looks fantastic but also keeps the cake pops intact.
- Colorful coatings: Dip them in vibrant colored chocolate or candy melts to match your event’s theme. Sprinkle with edible glitter or crushed nuts for added texture.
- Personalized favors: Consider wrapping each cake pop in clear bags tied with a ribbon. A small tag with a sweet note can turn them into thoughtful party favors.
For more inspiration and tips on crafting the perfect cake pops, check out resources like Bakerella or The Cake Blog. These resources provide fantastic ideas on diverse presentations and flavor variations that can take your brownie cake pops to the next level!
Time Breakdown for Brownie Cake Pops
Preparation Time
Making brownie cake pops starts with a bit of prep work. Expect to spend about 30 minutes gathering your ingredients, making the brownie batter, and getting everything set up. This is the fun part where you can get creative with flavors or add-ins!
Cooking Time
Once your mixture is ready, baking is the next step. Pop those brownies in the oven for about 25-30 minutes. Just imagine the delightful aroma filling your kitchen while they bake—your friends will start gathering before they’re even done!
Total Time
When you add the prep and baking, you’re looking at around 1 hour before your delicious brownie cake pops are ready to cool, coat, and serve. Perfect for a weekend treat or a burgeoning party! For more tips on timing your baking, check out resources like Serious Eats.
Now, let’s dive into the recipe details that will elevate your dessert game!
Nutritional Facts for Brownie Cake Pops
Calories per serving
When indulging in brownie cake pops, it’s helpful to know that each pop contains approximately 120 calories. This makes them a delightful treat without going overboard.
Key nutritional information
These sweet bites pack a flavorful punch while still being relatively nourishing:
- Total Fat: 5g
- Saturated Fat: 3g
- Carbohydrates: 18g
- Dietary Fiber: 1g
- Sugars: 10g
- Protein: 2g
While it’s easy to enjoy a few of these, moderation is key! They are perfect for sharing at parties or as a sweet snack after a long week. For more insights on healthy dessert options, check resources like the USDA, which can provide you with additional nutritional guidelines.
FAQs About Brownie Cake Pops
Can I use a different type of brownie mix?
Absolutely! While your favorite box of brownie mix might be the easiest option, feel free to get creative. You can use gluten-free brownie mixes or even from-scratch recipes if you’re up for the challenge. Just keep in mind that different brownie mixes can have varying moisture levels, which might affect the consistency when forming your brownie cake pops. If you opt for a lighter mix, consider adding a bit more frosting to help bind everything together.
How can I store leftover cake pops?
Storing your brownie cake pops correctly guarantees they stay fresh for as long as possible. The best practice is to place them in an airtight container in the fridge. They can last up to a week, but trust me, they probably won’t last that long! If you need to keep them longer, consider freezing them. Just make sure they’re securely wrapped before placing them in a deep freezer. When you’re ready to enjoy them, allow them to thaw in the refrigerator for a couple of hours.
What is the best way to melt chocolate?
Melting chocolate can indeed be tricky, but there are a couple of foolproof methods. The most popular approach is the double boiler technique. Simply place a heat-safe bowl over a pot of simmering water, ensuring the water doesn’t touch the bowl. Stir the chocolate until smooth. Alternatively, you can melt chocolate in the microwave. Heat it in short bursts (about 30 seconds), stirring in between until the chocolate is fully melted. For a smooth finish on your brownie cake pops, consider using high-quality chocolate or candy melts for a great flavor and texture.
For more tips on chocolate melting techniques, check out this chocolate melting guide.
Conclusion on Brownie Cake Pops
The joy of homemade treats: Why you should give these a try
There’s just something special about creating your own brownie cake pops. The process is not only fun but allows you to share a deliciously personalized treat with friends and family. Imagine the smiles on their faces as they bite into these decadent morsels, made with love (and maybe a little bit of chocolate!).
Beyond the taste, homemade goodies like these pops can spark creativity. Experiment with different coatings or sprinkles and tailor them to suit any occasion. Plus, making brownie cake pops is a fantastic way to unwind and indulge your inner baker. So why not whip up a batch? You might discover a new favorite dessert to share!
For more tips on making delightful desserts, check out resources from culinary schools or food blogs that specialize in homemade treats.
PrintBrownie Cake Pops: Indulgent Treats for Every Celebration
Delight in these delicious Brownie Cake Pops, perfect for any celebration!
- Prep Time: 20 minutes
- Cook Time: 30 minutes
- Total Time: 1 hour
- Yield: 24 pops 1x
- Category: Dessert
- Method: Baking
- Cuisine: American
- Diet: Vegetarian
Ingredients
- 1 box brownie mix
- 1/4 cup water
- 1/4 cup vegetable oil
- 2 large eggs
- 8 oz cream cheese, softened
- 1 cup powdered sugar
- 1 bag chocolate melting wafers
- sprinkles, for decoration
Instructions
- Prepare the brownie mix according to package instructions and bake.
- Once cooled, crumble the brownies into a large bowl.
- Add cream cheese and mix until well combined.
- Form the mixture into balls and place them on a baking sheet.
- Chill the balls in the refrigerator for at least 30 minutes.
- Melt the chocolate wafers according to package directions.
- Dip the chilled balls into the melted chocolate and place them back on the baking sheet.
- Sprinkle with decorations before the chocolate sets.
Notes
- For an extra flavor boost, add a teaspoon of vanilla extract to the brownie mix.
- Ensure the cake pops are fully cooled before dipping in chocolate.
Nutrition
- Serving Size: 1 pop
- Calories: 120
- Sugar: 10g
- Sodium: 50mg
- Fat: 6g
- Saturated Fat: 3g
- Unsaturated Fat: 2g
- Trans Fat: 0g
- Carbohydrates: 15g
- Fiber: 1g
- Protein: 2g
- Cholesterol: 20mg
Keywords: Brownie Cake Pops, desserts, snacks, party treats