Introduction to Ninja Creami Vanilla Ice Cream
Homemade ice cream is more than just a nostalgic treat; it’s a game changer for young professionals navigating the hustle and bustle of daily life. With the ever-increasing demands of career and social life, taking a moment to indulge in a scoop of creamy goodness can feel like a small act of self-care. Enter the Ninja Creami Vanilla Ice Cream recipe, a gateway to delightful homemade desserts that fits seamlessly into your busy lifestyle.
Why Homemade Ice Cream is a Game Changer for Young Professionals
Making your own ice cream allows you to control every ingredient, and truthfully, what’s better than enjoying a completely personalized treat after a long day? Whether you are managing projects, attending meetings, or juggling social commitments, having a stash of homemade ice cream ready to go can be a lifesaver.
Here are a few compelling reasons to consider whipping up your own batch:
-
Healthier Alternatives: By crafting your ice cream at home, you can swap out refined sugars or heavy creams for healthier versions. Want a lighter treat? Use coconut milk or Greek yogurt instead!
-
Customizable Flavors: Love vanilla but want a twist? Add in your favorite mix-ins like crushed cookies, fresh berries, or even a hint of peppermint extract.
-
Cost-effective: Store-bought ice cream can get pricey, especially if you’re looking for premium brands. Making it at home not only saves money but also reduces waste, as you can create just the amount you need.
-
Time Efficient: The Ninja Creami is designed with busy professionals in mind; it makes the ice cream-making process incredibly quick and easy. You can prepare your base and let the machine do the work while you tackle other tasks.
Feeling inspired? The Ninja Creami vanilla ice cream recipe opens up a world of creativity and flavorful possibilities. Plus, it’s a delightful way to impress friends during gatherings or simply enjoy a solo treat while binge-watching your favorite series.
For more inspiration, check out this fantastic overview of ice cream making techniques that can elevate your homemade creations.
As you dive into this simple yet enriching experience, remember that the joy of making ice cream lies not just in the finished product but in the process itself. Enjoy the journey!
Ingredients for Ninja Creami Vanilla Ice Cream
Creating the perfect Ninja Creami vanilla ice cream recipe starts with quality ingredients. Here’s a list to get you started on crafting creamy, dreamy ice cream that will impress even the pickiest of palates:
- 2 cups heavy cream: This is your base for luscious creaminess.
- 1 cup whole milk: The combination of cream and milk gives your ice cream that perfect texture.
- ¾ cup granulated sugar: Sweeten it up! You can adjust this based on your taste preference.
- 2 teaspoons pure vanilla extract: For that classic vanilla flavor, always opt for pure extract.
- A pinch of salt: This enhances flavors and balances sweetness.
These simple, yet essential ingredients are what make this Ninja Creami vanilla ice cream recipe a favorite for lovers of homemade desserts. Fresh ingredients make a noticeable difference, so consider sourcing from a local dairy or farmer’s market when you can!
For a fun twist, you can add mix-ins like crushed cookies or fruits, allowing for endless variations. If you’re looking for some inspiration, check out this Vanilla Ice Cream Guide for exciting ideas! Happy churning!
Step-by-step Preparation for Ninja Creami Vanilla Ice Cream
Making your own Ninja Creami vanilla ice cream is an exciting and rewarding project that can bring a touch of creativity and sweetness into your day. So let’s ease into the process together. Follow these steps, and soon enough, you’ll be indulging in the creamy goodness of homemade ice cream!
Gather all your ingredients
Before diving into the ice cream-making process, it’s essential to gather all the ingredients you’ll need. This makes the preparation smoother and more efficient. Here’s what you’ll require for the perfect Ninja Creami vanilla ice cream recipe:
- 2 cups heavy cream
- 1 cup whole milk
- 3/4 cup granulated sugar
- 2 teaspoons pure vanilla extract
- A pinch of salt
Take a moment to check your pantry and fridge for these items. If you’re missing anything, head to your local grocery store. It’s worth noting that using high-quality ingredients—especially when it comes to vanilla extract—can make a significant difference in the flavor of your ice cream. For more tips on sourcing quality ingredients, you might check out this guide.
Measure and mix your ingredients in the Ninja Creami tub
Now that you have everything on hand, it’s time to mix your ingredients. In the Ninja Creami tub, combine the heavy cream, whole milk, granulated sugar, pure vanilla extract, and a pinch of salt.
- Use a whisk to combine the ingredients thoroughly, ensuring the sugar dissolves completely.
- If you feel like experimenting, you could even add a splash of almond extract for a delightful twist!
Mixing is essential, as it sets the foundation for creamy texture and rich flavor. Your ice cream deserves that extra love!
Freeze the mixture — timing tips for best results
Once your mixture is well-combined, it’s crucial to freeze it properly. Pour the blended mixture into your Ninja Creami tub, and secure the lid.
- Freeze the mixture for at least 24 hours. This time frame allows the ingredients to meld together beautifully, giving you a rich and creamy texture when processed.
- If you’re in a hurry, some folks recommend freezing for a minimum of 6-8 hours, but be prepared for a less creamy result.
Remember, patience is key here! While you’re waiting for the ice cream to freeze, why not plan a movie night or read that book you’ve been meaning to start?
Process your ice cream using the Ninja Creami
Once your ice cream base is fully frozen, it’s time for the fun part—using your Ninja Creami to create the ice cream!
- Start by removing the tub from the freezer. Let it sit for a few minutes to soften slightly.
- Attach the tub to your Ninja Creami machine and select the “Ice Cream” setting.
In just minutes, you’ll see your frozen mixture transform into velvety soft-serve ice cream. If you prefer a firmer texture, simply place the ice cream back into the freezer for an additional hour or two.
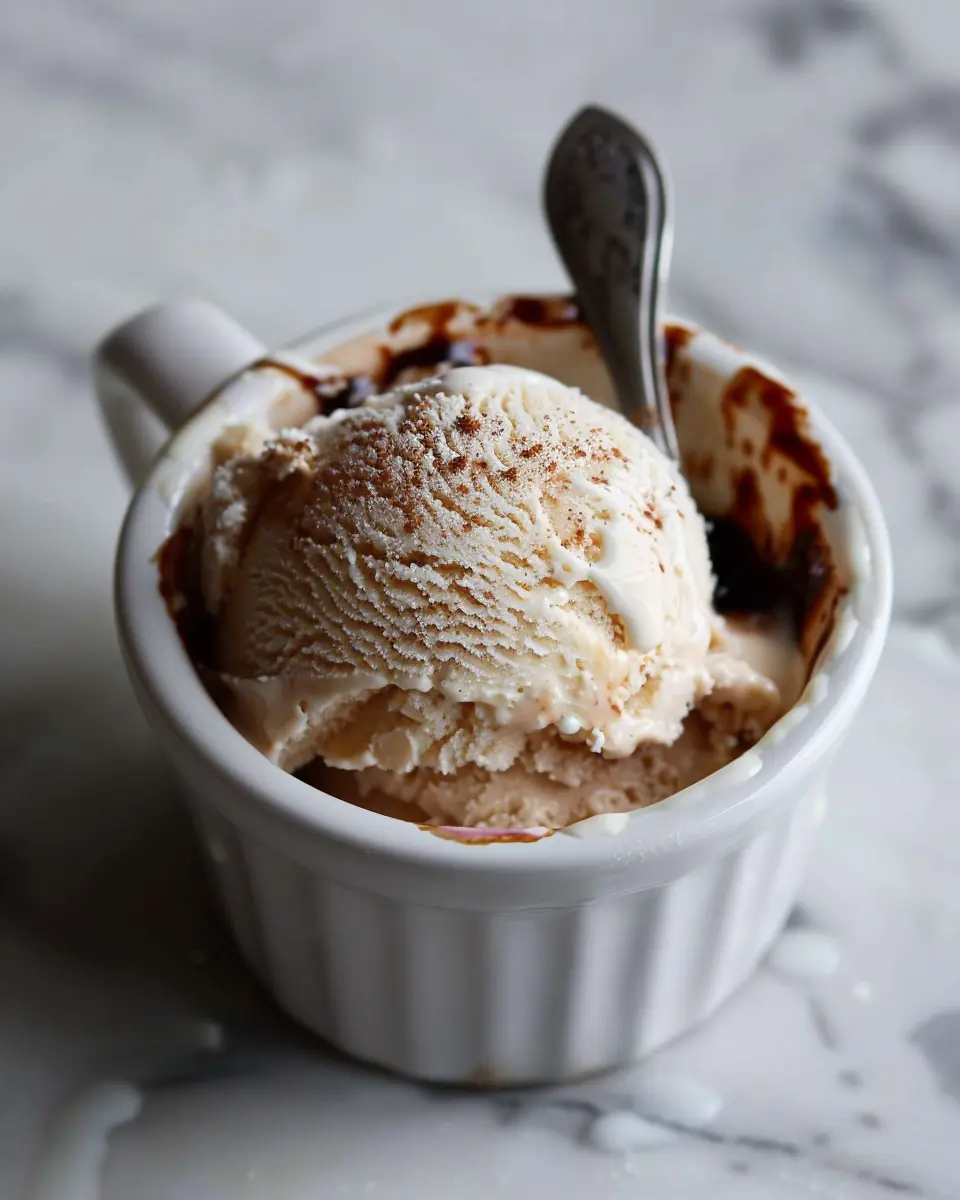
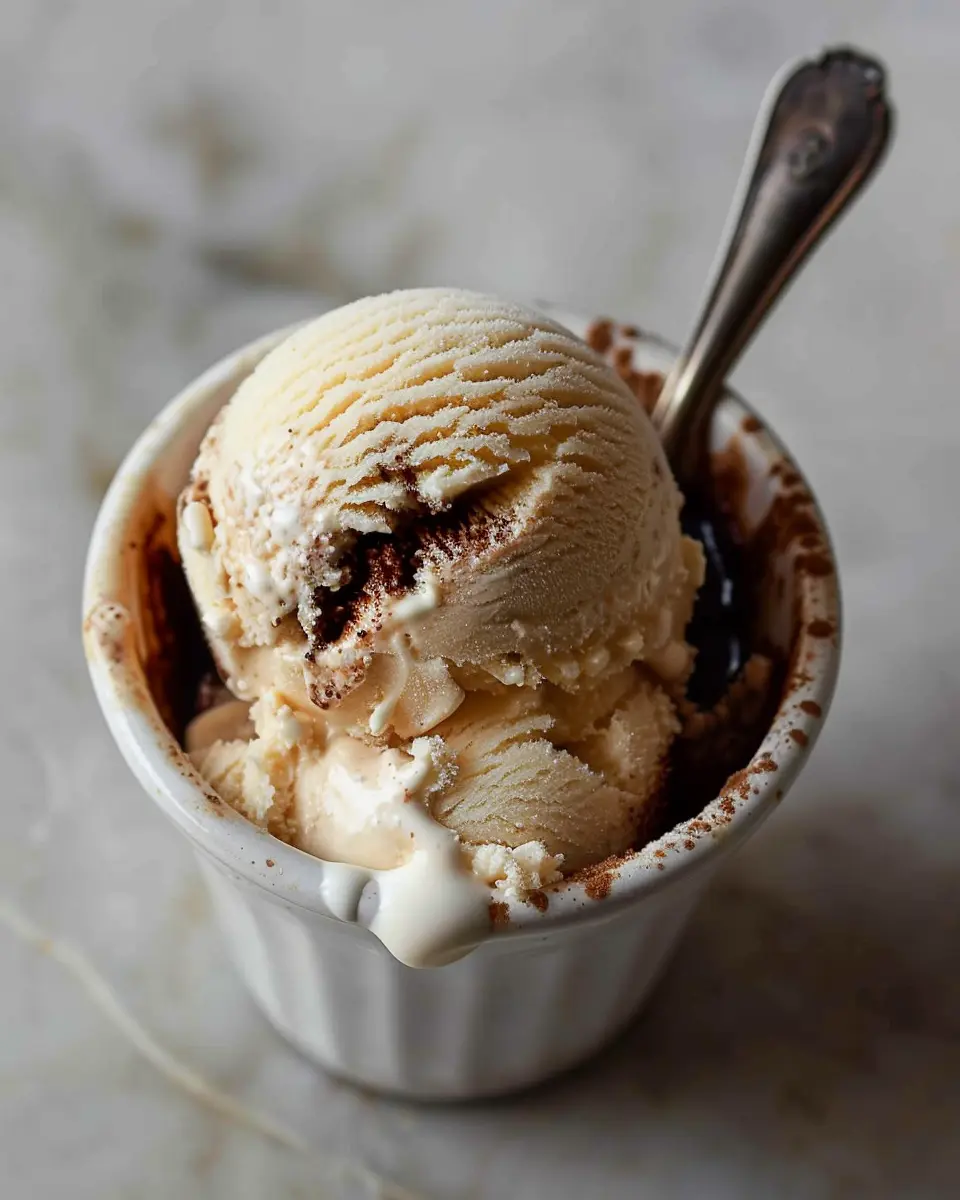
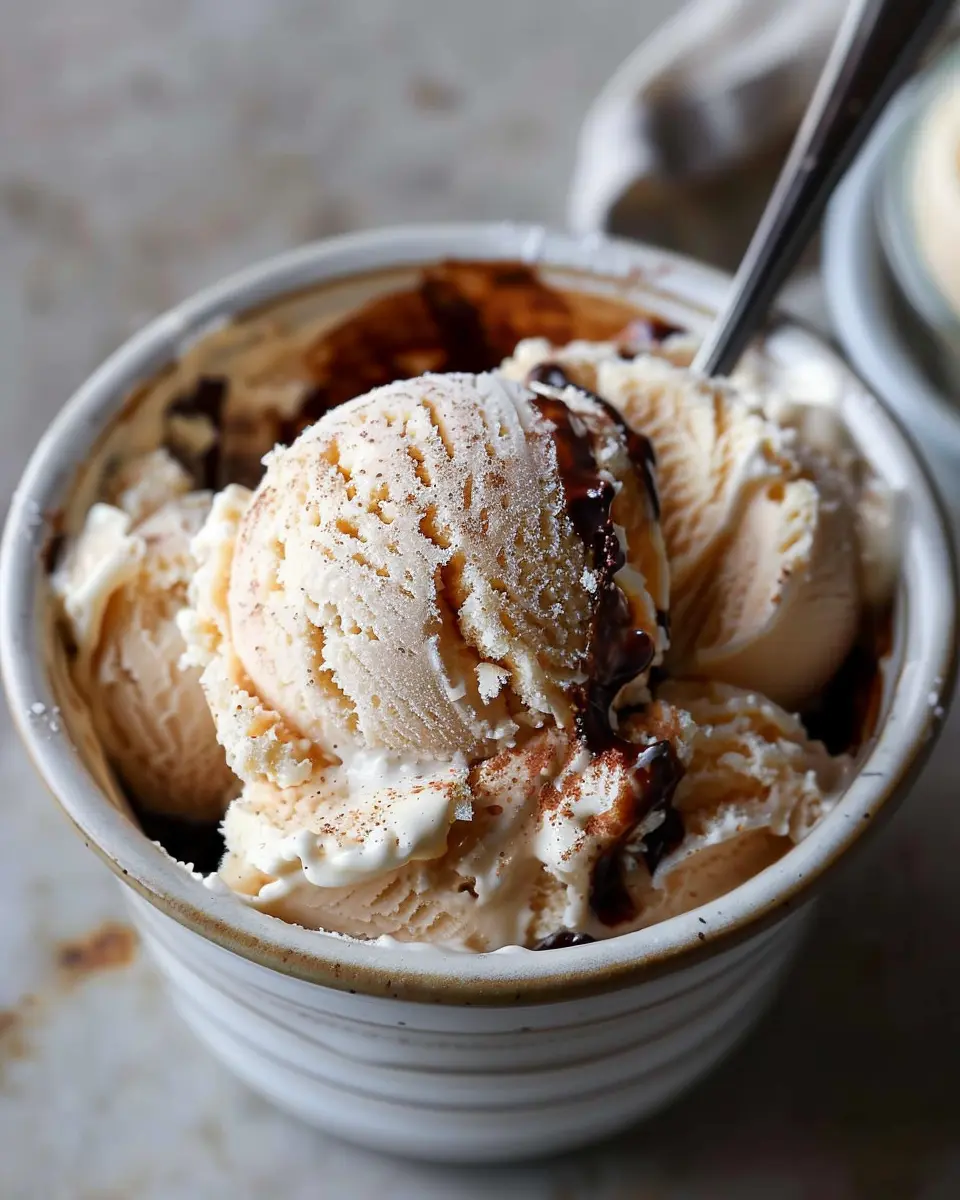
Enjoy or store your delicious creation
Now that you’ve successfully made your Ninja Creami vanilla ice cream, it’s time to indulge!
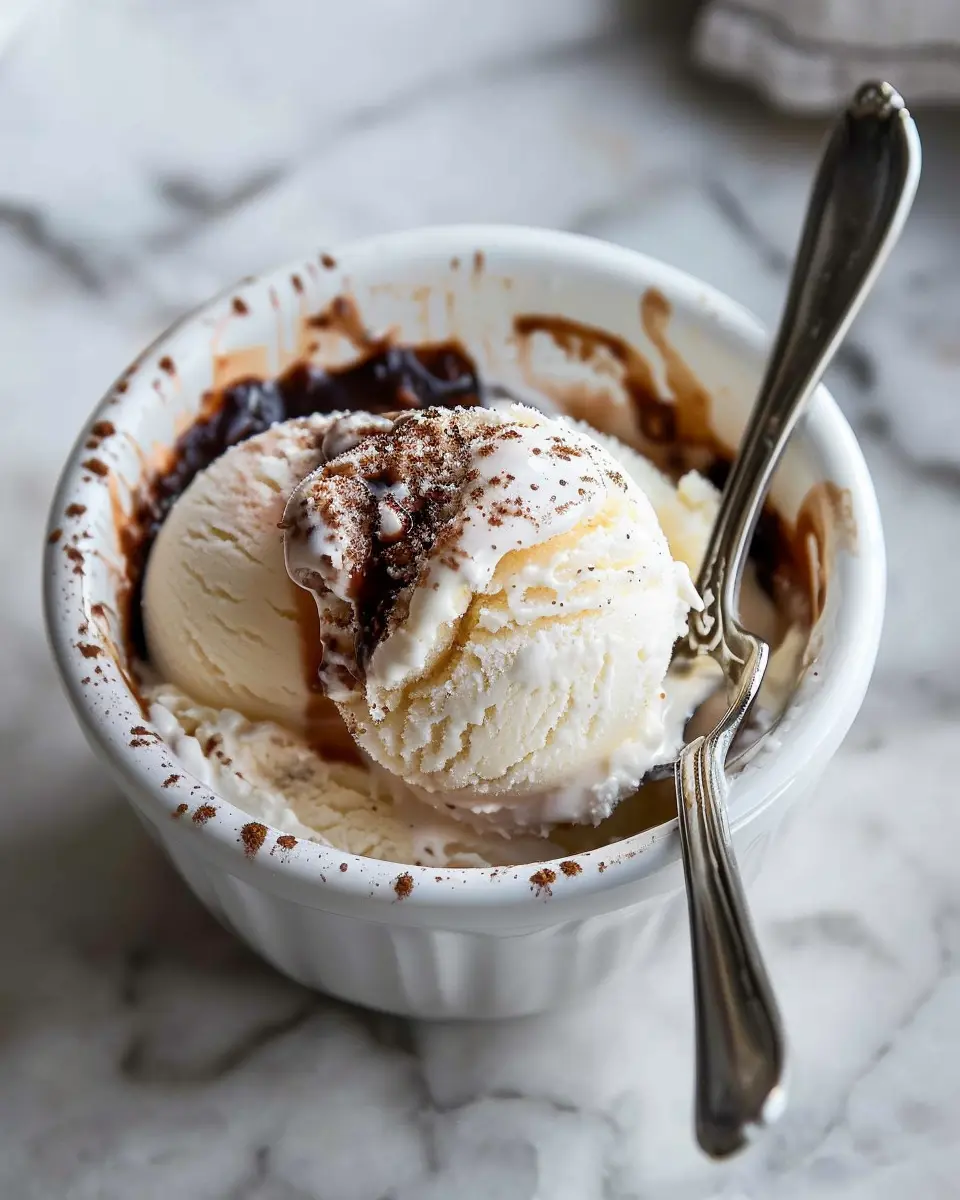
- Serve it immediately in your favorite bowls, garnishing with toppings like fresh fruit, chocolate shavings, or even a drizzle of homemade caramel sauce.
- If you have leftovers (which is unlikely, but just in case), transfer the ice cream to an airtight container and store it in the freezer for up to two weeks.
Believe me, nothing beats the satisfaction of scooping out a hearty bowl of homemade ice cream on a warm day! Plus, you can brag to your friends about how you made it yourself.
By following these simple steps, you will not only have delicious ice cream ready to enjoy but also the skills to experiment with different flavors and mix-ins in future batches. Happy freezing!
Variations on Ninja Creami Vanilla Ice Cream
One of the best things about Ninja Creami vanilla ice cream is its versatility. With just a few tweaks, your base recipe can flourish into something uniquely yours!
Adding mix-ins for a personalized touch
Getting creative with mix-ins can elevate your ice cream to another level. Toss in:
- Chocolate chips for a classic touch—think of it as a scoop of happiness!
- Chopped nuts for some crunch; pecans or almonds work wonderfully.
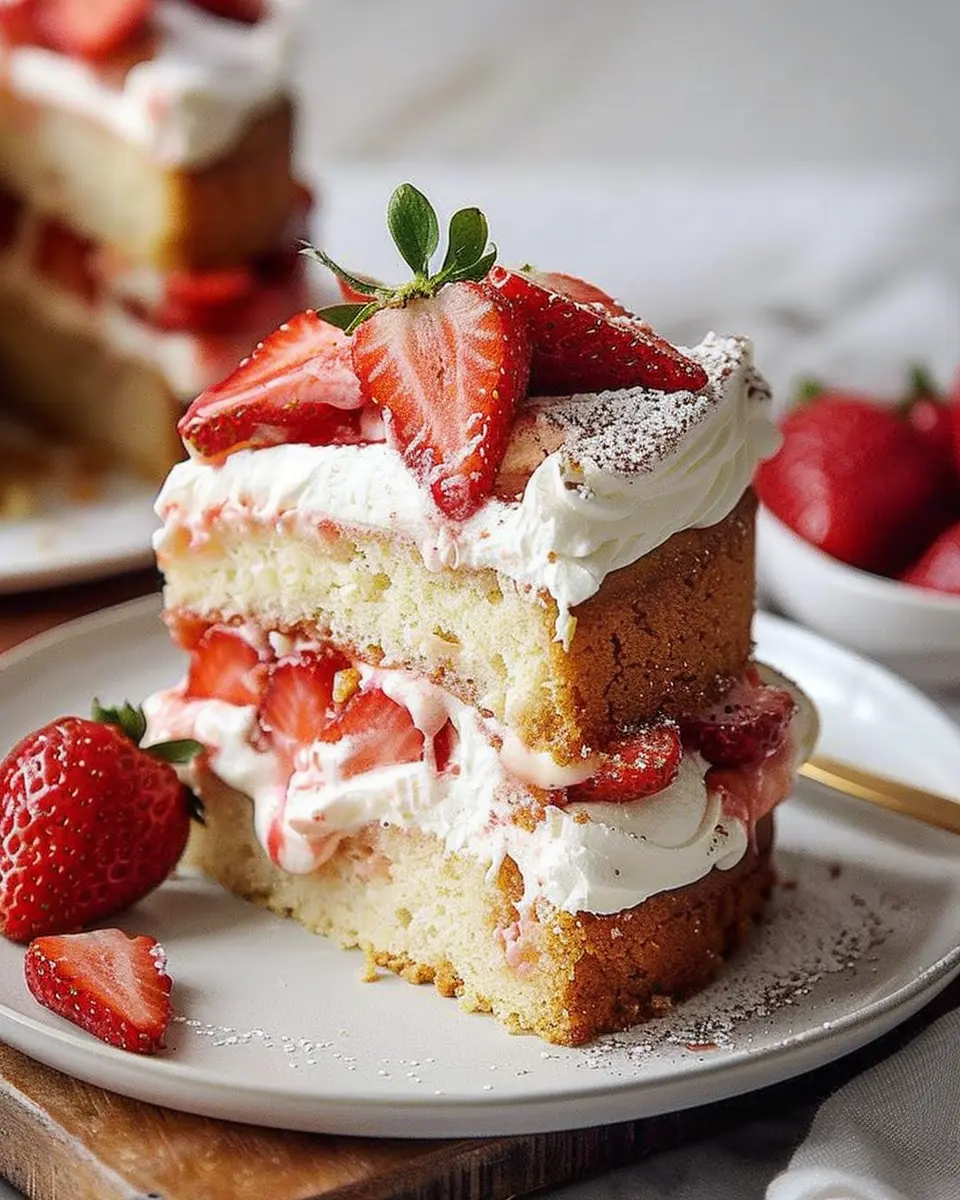
- Fresh fruits, like strawberries or blueberries, can add a refreshing pop of flavor and color.
- Cookie crumbles for a delightful texture twist. Who can resist Oreos or graham crackers?
Feel free to experiment with combinations. The only limit is your imagination! If you’re looking for inspiration, check out some ideas on dessert blogs like Serious Eats or The Kitchn.
Creating different flavor profiles with simple tweaks
Want a flavor adventure? You can transform your Ninja Creami vanilla ice cream recipe with a few simple ingredients. For a chocolate lover, just mix in cocoa powder or chocolate syrup. Craving something fruity? Puree bananas or mangoes and swirl them into your base.
Consider infusing your ice cream with extracts or natural flavors. A hint of almond or coconut can turn your classic vanilla into a tropical delight.
Remember, every addition can significantly change the taste, so don’t hesitate to experiment until you find your perfect scoop. The joy of making ice cream at home is all about the fun of creating!
Cooking Tips and Notes for Ninja Creami Vanilla Ice Cream
How to Choose the Right Vanilla Flavoring
Selecting the right vanilla flavoring is key to elevating your Ninja Creami vanilla ice cream recipe. Consider using pure vanilla extract for a rich and natural flavor. While imitation vanilla can work in a pinch, nothing beats the depth of pure vanilla. For a unique twist, try a vanilla bean paste that combines the rich essence of vanilla extract with the flecks of real vanilla beans!
Adjusting Sweetness to Your Liking
Not everyone has the same sweet tooth, and that’s perfectly fine! When making your Ninja Creami vanilla ice cream, taste the mixture before freezing. If it’s not sweet enough, you can add more sugar, honey, or maple syrup—try starting with a tablespoon, then adjust as necessary. Remember, the sweetness might mellow once it’s frozen, so don’t overdo it!
For expert tips on balancing sweetness in homemade treats, check out articles on sites like Serious Eats where culinary professionals share their insights. Happy ice cream making!
Serving Suggestions for Ninja Creami Vanilla Ice Cream
How to Present Your Homemade Ice Cream
Serving your Ninja Creami vanilla ice cream can be as delightful as making it! Start by scooping generous portions into stylish bowls or waffle cones. Consider garnishing each serving with a drizzle of warm fudge or a sprinkle of crushed nuts for that extra flair. A fresh mint leaf can also add a pop of color and freshness. Don’t forget the fun factor—let your guests add their toppings! Set up a mini topping bar with favorites like chocolate chips, sprinkles, or chopped fruit. This interactive element makes dessert feel special and engaging.
Complementary Desserts That Pair Well
Looking to elevate your dessert game? Pair your creamy creation with complementary desserts for a sweet experience. Think of serving it alongside a slice of warm apple pie or a rich brownie. The contrast of warm and cold offers a delicious balance. Alternatively, consider a fruit tart, where the tartness of the fruit enhances the smoothness of the ice cream. For a lighter option, a simple fruit salad dressed with a touch of honey can be refreshing. Get inspired with classic dessert pairings at resources like Serious Eats for even more delicious ideas!
Time Breakdown for Ninja Creami Vanilla Ice Cream
When you’re ready to indulge in a rich and creamy dessert, knowing how much time to set aside can make the process smoother and more enjoyable. Here’s a quick overview of the necessary time for your Ninja Creami vanilla ice cream recipe.
Preparation Time
You’ll need about 10-15 minutes for prep. This involves gathering your ingredients, mixing them together, and pouring the mix into your ice cream maker. It’s a straightforward process, perfect for a beginner!
Freezing Time
The magic really happens during the freezing. Allow your mixture to chill in the freezer for at least 24 hours. This step is crucial for achieving that ideal creamy consistency.
Total Time
All in all, you’re looking at around 24 hours and 15 minutes from start to finish. While the wait might feel long, it’s worth it when you scoop that delightful homemade ice cream. Using a Ninja Creami vanilla ice cream recipe can elevate your dessert game!
Ready to swirl and scoop? Check out Ice Cream Science to dive deeper into the delightful texture of ice cream!
Nutritional Facts for Ninja Creami Vanilla Ice Cream
When indulging in a delicious Ninja Creami vanilla ice cream recipe, knowing the nutritional content can help you enjoy it guilt-free. Here’s a quick breakdown of the key facts:
Calories
A serving of homemade Ninja Creami vanilla ice cream typically contains around 200–250 calories. This makes it a delightful treat without packing on too many calories, especially when you’re looking for a balance in your diet.
Sugar content
Expect around 15–20 grams of sugar per serving. While this sweet treat does contain sugar, you can adjust the recipe with natural sweeteners like honey or maple syrup if you want to lower the sugar level and still satisfy your sweet tooth.
Fats
In terms of fats, each serving generally has about 10–12 grams, primarily from dairy ingredients. If you wish to make it a bit lighter, consider using low-fat milk or a dairy-free alternative to reduce the fat content without sacrificing flavor.
Remember, indulging in your Ninja Creami vanilla ice cream recipe is all about moderation. Enjoy the creamy texture and sweet flavor, but balance it with wholesome meals throughout your day! For more tips on healthy desserts, check out Healthline.
FAQs about Ninja Creami Vanilla Ice Cream
Can I use alternatives to sweetened condensed milk?
Absolutely! If you want to experiment with your Ninja Creami vanilla ice cream recipe, you can try using alternatives like coconut milk, almond milk, or homemade cashew cream. For a dairy-free option, go for full-fat coconut cream as it adds creaminess without the animal products. Keep in mind that the final texture and sweetness might differ slightly, so adjust accordingly. A dash of maple syrup or honey can enhance the flavor if you’re swapping out condensed milk.
How long can I store homemade ice cream?
Storage is quite straightforward. Your Ninja Creami vanilla ice cream can last in the freezer for about 1 to 2 weeks. For best results, store it in an airtight container to minimize freezer burn. If you find yourself making several batches, try labeling them with the date to keep track of freshness! For more detailed freezing tips, visit The Ice Cream Blog for expert advice.
What if my ice cream is too hard or too soft?
No worries! If your ice cream is too hard, simply let it sit at room temperature for about 5-10 minutes before scooping. This helps soften it just enough for easy serving. Conversely, if your ice cream is too soft, it could mean it wasn’t churned long enough or requires a longer freezing time. Keep experimenting! Each time you make your Ninja Creami vanilla ice cream recipe, you’ll discover the perfect consistency for your taste. If you’re troubleshooting issues, consider checking out Ice Cream Science for in-depth tips.
Feel free to dive deep into these aspects and make your homemade ice cream experience as delightful as possible!
Conclusion on Ninja Creami Vanilla Ice Cream
Final thoughts on embracing homemade ice cream
Indulging in homemade ice cream, like the Ninja Creami vanilla ice cream recipe, opens the door to endless flavor possibilities and healthier choices. Not only do you control the ingredients, but you also get to craft a dessert that’s uniquely yours. Imagine impressing friends with your creamy, dreamy creation that’s crafted right in your kitchen!
As you take the plunge into crafting your own ice cream, remember to experiment with different mix-ins and flavors. Don’t be afraid to get creative! Embracing this process can transform a simple dessert into a cherished tradition. For more delicious recipes and tips, explore resources from The Ice Creamists or Serious Eats. Let’s make every scoop a celebration!
PrintNinja Creami Vanilla Ice Cream Recipe: The Best Homemade Delight
The Ninja Creami Vanilla Ice Cream Recipe is the ultimate homemade dessert that combines rich flavors and creamy texture.
- Prep Time: 10 minutes
- Total Time: 24 hours 10 minutes
- Yield: 4 servings 1x
- Category: Dessert
- Method: No-Churn
- Cuisine: American
- Diet: Vegetarian
Ingredients
- 2 cups heavy cream
- 1 cup whole milk
- 3/4 cup granulated sugar
- 1 tablespoon vanilla extract
- 1/4 teaspoon salt
Instructions
- In a mixing bowl, combine the heavy cream, whole milk, sugar, vanilla extract, and salt.
- Mix thoroughly until the sugar is dissolved.
- Pour the mixture into the Ninja Creami container and freeze for at least 24 hours.
- After freezing, remove the container from the freezer and insert it into the Ninja Creami machine.
- Press the ‘Ice Cream’ button and let the machine do its magic.
Notes
- For a richer flavor, use more vanilla extract.
- Feel free to add mix-ins like chocolate chips or nuts after processing.
Nutrition
- Serving Size: 1/2 cup
- Calories: 300
- Sugar: 25g
- Sodium: 50mg
- Fat: 20g
- Saturated Fat: 12g
- Unsaturated Fat: 5g
- Trans Fat: 0g
- Carbohydrates: 30g
- Fiber: 0g
- Protein: 3g
- Cholesterol: 80mg
Keywords: Ninja Creami vanilla ice cream recipe