Introduction to Artisan Bread
Why make artisan bread at home?
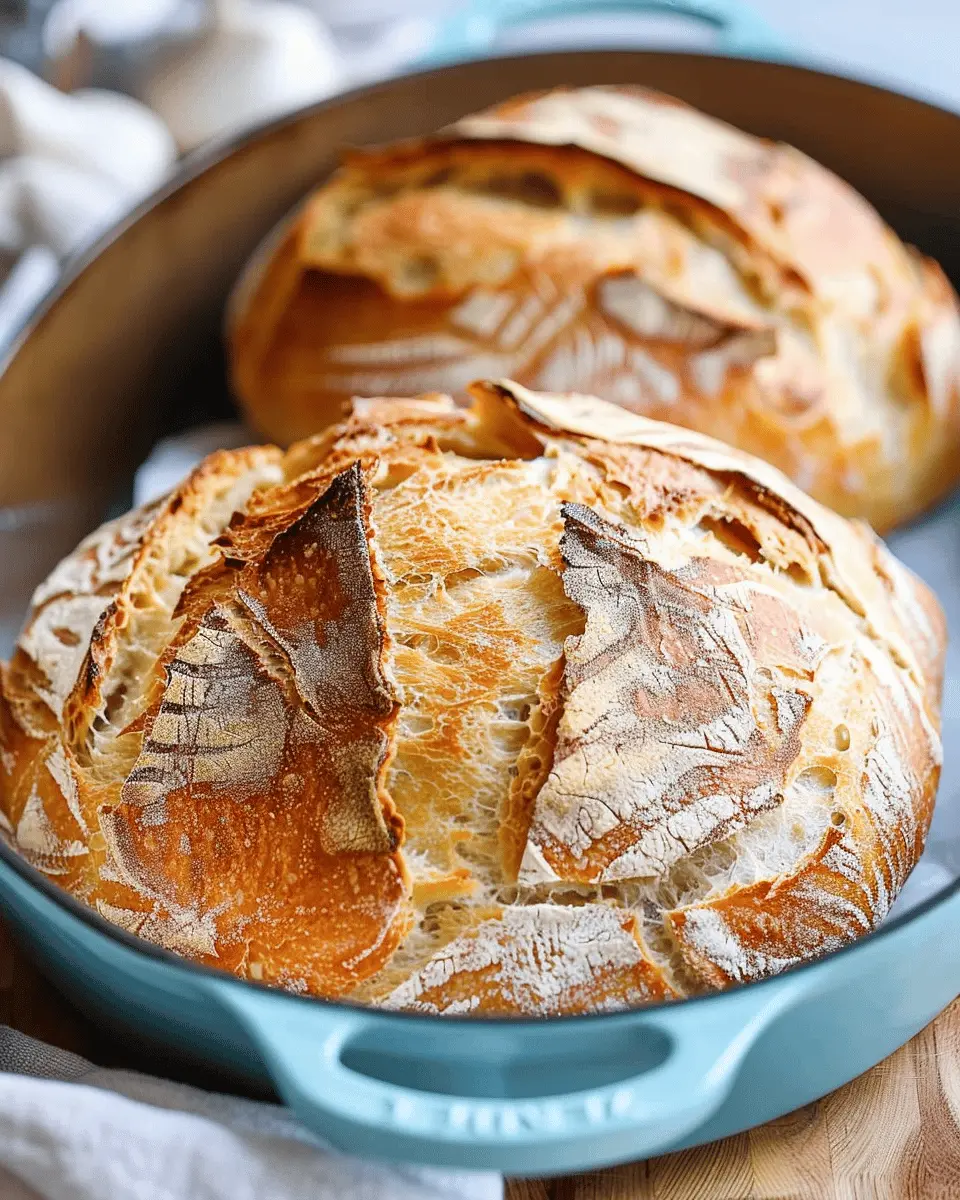
Creating your own artisan bread at home is not just about baking—it’s an experience that fills your kitchen with warmth and your senses with delightful aromas. Despite what you might think, making bread can be surprisingly simple, even for beginners. According to the Bread Lab, the benefits of baking your own bread extend beyond taste; you can control the quality of ingredients, avoiding preservatives and additives found in commercial products. Imagine biting into a crusty loaf made from organic flour, filtered water, and a pinch of salt—pure joy!
Home baking also allows you to experiment with different flavors and textures. Want to try incorporating whole grains or seeds? The choice is yours! You’ll soon discover there’s a world beyond the ordinary loaf.
The joy of homemade bread
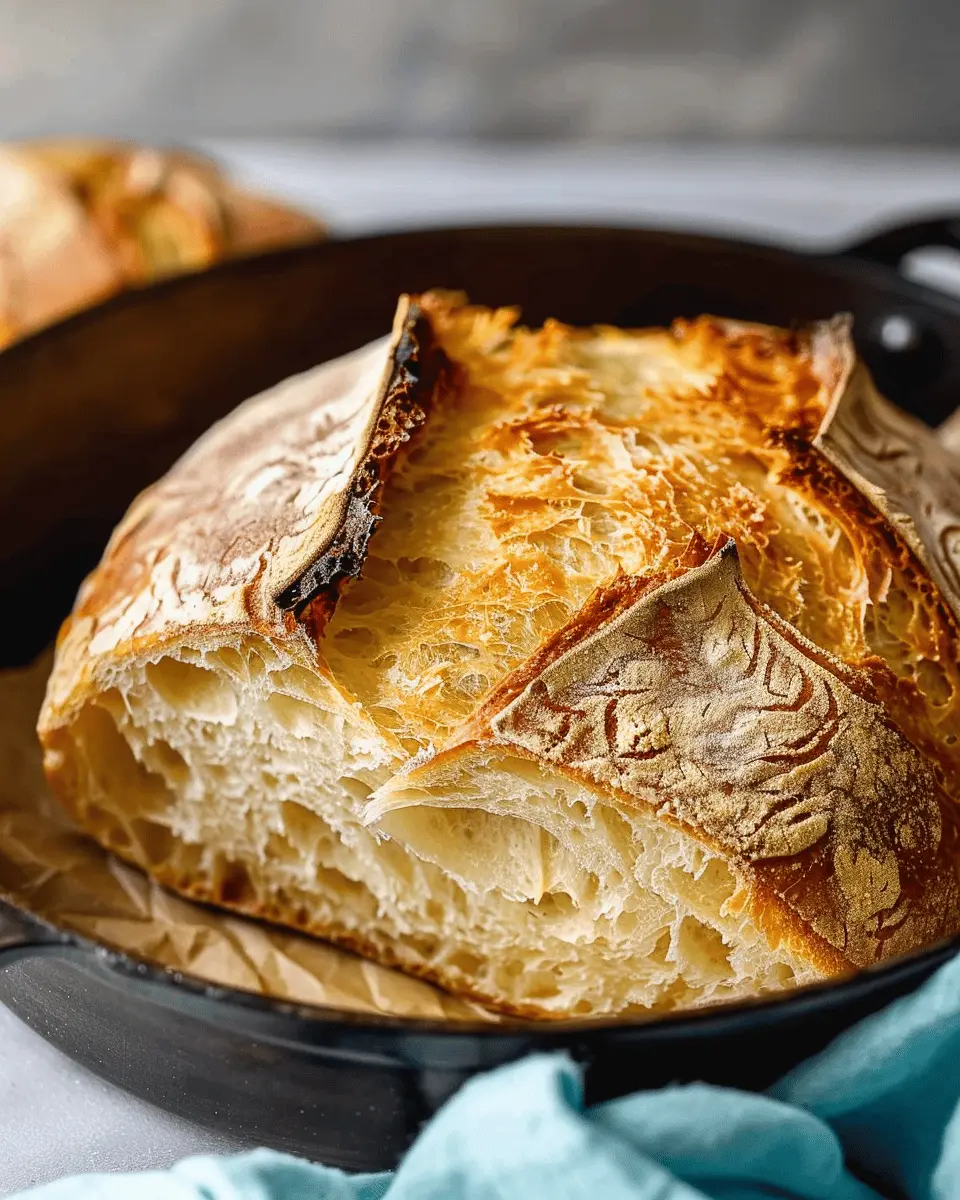
There’s something deeply satisfying about kneading dough and watching it rise. It’s a tangible experience that connects you to a time-honored tradition. When you pull that golden-brown loaf from the oven, the crisp crust crackles, and the warm steam rises, creating a moment that’s almost magical. This sensory experience is not only rewarding—it’s also a great way to unwind after a long day.
Plus, sharing homemade bread with friends or family is a wonderful way to create memories. Picture this: you sliced up a loaf of your artisan bread recipe, slathered it with a bit of gourmet butter, and served it with a pot of homemade soup. It’s the kind of meal that draws people together, fostering conversation and warmth.
Not sure where to begin? Fear not! Our artisan bread recipe will guide you step-by-step, making the process enjoyable and approachable. Whether you are a novice in the kitchen or a seasoned chef, the wonderful world of homemade bread awaits you. So grab your apron, and let’s get ready to embark on this culinary adventure!
Looking for more tips on baking bread? Check out this article from King Arthur Baking Company. They offer a plethora of resources and insights into the art of bread making.
Ingredients for Artisan Bread
Essential ingredients for a perfect loaf
Creating an incredible artisan bread recipe starts with a few basic yet essential ingredients. Here’s what you’ll need:
- Flour: All-purpose or bread flour provides the backbone of your loaf, contributing to its texture and structure. High-protein flour typically yields the best results.
- Water: Hydration is key! Warm water activates the yeast, while the right amount ensures a beautiful crumb.
- Yeast: Active dry yeast or instant yeast will help your bread rise to fluffy perfection. If you’re feeling adventurous, sourdough starter is a fantastic alternative that adds depth.
- Salt: This little ingredient enhances flavor and strengthens gluten. A good rule of thumb is to use about 1.5% of the flour’s weight.
Optional ingredients for added flavor
While the basics create a wonderful loaf, consider these optional additions to elevate your artisan bread recipe:
- Olive oil: A splash adds richness and moisture.
- Herbs and spices: Think rosemary, thyme, or even garlic for a fragrant twist.
- Seeds: Pumpkin or sunflower seeds bring both texture and nutritional benefits.
- Cheese: Incorporate grated cheese for a savory surprise.
Experimenting with these ingredients can bring your baking to new heights. For more inspiration, check out Baking Basics for delicious tips!
Preparing Artisan Bread
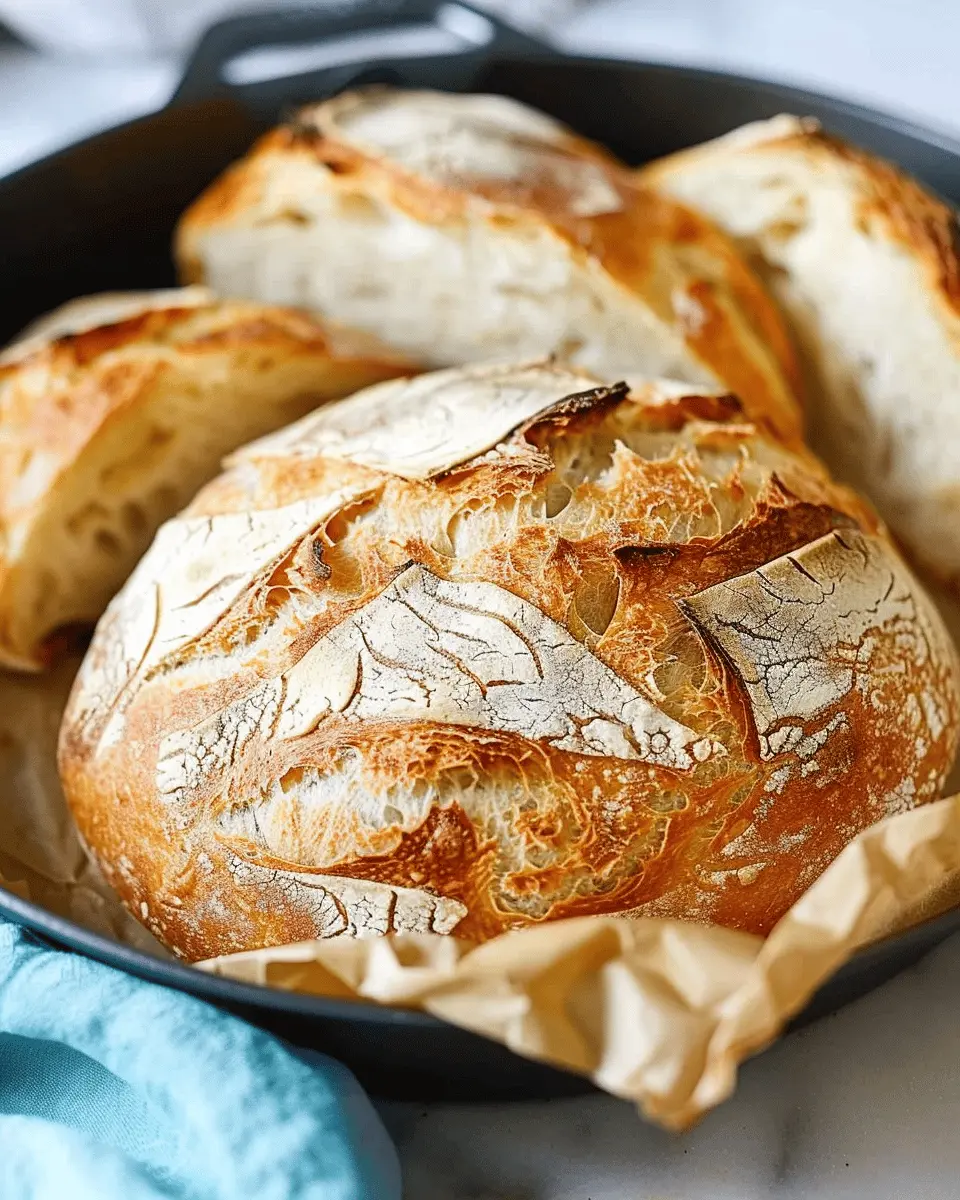
Artisan bread is a beautiful blend of craftsmanship and love, creating a rustic masterpiece that can elevate any meal or moment. If you’re ready to dive into this rewarding baking journey, follow the steps outlined below to create a scrumptious loaf right from your own kitchen.
Gather Your Equipment
Before you dive into the kitchen, it’s essential to gather all your tools. Here’s what you’ll need for our artisan bread recipe:
- A large mixing bowl
- A digital kitchen scale (for accurate measurements)
- A wooden spoon or dough whisk
- A clean kitchen towel or plastic wrap
- A baking sheet or Dutch oven
- Parchment paper (optional, for easy transfer)
- A sharp knife or bread lame for scoring
Having everything in place will make the mixing and baking process smoother and more enjoyable.
Mix the Dry Ingredients
Now that you’re equipped and ready, let’s get to work on those dry ingredients. In your large mixing bowl, combine:
- 500g of all-purpose flour
- 10g of sea salt
- 2g of instant yeast (although you can use active dry yeast too)
Mixing these ingredients well is crucial for a uniform distribution of yeast and salt, both of which contribute to the flavor and texture of your bread. Did you know that yeast is a living organism that needs a little love? According to the American Association of Candy Technologists, yeast can contribute to over 140 different flavors in bread!
Combine with Warm Water
Next, it’s time to bring your dry mix to life with some warm water—ideally about 110°F (43°C). Pour about 350 ml of the warm water into the flour mixture. Using your wooden spoon or dough whisk, stir until combined. The beautiful thing about dough is that a little stickiness is a good sign!
If you want more tips on bread hydration levels, check out resources from the King Arthur Baking Company, which provide a great deep dive into the science behind dough.
Let the Dough Rise
Once your ingredients are combined, cover your bowl with a kitchen towel or plastic wrap. Place it in a warm, draft-free area and let it rise for about 1 to 2 hours or until it doubles in size. This period lets the yeast work its magic, creating fabulous air pockets that will give your artisan bread its signature rise and texture.
Knead and Shape the Dough
After your dough has risen, it’s kneading time! Generously flour your countertop and turn out the dough onto it. Knead for approximately 5-10 minutes until it’s smooth and elastic. Don’t worry if it sticks a little; just add a bit more flour as needed. Once kneaded, shape your dough into a round or oval loaf, depending on your preference.
Second Rise and Preheat the Oven
This is where the anticipation builds! Place your shaped dough on a piece of parchment paper, cover it again, and let it rise for another 30-45 minutes. Meanwhile, preheat your oven to 450°F (232°C). Why such a high temperature? A hot oven is key to achieving that crusty exterior while keeping the inside soft and airy.
Score the Dough and Bake
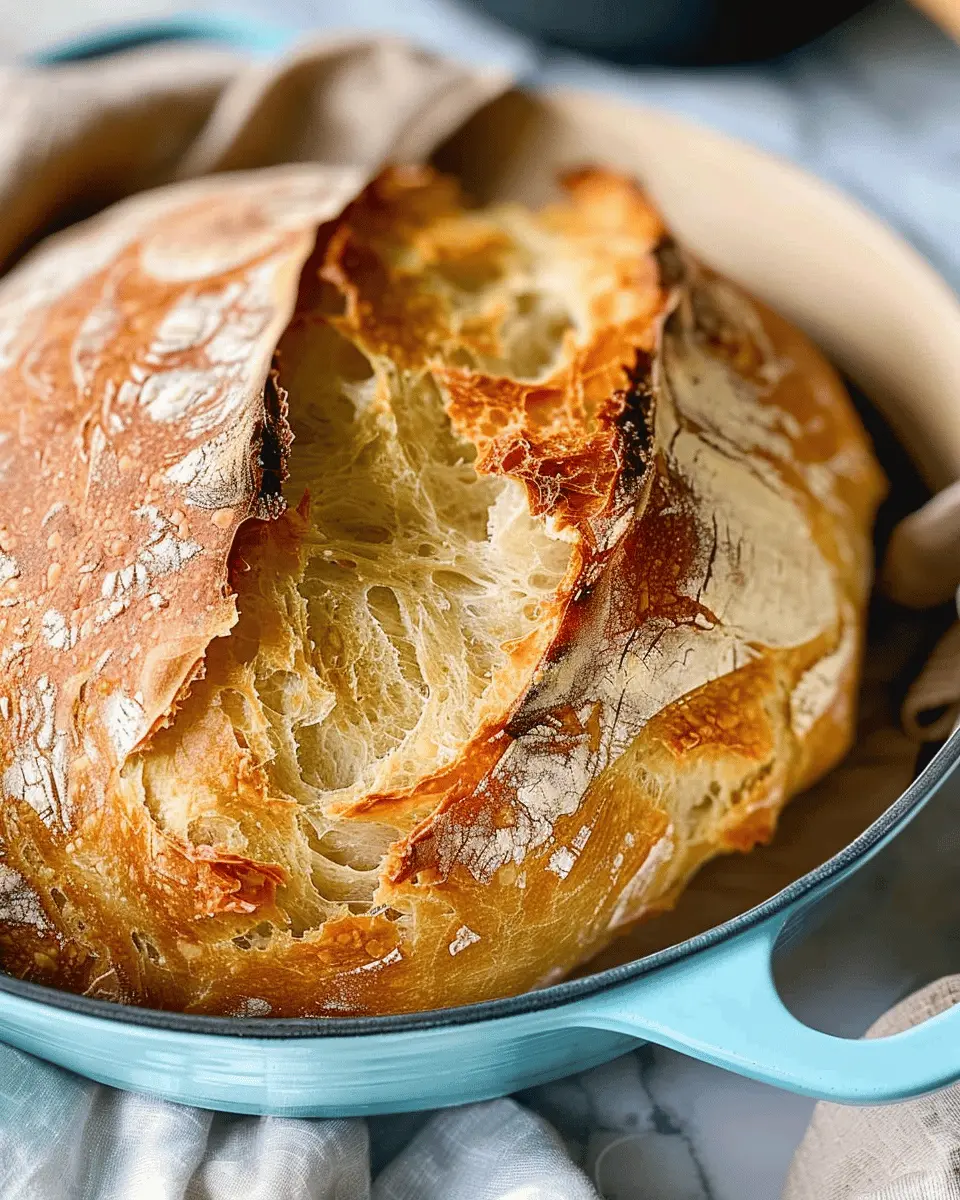
Just before baking, take your sharp knife and make a few slashes on top of your dough. This scoring allows steam to escape during baking while also creating visually appealing patterns on the crust. Transfer it gently into the oven using the parchment paper and bake for about 30-35 minutes or until golden brown.
Don’t forget to keep an eye on it; your kitchen will start smelling incredible, and you may find it hard to resist peeking!
And there you have it—your homemade artisan bread, ready to be enjoyed! Whether you slather it with butter, pair it with soup, or enjoy it alongside some delightful turkey bacon or chicken ham, this bread will surely impress anyone fortunate enough to share it with you. Happy baking!
Variations of Artisan Bread
Herb-infused Artisan Bread
One delightful way to elevate your artisan bread recipe is by infusing it with fresh herbs. Imagine pulling a warm loaf out of the oven, filled with the fragrant notes of rosemary, thyme, or basil. These aromatic herbs not only enhance the flavor but also add a beautiful touch to your bread’s appearance.
- Ingredient ideas:
- Fresh rosemary or thyme
- Basil leaves
- Garlic for an extra savory punch
You can incorporate chopped herbs directly into the dough or sprinkle them on top before baking for a visually appealing crust. For a truly gourmet touch, try pairing your herb-infused loaf with some homemade garlic butter.
Whole Wheat Artisan Bread
If you’re looking for a healthier option, consider a whole wheat artisan bread. This variation combines the robust, nutty flavor of whole wheat flour with the artisanal methods of traditional bread-making. Whole wheat not only packs more nutrients than its white counterpart but also provides a satisfying texture and a rich, slightly sweet flavor profile.
- Benefits of whole wheat bread:
- Higher in fiber, aiding digestion and keeping you full longer.
- Rich in vitamins and minerals, including iron and magnesium.
When crafting your artisan bread recipe with whole wheat flour, don’t shy away from adding seeds like sunflower or flax for additional crunch and nutrition. Also, keep in mind that whole wheat can absorb more liquid, so you might need to adjust your water or other liquid quantities.
Experimenting with different variations of artisan bread allows you to create flavors that suit your palate and dietary needs. Consider diving deeper into these variations by exploring resources from King Arthur Baking or Sourdough Companion for inspiration and tips!
Cooking Tips and Notes for Artisan Bread
Common pitfalls to avoid
When tackling an artisan bread recipe, there are a few mistakes you might inadvertently make. First, don’t rush the dough’s fermentation process. Patience is key! Under-proofed dough will result in dense bread. Also, ensure you’re using the right flour; bread flour has a higher protein content than all-purpose flour, giving your bread that delightful chewiness. Lastly, avoid overloading your dough with flour during kneading — this can lead to an overly dry loaf.
Recommended equipment for best results
Investing in the right tools can elevate your artisan bread-making experience. Here’s a quick list:
- Kitchen scale: Precision is crucial in baking.
- Dutch oven: Creates steam, ensuring a beautiful crust.
- Bench scraper: Perfect for dividing and shaping your dough.
- Instant-read thermometer: Helps you check if the bread is fully baked.
For more insights on baking tools, check out Breadtopia for expert recommendations. Happy baking!
Serving Suggestions for Artisan Bread
Pairing Artisan Bread with Dips
One of the simplest yet most satisfying ways to enjoy your artisan bread is by pairing it with delectable dips. Consider serving your loaf with:
- Hummus: Creamy and packed with flavor, it’s a perfect match for crusty bread.
- Olive Tapenade: A briny blend that complements the bread’s texture beautifully.
- Spinach and Artichoke Dip: Rich and cheesy, this is a crowd-pleaser that makes your bread sing.
These dips not only elevate your artisan bread recipe but also give you the chance to explore different flavor profiles.
Enjoying Artisan Bread with Meals
Artisan bread is incredibly versatile and can enhance a variety of meals. Try incorporating it into:
- Sandwiches: Layer your favorite ingredients, like turkey bacon and fresh veggies, between slices.
- Soups: Serve with a warm bowl of rustic tomato or hearty vegetable soup.
- Salads: Croutons made from artisan bread can add a delightful crunch and a savory touch.
By experimenting with these methods, you can truly savor the goodness of your freshly baked bread. For more ideas, check out websites like Food Network or BBC Good Food for delicious recipes that complement your artisan creations!
Time Breakdown for Artisan Bread
Creating your own artisan bread is a rewarding experience, but it’s essential to manage your time effectively. Here’s a quick breakdown of what to expect.
Preparation Time
Begin with about 20 minutes to mix and knead your dough. This initial step is crucial for developing flavor and texture, so don’t rush it!
Rise Time
The rise time can be up to 4 hours, depending on your room temperature. This step allows the dough to ferment and develop those lovely flavors. You can also refrigerate it overnight for extra depth.
Baking Time
Baking your bread typically takes around 30 minutes. Preheat your oven to ensure a perfect crust—don’t skip this step!
Total Time
In total, you’re looking at around 4.5 to 5 hours for the whole process, allowing for both preparation and rising. But remember, most of that time is hands-off! If you’re eager for a delicious artisan bread recipe, take a look at this thorough guide on bread making techniques to enhance your skills. Happy baking!
Nutritional Facts for Artisan Bread
Calories per serving
A slice of homemade artisan bread typically contains around 80 to 100 calories, depending on the recipe and specific ingredients used. This means you can enjoy a hearty slice without the guilt, especially when you pair it with nutritious toppings like avocado or turkey bacon.
Nutritional benefits of homemade bread
Making your own artisan bread not only allows you to control the ingredients, but it also comes packed with several benefits:
- Whole ingredients: Often, artisan bread highlights whole grains, which provide essential fiber.
- Lower additives: Unlike store-bought loaves, your homemade artisan bread recipe can be free from preservatives and unnecessary additives.
- Customization: You can enrich it with seeds, nuts, or dried fruits for added nutrients.
With each loaf, you’re not just baking; you’re nourishing your body in a wholesome way. This article from the Whole Grains Council outlines the benefits of incorporating whole grains into your diet—definitely worth checking out!
Embrace the ease and joy of baking to enjoy these health benefits while indulging in a delicious, crusty slice of homemade goodness!
FAQs about Artisan Bread
How do I store my artisan bread?
Storing your artisan bread properly ensures its freshness and flavor lasts longer. Ideally, you should keep your bread at room temperature in a paper bag. This allows it to breathe and prevents it from getting soggy. If you don’t plan to finish it in a couple of days, consider placing it in a bread box or a cloth bag to maintain its crustiness.
For optimal freshness, avoid plastic bags, as they trap moisture, causing the crust to lose its signature crunch. Do you want to keep it out of sight? A pantry shelf works too, just make sure it’s not too warm.
Can I freeze artisan bread?
Absolutely! Freezing artisan bread is a fantastic way to extend its life. Wrap your bread tightly in plastic wrap or aluminum foil and then place it in an airtight freezer bag. This can lock in its delicious flavor for up to three months. When you’re ready to enjoy it, let it thaw at room temperature or pop slices directly into the toaster—it’s almost like fresh!
What can I do if my bread is too dense?
If your artisan bread recipe yields a loaf that’s denser than you’d like, don’t fret! There are a few quick fixes:
- Check the flour: Make sure you’re using the right type. All-purpose flour might not give you that airy texture.
- Knead more: It’s crucial to develop the gluten, so knead until you see that elastic texture.
- Let it rise: Ensure ample time for rising. Underproofing can lead to denser bread.
So next time your loaf doesn’t rise to the occasion, remember these tips! For more detailed advice, check out this bread-baking guide to refine your skills.
Conclusion on Artisan Bread
The Satisfaction of Baking Your Own Bread
Baking your own artisan bread can be incredibly fulfilling. The aroma wafting through your home during the process creates a warm and inviting atmosphere, reminding us of comforting times shared with loved ones. Plus, there’s something truly magical about pulling a beautifully crusty loaf from the oven, knowing you crafted it with your own hands.
Making an artisan bread recipe isn’t just about the end product; it’s the journey that matters. Each loaf tells a story of experimentation and discovery. Whether you’re sharing it with friends or enjoying it solo with your favorite spread, the satisfaction is unmatched. If you’re curious about the science behind baking, consider checking out sources like King Arthur Baking for additional techniques and tips!
PrintArtisan Bread Recipe: Easy Steps for Homemade Deliciousness
This artisan bread recipe will guide you through easy steps to create delicious homemade bread.
- Prep Time: 15 minutes
- Cook Time: 45 minutes
- Total Time: 18 hours
- Yield: 1 loaf 1x
- Category: Bread
- Method: Baking
- Cuisine: American
- Diet: Vegetarian
Ingredients
- 4 cups all-purpose flour
- 1.5 cups warm water
- 2 teaspoons salt
- 1 teaspoon instant yeast
Instructions
- In a large bowl, mix flour, salt, and yeast together.
- Add warm water and stir until a shaggy dough forms.
- Cover the bowl with a damp cloth and let it rest for 12-18 hours at room temperature.
- After the dough has risen, turn it out onto a floured surface and shape it into a ball.
- Let it rest for another 1-2 hours.
- Preheat the oven to 450°F and place a Dutch oven inside to heat.
- Carefully place the dough into the hot Dutch oven, cover it, and bake for 30 minutes.
- Remove the lid and bake for an additional 15-20 minutes until golden brown.
- Allow the bread to cool on a wire rack before slicing.
Notes
- Store bread in a paper bag for best results.
- This bread is best enjoyed fresh but can be frozen for later use.
Nutrition
- Serving Size: 1 slice
- Calories: 120
- Sugar: 0
- Sodium: 370
- Fat: 1g
- Saturated Fat: 0g
- Unsaturated Fat: 0g
- Trans Fat: 0g
- Carbohydrates: 24g
- Fiber: 1g
- Protein: 4g
- Cholesterol: 0mg
Keywords: Artisan Bread Recipe, Homemade Bread, Easy Bread Recipe