Introduction to Grilled Cheese Sliders
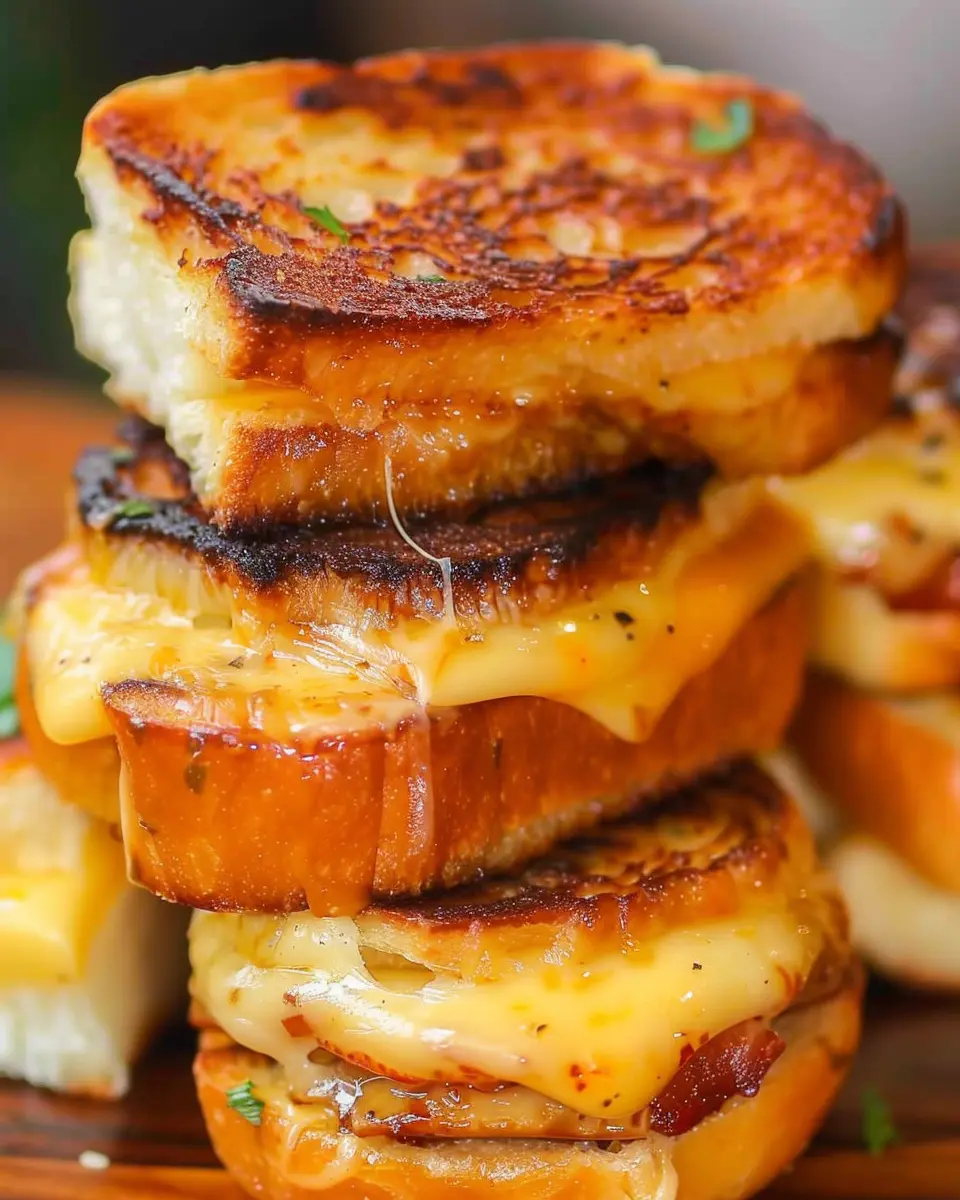
Grilled cheese sliders are the perfect embodiment of comfort food, seamlessly blending gooey cheese with warm, soft rolls. When you think about winding down after a long day, nothing quite satisfies like a little melty goodness tucked into a cute package that fits right in your hand. Are you a fan of easy, fun recipes? You’re in for a treat with these delightful bites made using Hawaiian rolls—a true game-changer!
Why Grilled Cheese Sliders are the Ultimate Comfort Food
Let’s face it: grilled cheese is iconic—bringing joy and nostalgia to food lovers of all ages. It’s not just about the cheese; it’s about the experience. Each bite unleashes a wave of nostalgia that reminds us of childhood lunches, picnics, and family gatherings. According to a recent survey, over 60% of adults associate grilled cheese sandwiches with comfort, making it a universal favorite.
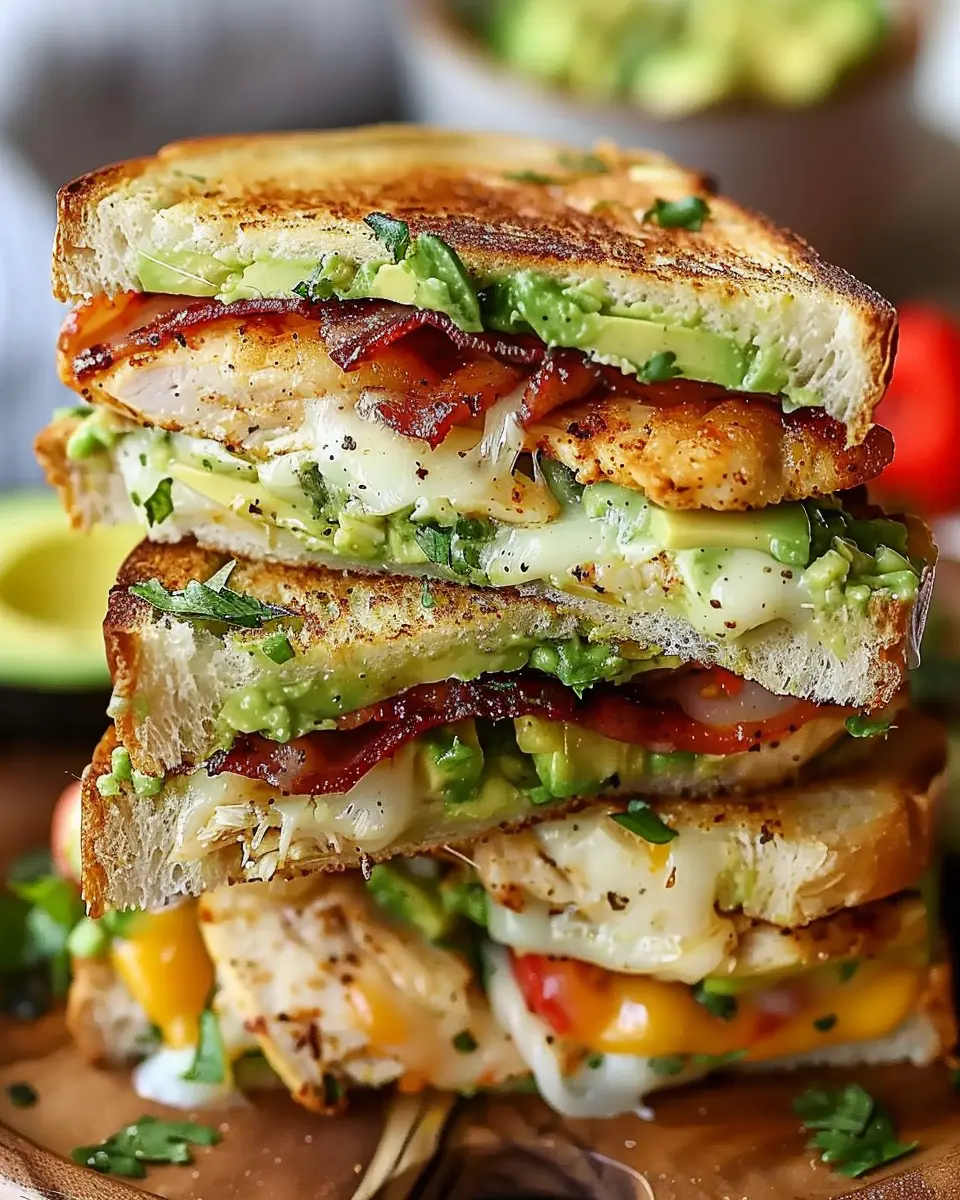
By turning our beloved classic into sliders, we elevate the experience. Sliders are not just small sandwiches; they are compact bundles of joy that can be customized with your favorite mix-ins such as Turkey Bacon, Chicken Ham, or even a variety of veggies. Offering something for everyone, they are perfect for game nights, parties, or even a solo movie binge.
One of the best aspects of these grilled cheese sliders is how easy they are to prepare. With just a few ingredients and minimal prep time, you can create an impressive appetizer or main course. Check out expert tips from culinary sites like Serious Eats for advice on selecting the perfect cheese and toppings to personalize your sliders.
And let’s not forget that the Hawaiian rolls, with their subtly sweet flavor, pair exquisitely with the saltiness of melted cheese and savory toppings. Are you intrigued yet? If you’re anything like me—always on the lookout for simple yet satisfying recipes—this one’s for you!
What’s more, these sliders can easily be made vegetarian or even vegan, making them versatile for any dietary needs. Just imagine serving these at your next gathering… they’re bound to be a hit! If you’re looking to indulge in a comforting yet sophisticated snack, keep reading to discover how to make your own grilled cheese sliders using Hawaiian rolls!

Ingredients for Grilled Cheese Sliders
Essential ingredients for the perfect sliders
When crafting delicious grilled cheese sliders using soft and fluffy Hawaiian rolls, it’s crucial to start with the right ingredients. Here’s what you’ll need:
- Hawaiian rolls: These sweet, pillowy rolls are the perfect base, adding a lovely contrast to the savory cheese.
- Cheese: Choose your favorites! Cheddar, Monterey Jack, or Gouda melt beautifully and are crowd-pleasers.
- Turkey bacon: For a smoky, savory touch, crispy turkey bacon provides an excellent crunch.
- Chicken ham: For those who crave a little more flavor, thinly sliced chicken ham is a great addition.
- Butter: Don’t skimp here—melted butter on the outside of the rolls ensures that irresistible golden finish while grilling.
Optional toppings and seasonings
Feel free to elevate your grilled cheese sliders with delightful extras. Consider adding sliced tomatoes, fresh spinach, or even a sprinkle of garlic powder for depth. A dash of hot sauce can spice things up, and a drizzle of honey or balsamic glaze can create a sweet-savory contrast that’s simply exquisite.
With this mix of essential ingredients and optional enhancements, your sliders will be the highlight of any gathering. Don’t forget to check out Food Network for more ideas to pair with your sliders!
Preparing Grilled Cheese Sliders
Who doesn’t love a delicious grilled cheese sandwich? Imagine transforming that childhood comfort food into something everyone will love: grilled cheese sliders made with fluffy Hawaiian rolls. Perfect for parties, game nights, or quick meals, these sliders are easy to prepare and packed with flavor. Let’s dive into the steps to creating these delightful bites!
Gather your ingredients
Before you start, it’s essential to gather all your ingredients. Here’s what you’ll need:
- Hawaiian rolls (12-pack)
- Cheese (a mix of cheddar and mozzarella works beautifully)
- Turkey bacon or chicken ham (if you like a twist)
- Unsalted butter
- Garlic powder (optional)
- Fresh herbs like thyme or parsley for garnish (optional)
Each ingredient adds its unique touch to the sliders, enhancing that gooey, melty experience that makes you want to come back for more. You can even experiment with different cheeses or add-ins such as caramelized onions or avocado for a twist. Looking for inspiration? Check out this article on creative grilled cheese combinations.
Preheat the oven
Next, preheat your oven to 350°F (175°C). Preheating ensures that when you place your sliders inside, they cook evenly and develop that delightful crispy exterior. If you’re waiting for the oven to heat up, it’s the perfect time to cue up your favorite playlist. Cooking is all about good vibes!
Prepare the rolls and butter
While the oven is heating, you’ll want to prepare your Hawaiian rolls. Carefully slice the entire pack of rolls in half, creating a top and bottom layer. This step is crucial for constructing your grilled cheese sliders.
Now, let’s add some delicious flavor to our sliders! In a small bowl, combine softened unsalted butter with a sprinkle of garlic powder. Spread this buttery goodness on the inside of each roll. Not only does this savoriness complement the cheese perfectly, but it also helps create that irresistible golden-brown crust when baked.
Assemble the sliders
Now comes the fun part—assembling your sliders. Here’s how to do it:
- Place the bottom half of the rolls in a baking dish.
- Start layering your choice of cheese; feel free to mix and match for a gourmet experience!
- Add strips of Turkey bacon or chicken ham for additional flavor.
- Top with more cheese for that gooey texture we all adore!
- Finally, place the top half of the rolls back on.
Be careful not to overstuff, as they need to bake evenly. Once assembled, a light brush with that seasoned butter on the top will make them even more mouthwatering.
Bake to cheesy perfection
It’s time to unleash the magic of the oven! Cover your baking dish with aluminum foil (this helps keep the moisture in while the cheese melts). Bake for about 20 minutes, then carefully remove the foil and bake for an additional 5-10 minutes until the sliders are golden brown and the cheese is bubbling.
Once they’re out of the oven, allow them to cool for a minute, then slice into individual sliders. Garnish with fresh herbs if you like—it’s all about presentation!
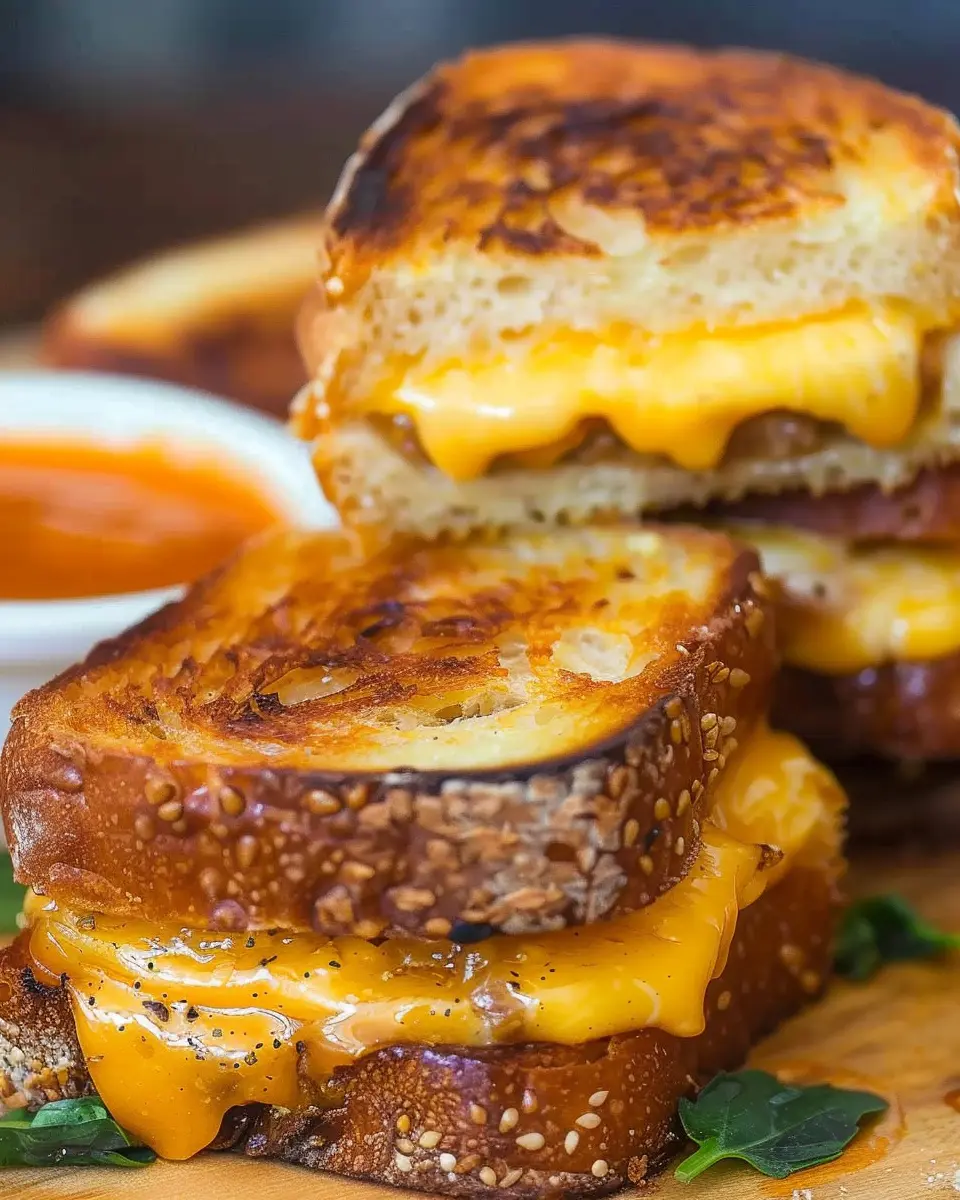
And there you have it—your delicious grilled cheese sliders using Hawaiian rolls are ready to dazzle your taste buds! These sliders blend the classic comfort of grilled cheese with a modern twist, making them a hit among friends and family alike. Whether you serve them at a gathering or enjoy them alone, they’re sure to bring smiles all around. What’s your favorite twist on classic grilled cheese? Let’s share ideas in the comments!
Variations on Grilled Cheese Sliders
Grilled cheese sliders using Hawaiian rolls are a fun twist on a classic favorite. Not only are they incredibly easy to make, but you can also personalize them with various fillings to suit your taste. Let’s dive into some delectable variations that will impress your friends at your next gathering!
Turkey Bacon and Cheese Sliders
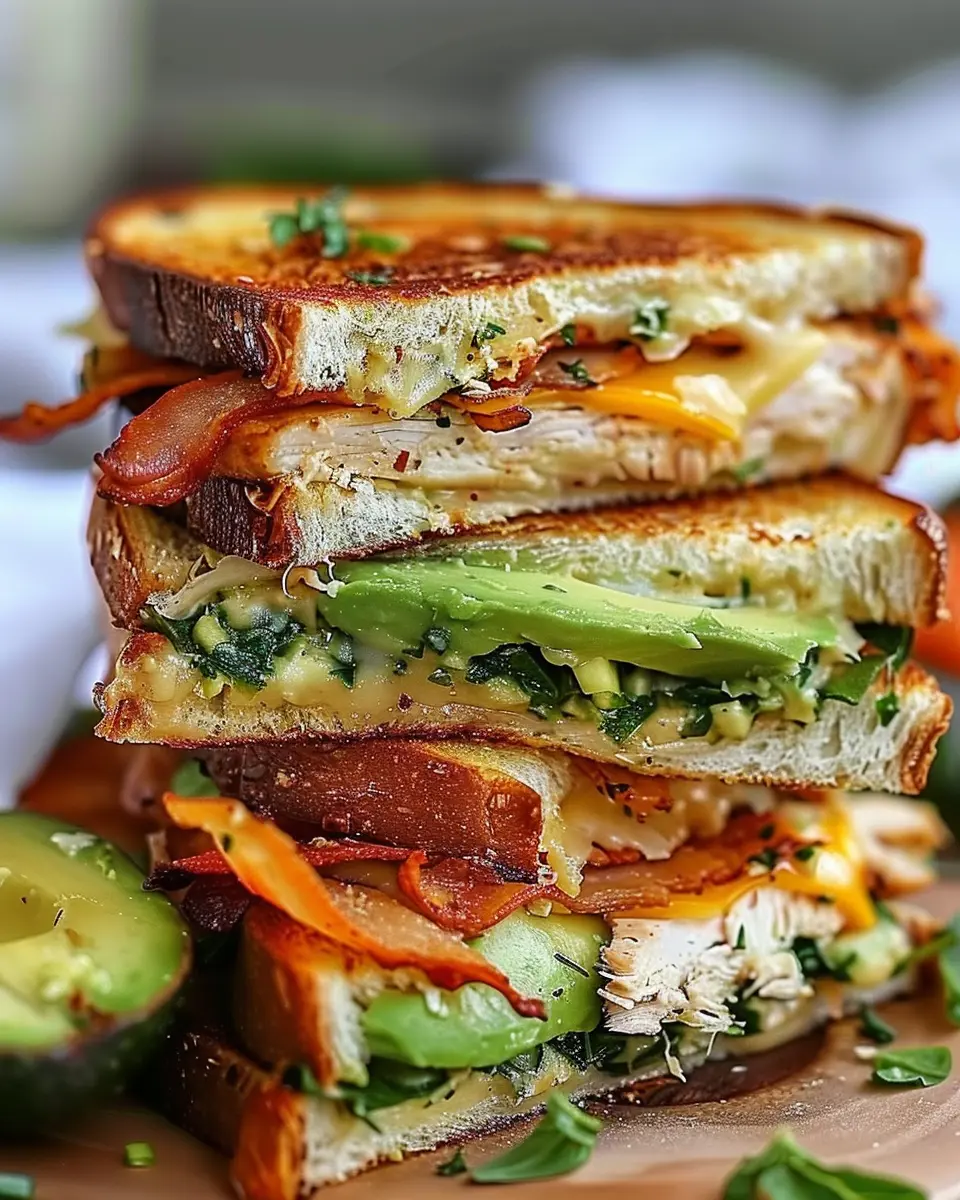
For those who crave a savory bite, turkey bacon adds a fantastic crunch and flavor to your grilled cheese sliders. Simply layer crispy turkey bacon with gooey melted cheese between slices of Hawaiian rolls. To elevate the taste, consider spreading a hint of honey mustard or garlic aioli on the rolls. The combination of creamy and salty with a touch of sweetness is irresistible. Plus, turkey bacon is a leaner option, keeping your sliders delicious yet slightly healthier.
Chicken Ham and Cheese Sliders
If you’re looking for something a bit more decadent, try chicken ham with your sliders. Just like turkey bacon, chicken ham offers a wonderful flavor profile. Pair your chicken ham with your favorite cheese – think sharp cheddar or gooey mozzarella. A dollop of pesto or a sprinkle of Italian herbs can also elevate this dish, bringing in an aromatic touch that will tantalize your taste buds.
Veggie-Packed Grilled Cheese Sliders
Don’t forget about the veggie lovers! You can easily create a veggie-packed grilled cheese slider by adding grilled zucchini, sautéed mushrooms, and fresh spinach alongside your cheese. A rich layer of herbed cream cheese can tie everything together, making for a satisfying bite that’s colorful and nutritious. This variation proves that you can enjoy delicious sliders without any meat while still packing in tons of flavor!
For a complete guide on how to make these tasty grilled cheese sliders, check out this resource on making the perfect grilled cheese for tips and tricks. Experiment with these combinations, and you’ll always have a winning appetizer on hand!
Cooking Tips and Notes for Grilled Cheese Sliders
Managing Cheese Melt and Slider Texture
Achieving the perfect melt-in-your-mouth experience with your grilled cheese sliders starts with the right cheese blend. I recommend mixing cheeses such as cheddar and mozzarella; this combination not only enhances the flavor but also improves the meltability. When assembling your sliders, be mindful of the thickness of the fillings. Too much cheese or meat can lead to a soggy slider, so stick to a balanced ratio to keep that crispy texture intact.
Importance of Using Quality Ingredients
When it comes to grilled cheese sliders, the quality of the ingredients really shines through. Opt for fresh, soft Hawaiian rolls—they elevate the whole dish. Using high-quality cheese will not only taste better but also melt more effectively. And don’t forget about the role of Turkey Bacon or Chicken Ham! These choices add a savory depth that complements your cheesy creation wonderfully. For more on ingredient quality, check out this insightful article on food sourcing.
By focusing on these details, you’ll create sliders that are not only delicious but also memorable! Happy cooking!

Serving Suggestions for Grilled Cheese Sliders
Perfect pairings: dips and sides
When you whip up a batch of grilled cheese sliders using Hawaiian rolls, you’ll want to elevate them with the perfect accompaniments. Think creamy dips and crispy sides to complement those gooey, cheesy bites:
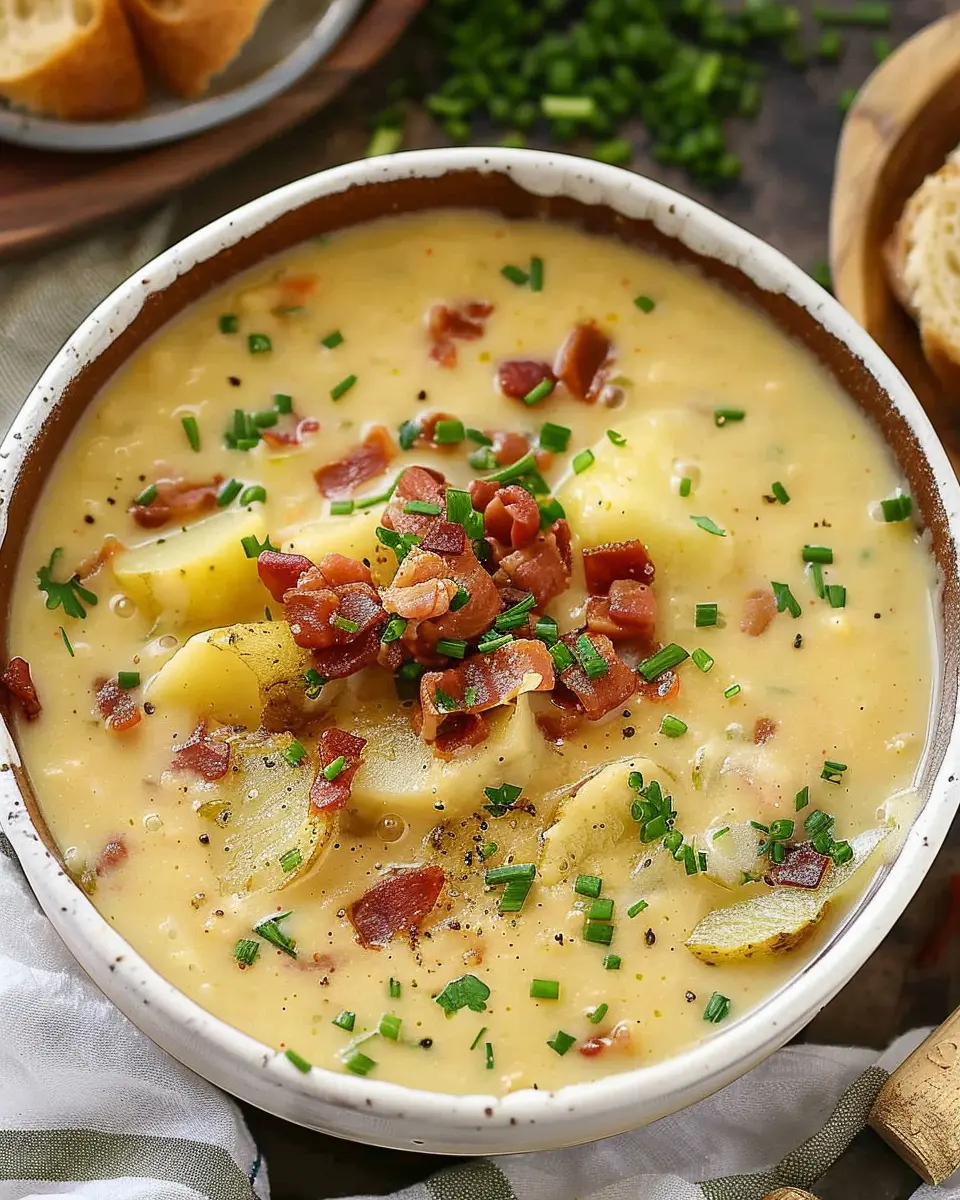
- Tomato Basil Soup: A classic pairing that never goes out of style. The acidity of the tomato soup beautifully balances the richness of the sliders.
- Garlic Herb Dip: Whip up a simple dip with Greek yogurt, garlic, and fresh herbs for a creamy contrast.
- Sweet Potato Fries: Crispy, sweet fries provide a delightful crunch that enhances every cheesy bite.
- Pickles or Pickled Vegetables: The tangy crunch of pickles can cut through the richness, making each slider feel light and refreshing.
For more ideas, check out this insightful article on perfect sandwich sides.
Creative serving ideas for gatherings
Hosting friends or a casual get-together? Your grilled cheese sliders can shine as the main attraction! Consider these fun serving ideas:
- Slider Platter: Arrange your sliders on a large wooden board, garnished with fresh herbs for a rustic, inviting look.
- DIY Slider Bar: Set up toppings like sautéed onions, turkey bacon, and different cheeses, allowing guests to build their own sliders.
- Mini Skewers: Stack sliders on skewers for easy, grab-and-go bites that add a fun twist to your presentation.
Whether you’re celebrating a special occasion or just enjoying a cozy night in, these serving suggestions will make your grilled cheese experience unforgettable.
Time Breakdown for Grilled Cheese Sliders
Preparation time
Getting your ingredients and tools ready for your grilled cheese sliders doesn’t take long. Just about 10 minutes should do it! Slice your Hawaiian rolls, gather your cheeses, and cook your turkey bacon or chicken ham. It’s all about setting the stage for deliciousness.
Baking time
The baking process for your sliders will take approximately 15-20 minutes. Make sure your oven is preheated to 350°F (175°C). You’ll want them perfectly golden and melty—so keep an eye on them!
Total time
When you combine preparation and baking, you’re looking at a total of about 30-35 minutes. Perfect for a quick dinner or a fun party appetizer! These sliders are just as enjoyable to make as they are to eat. As a bonus, they pair wonderfully with a fresh salad or a simple soft drink for a balanced meal. Want to explore more quick bites? Check out this guide from Food Network on easy appetizers!
Nutritional Facts for Grilled Cheese Sliders
Calories per serving
If you’re craving a delightful snack, you’ll be glad to know that each serving of these flavorful grilled cheese sliders contains approximately 250 calories. This makes them a satisfying option without being overly indulgent.
Protein and fat content
Each slider packs around 12 grams of protein, largely thanks to the cheese and any delightful turkey bacon you choose to add. The fat content hovers around 14 grams, coming from the cheese and buttery goodness used in grilling. Remember, quality matters—opting for a lower-fat cheese can be an excellent way to lighten things up!
Recommended daily values
For a balanced diet, it’s essential to keep track of your daily values. A typical adult should aim for about 50 grams of protein and limit saturated fat to around 20 grams per day. These grilled cheese sliders provide a tasty way to get some of that protein and pair well with a side of veggies for added nutrients (check out this resource on balanced eating).
Overall, they’re a delightful treat that won’t derail your healthy eating goals!
FAQ about Grilled Cheese Sliders
How can I make these sliders gluten-free?
If you’re looking to enjoy grilled cheese sliders without gluten, it’s easier than you might think! Simply swap out traditional Hawaiian rolls for gluten-free rolls available at most grocery stores. Brands like Schär and Udi’s offer tasty alternatives that hold up well and keep the flavor intact. You can also use gluten-free bread if you want a different texture. Just make sure to check the labels for any hidden gluten-containing ingredients.
Can I prepare these sliders ahead of time?
Absolutely! Making grilled cheese sliders in advance is a fantastic way to save time on busy days. You can assemble the sliders and store them in an airtight container in the fridge for up to a day before baking. When you’re ready to enjoy them, just pop them in the oven until the cheese is melted and the tops are golden. Perfect for a cozy movie night or an easy meal prep option during the week.
What are some good dipping options for sliders?
Dipping sauces can elevate your grilled cheese sliders to new heights. Here are some delightful options to consider:
- Creamy Tomato Soup: A classic pairing that never gets old.
- Spicy Mustard: For those who crave a bit of heat.
- Ranch Dressing: Perfect for a cool and tangy contrast.
- Pesto: Adds a gourmet twist that enhances the cheesy flavors.
Feel free to mix and match; experimenting with different dips can lead to your new favorite combo! If you’re curious about the benefits of including sauces in your meals, you can read more here.
By freeing yourself from typical pairings, you can truly enjoy the delicious versatility that these sliders have to offer!
Conclusion on Grilled Cheese Sliders
Summing up the joys of homemade grilling
In the world of comfort food, grilled cheese sliders occupy a special place, especially when made at home. Their warm, gooey cheese paired with the slightly sweet, soft Hawaiian rolls creates a delightful balance that’s hard to resist. Remember, it’s not just about satisfying your hunger; it’s about bringing people together for a cozy dining experience.
Whether you’re whipping these up for a casual gathering or a movie night, the versatility of sliders is endless. Try mixing in elements like turkey bacon or chicken ham for a delicious twist. Get creative, savor every bite, and enjoy the journey of homemade grilling!
PrintGrilled Cheese Sliders Using Hawaiian Rolls: An Easy Indulgence

Grilled cheese sliders using Hawaiian rolls are a deliciously easy treat perfect for any occasion. These mini sandwiches capture the classic flavors of grilled cheese in a fun and shareable format.
- Prep Time: 10 minutes
- Cook Time: 25 minutes
- Total Time: 35 minutes
- Yield: 12 servings 1x
- Category: Appetizer
- Method: Baking
- Cuisine: American
- Diet: Vegetarian
Ingredients
- 12 Hawaiian rolls
- 1 cup shredded cheddar cheese
- 1 cup shredded mozzarella cheese
- 1/4 cup butter, melted
- 1 teaspoon garlic powder
- 1/2 teaspoon dried parsley
Instructions
- Preheat your oven to 350°F (175°C).
- Slice the Hawaiian rolls in half and place the bottom halves in a baking dish.
- In a bowl, mix the melted butter, garlic powder, and dried parsley. Brush the mixture over the rolls.
- Layer the cheddar and mozzarella cheeses on the bottom halves of the rolls.
- Cover with the top halves of the rolls and brush additional butter mixture over the top.
- Wrap the dish in foil and bake for 15 minutes.
- Remove the foil and bake for another 10 minutes until golden and bubbly.
- Serve warm and enjoy!
Notes
- For extra flavor, add cooked bacon or tomatoes in between the cheese layers.
- Try different cheese combinations for a unique twist.
Nutrition
- Serving Size: 1 slider
- Calories: 200
- Sugar: 4g
- Sodium: 350mg
- Fat: 10g
- Saturated Fat: 6g
- Unsaturated Fat: 3g
- Trans Fat: 0g
- Carbohydrates: 24g
- Fiber: 1g
- Protein: 8g
- Cholesterol: 30mg
Keywords: Grilled Cheese Sliders, Hawaiian Rolls, Easy Recipe