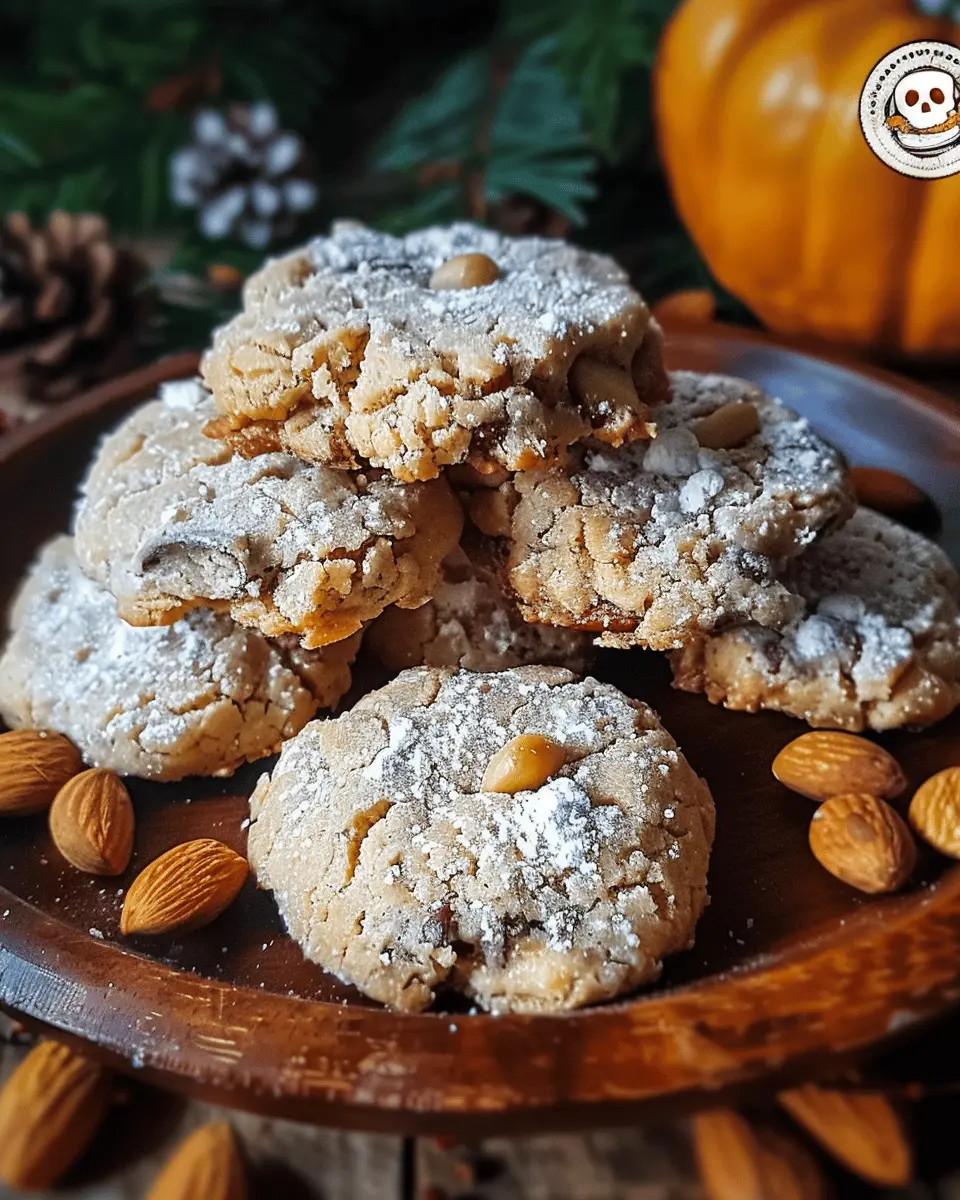
Introduction to Haunted Forest Pine Nut Cookies
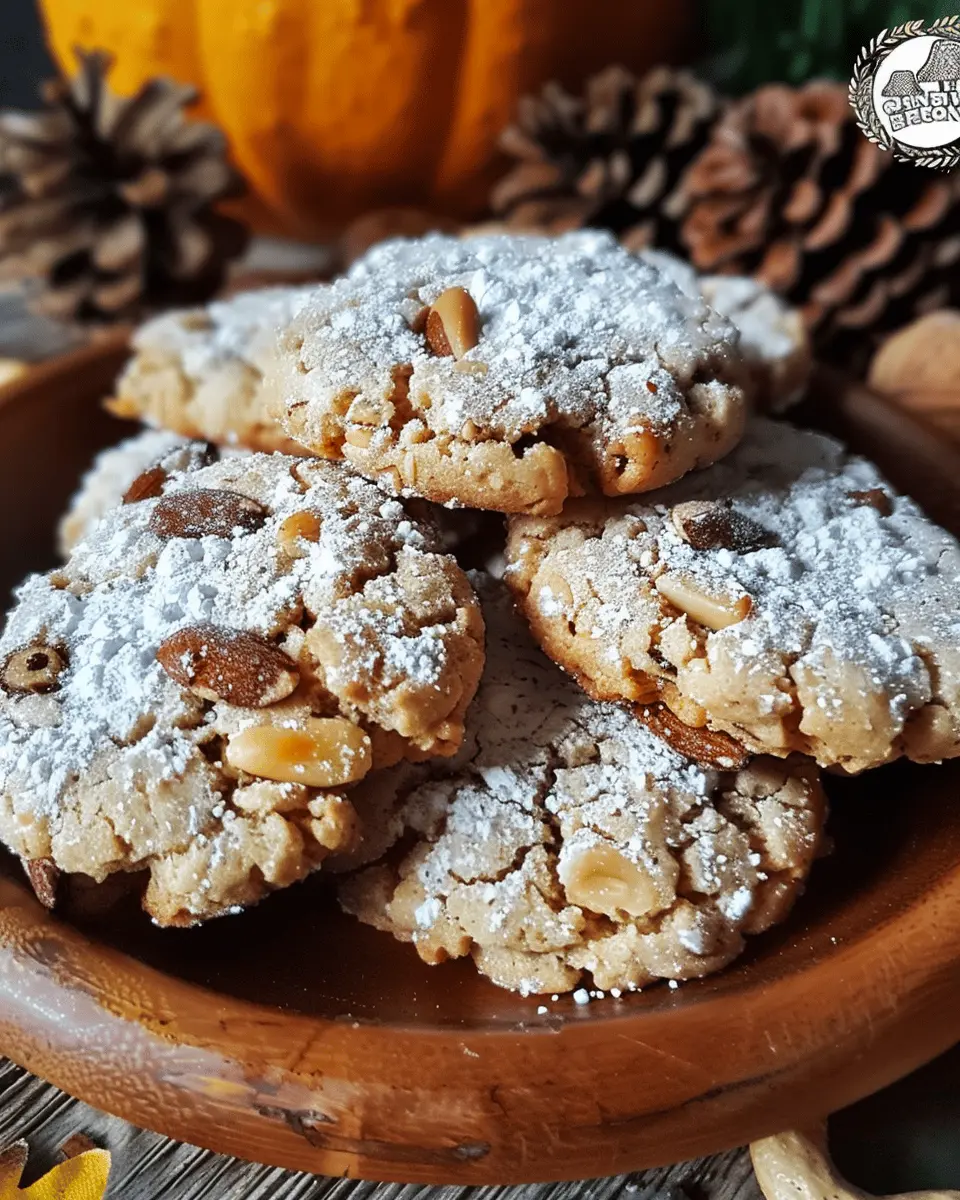
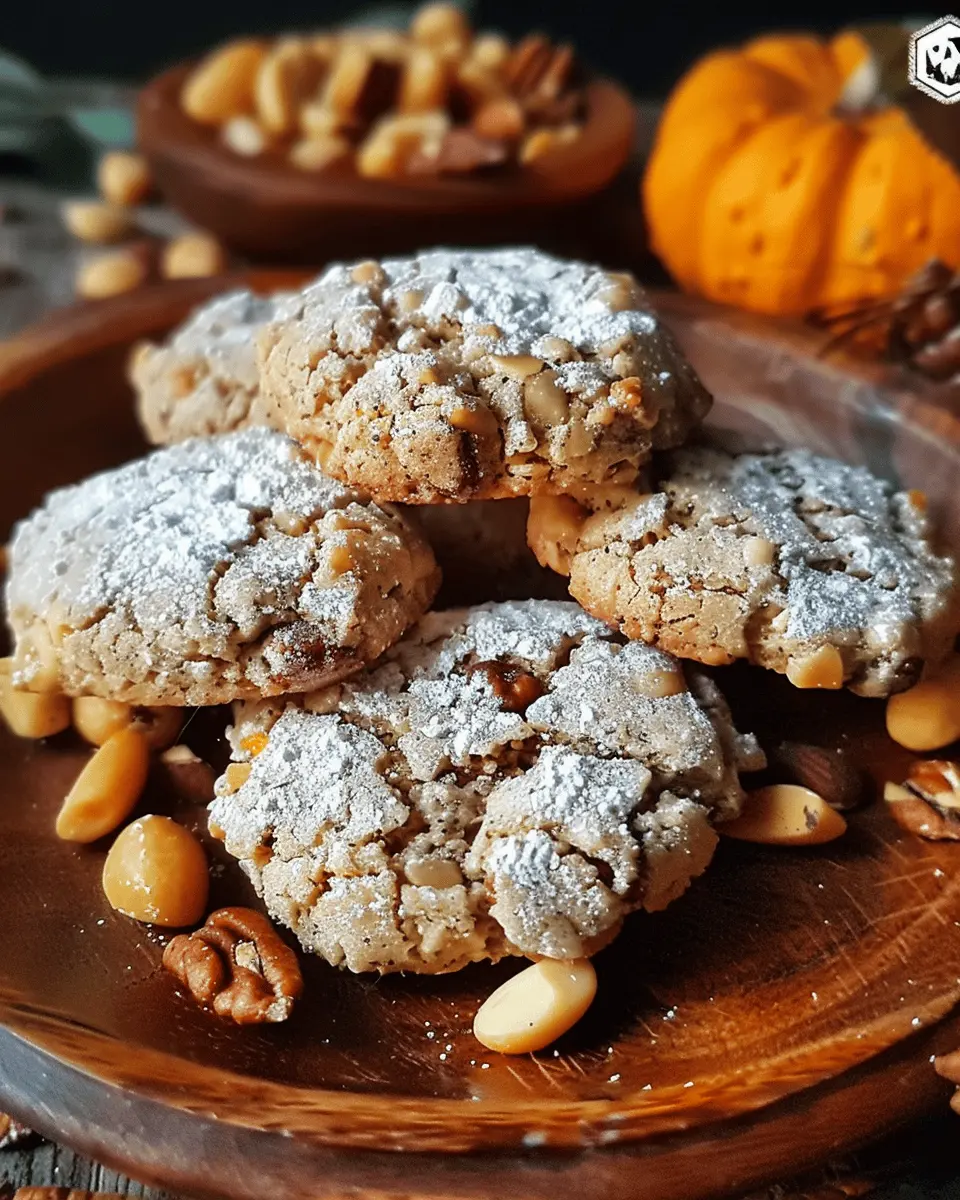
If you’re searching for a delightful treat that combines the warm, earthy flavors of the forest with a hint of whimsy, look no further than Haunted Forest Pine Nut Cookies. These charming cookies not only offer an enticing flavor profile but also evoke a sensory experience that transports you to a tranquil, autumnal woodland. Imagine walking through a shadowy grove, the scent of pine wafting through the air; this recipe captures that essence beautifully.
Why Haunted Forest Pine Nut Cookies are a Must-Try
So, what makes these cookies stand out from your regular desserts? For starters, pine nuts are the star ingredient. They add a subtle nuttiness and delightful crunch that pairs perfectly with the sweetness of the cookie base. According to a study from the American Journal of Clinical Nutrition, the nutrients in pine nuts may even help curb appetite, making these treats a guilt-free indulgence when enjoyed in moderation.
Plus, the flavors in these cookies mirror the beautiful complexity of a haunted forest. The addition of warm spices, like cinnamon and nutmeg, further enriches the flavor, creating a cozy atmosphere that’s perfect for gatherings or a simple night in, wrapped up in a blanket with a good book.
Another reason to try Haunted Forest Pine Nut Cookies is their versatility. Whether you’re hosting a Halloween get-together or looking for a unique snack to share with friends, these cookies will surely impress. Many folks have shared how these tasty morsels have sparked conversations around their kitchens, allowing for moments of joy and laughter among friends and family.
Incorporating fun elements like shaped baking molds can make the process even more engaging. For inspiration, sites like Taste of Home offer various baking tips that can elevate your cookie game. Whether you’re decorating them to resemble enchanted critters or spooky artifacts, the possibilities are endless!
So, if you’re ready to embark on a culinary adventure reminiscent of serene woods filled with whispers of the unknown, give Haunted Forest Pine Nut Cookies a try. They’re not just cookies; they’re a journey into the deliciously mysterious.
Ingredients for Haunted Forest Pine Nut Cookies
Essential ingredients you’ll need
To recreate delicious Haunted Forest Pine Nut Cookies, gather these essential ingredients:
- Pine nuts: These elegant bits add a delightful crunch and a subtly sweet flavor that perfectly complements the overall taste.
- Butter: Use unsalted butter for a rich, creamy base that binds the cookies together.
- Granulated sugar: Sweeten the deal with some sugar; a must for those irresistible, chewy cookies.
- Brown sugar: This brings moisture and a touch of caramel flavor that enhances the profile of your cookies.
- Vanilla extract: A splash of pure vanilla adds depth and a comforting warmth.
- All-purpose flour: The foundation of your dough; a key player in cookie texture.
- Baking soda: This little agent helps your cookies rise to the occasion.
Optional ingredients for a twist
Want to personalize your Haunted Forest Pine Nut Cookies? Consider these optional ingredients:
- Chocolate chips: Whether dark or semi-sweet, they can elevate your cookies to a new level of indulgence.
- Cinnamon: A dash can add a warm, autumnal spice that perfectly ties the flavors together.
- Dried cranberries or cherries: For a fruity, tart surprise in every bite.
- Maple syrup: Substitute some granulated sugar with maple syrup for a unique twist that hints at autumn.
Feel free to experiment! The beauty of baking is finding that enchanting mix that speaks to your tastebuds. For more tips on baking essentials, check out this baking guide. Happy baking!
Step-by-step Preparation of Haunted Forest Pine Nut Cookies
When the leaves change color and the air turns crisp, what better way to embrace autumn than with a cozy baking session? Follow these steps to whip up delicious Haunted Forest Pine Nut Cookies that will enchant your friends and family. Trust me, they won’t be able to resist these delightful treats!
Gather and measure your ingredients
Before you dive in, it’s essential to gather all your ingredients to avoid any last-minute rush. Here’s what you’ll need for your Haunted Forest Pine Nut Cookies:
- 1 cup (2 sticks) unsalted butter, softened
- 1 cup granulated sugar
- 1 cup brown sugar, packed
- 2 large eggs
- 1 teaspoon vanilla extract
- 3 cups all-purpose flour
- 1 teaspoon baking soda
- 1/2 teaspoon salt
- 1 cup pine nuts, toasted
- Optional: a pinch of cinnamon for that autumn spice
Make sure to measure everything accurately. Baking is a science, and precise measurements can significantly affect the outcome.
Preheat your oven and prepare your baking sheets
Next up, let’s get that oven preheated to 350°F (175°C). This step is crucial because starting with a properly heated oven helps achieve that perfect cookie texture. Meanwhile, line your baking sheets with parchment paper to prevent sticking and ensure even baking.
If you’re short on time, you might be tempted to skip this step, but don’t! Preheating is like setting the stage for a thrilling performance.
Mix the dry ingredients together
In a separate bowl, combine the flour, baking soda, and salt. If you’re feeling adventurous, this is the time to add a dash of cinnamon for a cozy flavor. Whisk the dry ingredients together until they are well blended. This process helps distribute the baking soda evenly, ensuring your cookies rise beautifully.
This step can be fun—just imagine the cookie forest you’re about to create!
Cream the butter and sugar
Now that you have your dry ingredients prepped, let’s turn our attention to the wet stuff. In a large mixing bowl, cream together the softened butter, granulated sugar, and brown sugar until the mixture is light and fluffy. It should take about 3-5 minutes.
By doing this, you introduce air into the butter, which is critical for fluffy cookies. It’s like a workout for your mixer—but trust me, the end result is worth it.
Combine wet and dry ingredients to form the cookie dough
Once your butter and sugars are fluffy, add the eggs and vanilla extract, mixing until fully incorporated. Slowly incorporate the dry ingredients into the wet mixture, stirring just until combined. Overmixing can lead to tough cookies, so be gentle at this stage.
Stir in the toasted pine nuts until they are evenly distributed throughout your dough. A few nuts hanging out on the edges? No worries, those will add delightful texture to your cookies.
Shape and place the cookies on the baking sheet
Using a tablespoon or a cookie scoop, portion out rounded balls of dough onto your prepared baking sheets, leaving about 2 inches between each cookie. Remember, these cookies will spread a bit while baking, so give them some room!
With Halloween right around the corner, feel free to get creative! Why not add some chocolate chips or spooky sprinkles to make them extra fun?
Bake to perfection!
Pop those cookie-laden trays into your preheated oven and bake for 10-12 minutes, or until the edges are lightly golden brown. Once they’re baked to perfection, let them cool on the sheets for a few minutes before transferring them to a wire rack.
There you have it! Your Haunted Forest Pine Nut Cookies are now ready to cast a delicious spell. Serve them warm with a glass of milk or a warm apple cider for a magical experience. Enjoy baking, and happy Halloween!
Variations on Haunted Forest Pine Nut Cookies
When it comes to baking Haunted Forest Pine Nut Cookies, the sky’s the limit! You can easily sprinkle in your own flair to the traditional recipe. Here are some fun variations you can try.
Chocolate Chip Haunted Cookies
If you’re a fan of that timeless combination of chocolate and pine nuts, you’ll love adding dark chocolate chips to your Haunted Forest Pine Nut Cookies. Simply substitute a portion of the pine nuts with an equal measure of chocolate chips. The result? A deliciously gooey and crunchy delight perfect for your fall gatherings. Plus, we all know chocolate can be a great mood booster, and with coffee, it makes the ultimate afternoon snack!
Gluten-Free Haunted Cookies
No need to miss out if you or your friends are gluten-sensitive! You can create gluten-free Haunted Forest Pine Nut Cookies using a blend of gluten-free flours like almond and coconut flour. These alternatives often bring a delightful nutty flavor that complements the pine nuts beautifully. Ensure to use gluten-free certified ingredients to keep those pesky crumbs at bay!
Spiced Haunted Cookies for Autumn Vibes
What says autumn more than warm spices? For an extra cozy touch, add cinnamon, nutmeg, or even a hint of clove to your Haunted Forest Pine Nut Cookies. A teaspoon or two of pumpkin spice can transport you straight into the heart of fall—perfect for those crisp evenings. Don’t forget to serve these with a cup of chai tea or herbal tea for a warm, inviting experience.
With these variations, your Haunted Forest Pine Nut Cookies will be the star of any spooky soiree. Are you ready to experiment? Check out this guide for further tips on substitutions!
Cooking Tips and Notes for Haunted Forest Pine Nut Cookies
Key tips for achieving the best texture
To create the perfect Haunted Forest Pine Nut Cookies, texture is key. Here are some tips to get that delightful balance between chewy and crunchy:
- Chill the dough: Allow your dough to chill in the fridge for at least 30 minutes. This helps to prevent spreading and results in thicker cookies.
- Mix the right way: When creaming butter and sugar, aim for a light, fluffy mixture. This adds air and gives your cookies a wonderful lift.
- Don’t overbake: Keep a close eye towards the end of baking; cookies should be slightly golden around the edges but soft in the center.
Common mistakes to avoid
Even seasoned bakers can stumble on a few things. Avoid these common pitfalls:
- Using old ingredients: Always check for fresh pine nuts and flour; stale ingredients can ruin your batch.
- Ignoring oven calibration: Make a point to know your oven temperature. An inaccurate oven can lead to cookies that are either burnt or undercooked. Consider reading more about oven calibration here.
- Skipping the cooling stage: Patience is a virtue! Allow the cookies to cool on the baking sheet before transferring them. This extra step ensures they firm up just right.
With these tips, your Haunted Forest Pine Nut Cookies will turn out delightfully scrumptious! Happy baking!
Serving Suggestions for Haunted Forest Pine Nut Cookies
Creative ways to enjoy the cookies
When it comes to Haunted Forest Pine Nut Cookies, the fun doesn’t stop with just baking and serving! Here are some creative ways to enjoy these delicious treats:
- Cookie Sandwiches: Spread a layer of your favorite hazelnut spread or even cream cheese frosting between two cookies for a delightful surprise.
- Ice Cream Toppers: Crumble the cookies over vanilla or chocolate ice cream for a crunchy gourmet touch. This can make for an unforgettable dessert!
- Decoration for Fall Parties: Serve them on a themed platter at your next gathering. They can be a whimsical addition to your autumn spread.
Pairing suggestions for a delightful treat
Elevate your Haunted Forest Pine Nut Cookies experience by pairing them with delightful beverages and snacks:
- Coffee or Tea: A warm cup of caramel latte or chai tea beautifully complements the rich flavors of the cookies, creating a cozy experience.
- Fresh Fruit: Consider adding slices of crisp apples or pears on the side for a refreshing contrast. Their natural sweetness pairs excellently with the nutty notes of the cookies.
- Nut Butter Dip: Serve a small bowl of almond or cashew butter for dipping. This adds a unique twist and enhances the cookie’s flavor profile.
With these serving suggestions, your Haunted Forest Pine Nut Cookies will become a highlight for any occasion!
Time Breakdown for Haunted Forest Pine Nut Cookies
When you’re ready to whip up a batch of Haunted Forest Pine Nut Cookies, a little planning goes a long way in ensuring the process is as smooth as possible.
Preparation Time
To get things rolling, you’ll spend about 15 minutes prepping your ingredients. This includes measuring out those delicious pine nuts, creaming together your butter and sugars, and mixing in the essentials. Take your time to get everything ready—you’ll appreciate it later!
Baking Time
Once your dough is ready and shaped, pop those cookies in the oven. They’ll need about 12–15 minutes to bake to that perfect golden-brown color. Be sure to keep an eye on them; the last thing you want is to overbake and lose that chewy texture.
Total Time for Cookies
All in all, from start to finish, you’re looking at roughly 30–35 minutes to enjoy the Haunted Forest Pine Nut Cookies of your dreams. So, gather your friends, set the stage for a cozy night, and enjoy these delightful treats that bring a touch of autumn spirit to any gathering.
For tips on ingredient substitutions and enhancing flavors, check out this useful guide on baking essentials, which can elevate your baking game. Happy baking!
Nutritional Facts for Haunted Forest Pine Nut Cookies
When crafting your Haunted Forest Pine Nut Cookies, it’s essential to balance indulgence with nutrition. Here’s a quick rundown of what you can expect per cookie:
Calories per Cookie
Each Haunted Forest Pine Nut Cookie contains approximately 150 calories. While not a low-calorie snack, they make a delightful treat you can enjoy without the guilt.
Protein Content
These cookies offer about 3 grams of protein, thanks to the pine nuts and any optional additions you choose. It’s a modest boost, making them a better choice than many other sweets.
Suggested Serving Sizes
Enjoying 1 to 2 cookies is a perfect serving size for a delightful snack. Pair them with a warm cup of herbal tea for a cozy experience that makes the most of your leisure time.
For more insights on nutrition and healthy recipes, check out resources like the USDA Food Composition Database for detailed info. Happy baking!
FAQ about Haunted Forest Pine Nut Cookies
How can I enhance the flavor of my cookies?
If you want to take your Haunted Forest Pine Nut Cookies to the next level, consider these flavor boosters:
- Vanilla Extract: A splash of pure vanilla extract adds depth and warmth to your cookies.
- Cinnamon and Nutmeg: These spices can give a cozy, autumnal flavor that perfectly complements the pine nuts.
- Zest: Adding some lemon or orange zest can introduce a bright note that balances the nuttiness.
Experimenting with these ingredients can yield delightful surprises. Have you ever tried combining chocolate chips with pine nuts? It’s a unique twist that could become your new favorite!
What’s the best way to store leftovers?
Keeping your Haunted Forest Pine Nut Cookies fresh is essential for maximizing enjoyment. Here are some smart storage tips:
- Room Temperature: Place cooled cookies in an airtight container. They can last about a week on your kitchen counter.
- Refrigerate: If you want them to stay fresh longer, they can be refrigerated for up to two weeks.
- No moisture: Make sure they’re completely cool before storing, as any remaining heat can create moisture and make them soggy.
Can I freeze the cookie dough?
Absolutely! Freezing Haunted Forest Pine Nut Cookies dough is a fantastic way to have freshly baked cookies at a moment’s notice. Here’s how to do it:
- Prep the Dough: Scoop the dough into balls and place them on a baking sheet lined with parchment paper.
- Freeze: Let them freeze for a couple of hours until solid. Once firm, transfer them to a freezer-safe bag or container.
- Baking: When you’re ready to bake, there’s no need to thaw! Just add a couple of extra minutes to your baking time.
For more tips on cookie storage and freezing methods, check out The Kitchn’s Guide. Happy baking!
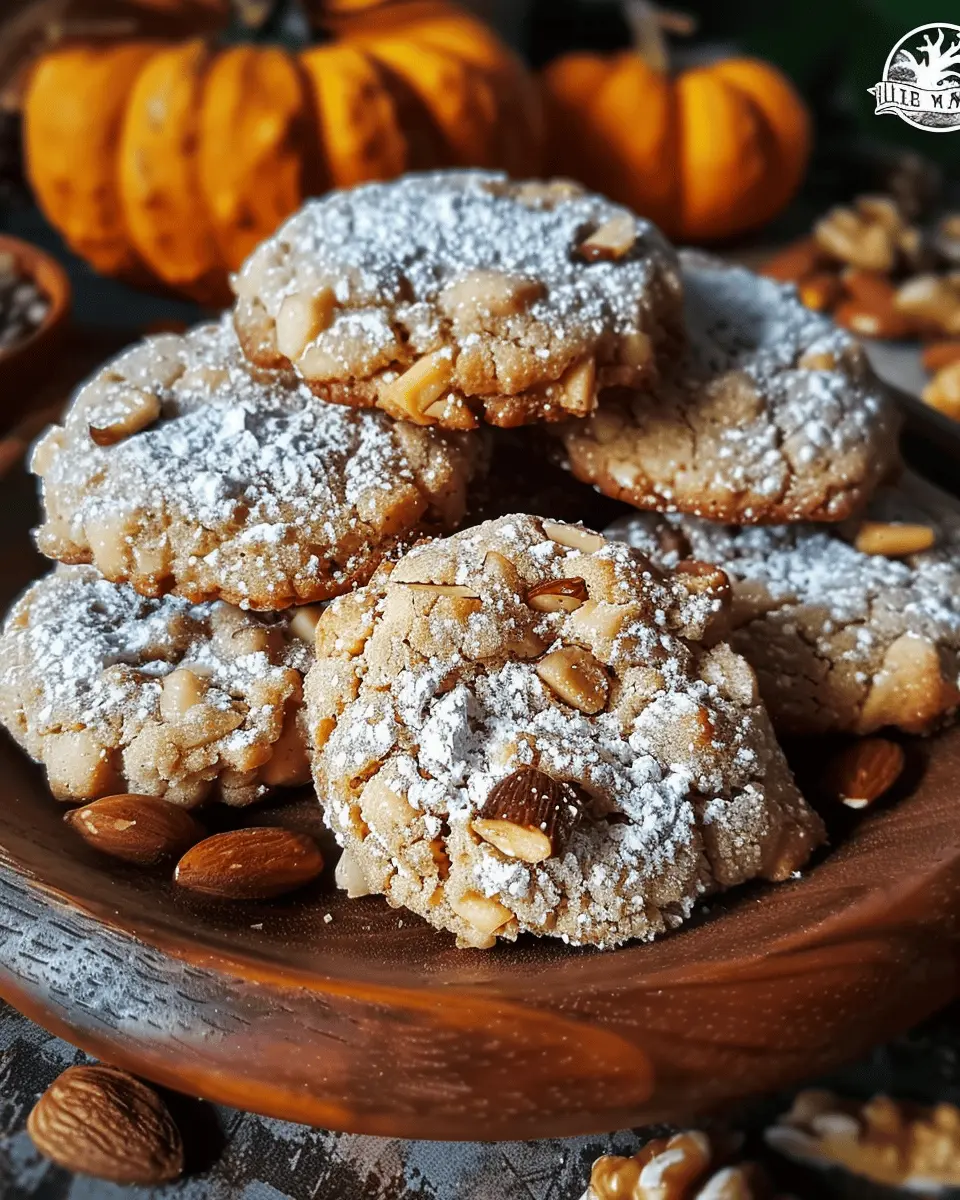
Conclusion on Haunted Forest Pine Nut Cookies
These Haunted Forest Pine Nut Cookies embody the spirit of homemade food adventures, making them an irresistible treat for any occasion. Perfect for gatherings or as an indulgent snack, their unique flavor combines the earthy richness of pine nuts with a touch of nostalgia that invokes cozy memories of the woods.
Why struggle with complex recipes when you can whip up something so delightful? As you create these cookies, consider experimenting by adding your favorite spices or even drizzling a bit of dark chocolate on top. Ready to bake? Your taste buds are about to embark on a delicious journey! For more cookie inspiration, check out this collection of unique cookie recipes.
PrintHaunted Forest Pine Nut Cookies: Indulge in Cozy Autumn Flavors

Experience the delightful taste of Haunted Forest Pine Nut Cookies, a perfect treat for the autumn season.
- Prep Time: 15 minutes
- Cook Time: 12 minutes
- Total Time: 27 minutes
- Yield: 24 cookies 1x
- Category: Dessert
- Method: Baking
- Cuisine: American
- Diet: Vegetarian
Ingredients
- 1 cup pine nuts
- 1/2 cup butter, softened
- 1 cup granulated sugar
- 2 large eggs
- 1 teaspoon vanilla extract
- 2 cups all-purpose flour
- 1/2 teaspoon baking powder
- 1/4 teaspoon salt
- 1/2 teaspoon cinnamon
- 1/4 teaspoon nutmeg
Instructions
- Preheat the oven to 350°F (175°C).
- In a mixing bowl, cream together the butter and sugar until fluffy.
- Add in the eggs one at a time, mixing well after each addition.
- Stir in the vanilla extract.
- In another bowl, combine the flour, baking powder, salt, cinnamon, and nutmeg.
- Gradually add the dry ingredients to the wet mixture, stirring until just combined.
- Fold in the pine nuts.
- Drop tablespoon-sized balls of dough onto a baking sheet lined with parchment paper.
- Bake for 10-12 minutes or until the edges are lightly golden.
- Allow to cool before serving.
Notes
- For a richer flavor, use toasted pine nuts.
- These cookies can be served warm or at room temperature.
Nutrition
- Serving Size: 1 cookie
- Calories: 150
- Sugar: 10g
- Sodium: 50mg
- Fat: 8g
- Saturated Fat: 4g
- Unsaturated Fat: 3g
- Trans Fat: 0g
- Carbohydrates: 18g
- Fiber: 1g
- Protein: 2g
- Cholesterol: 20mg
Keywords: Haunted Forest Pine Nut Cookies, autumn cookies, fall recipes