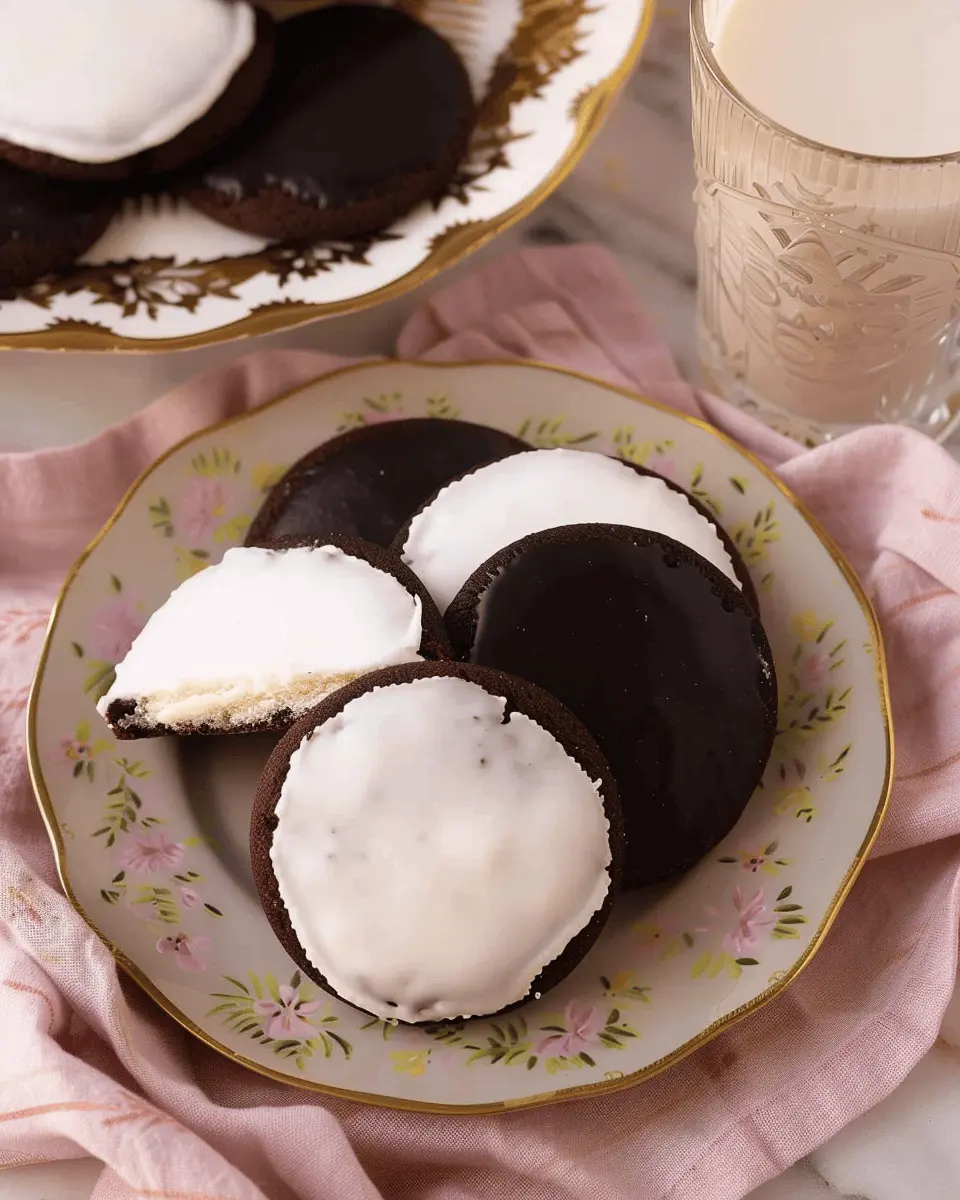
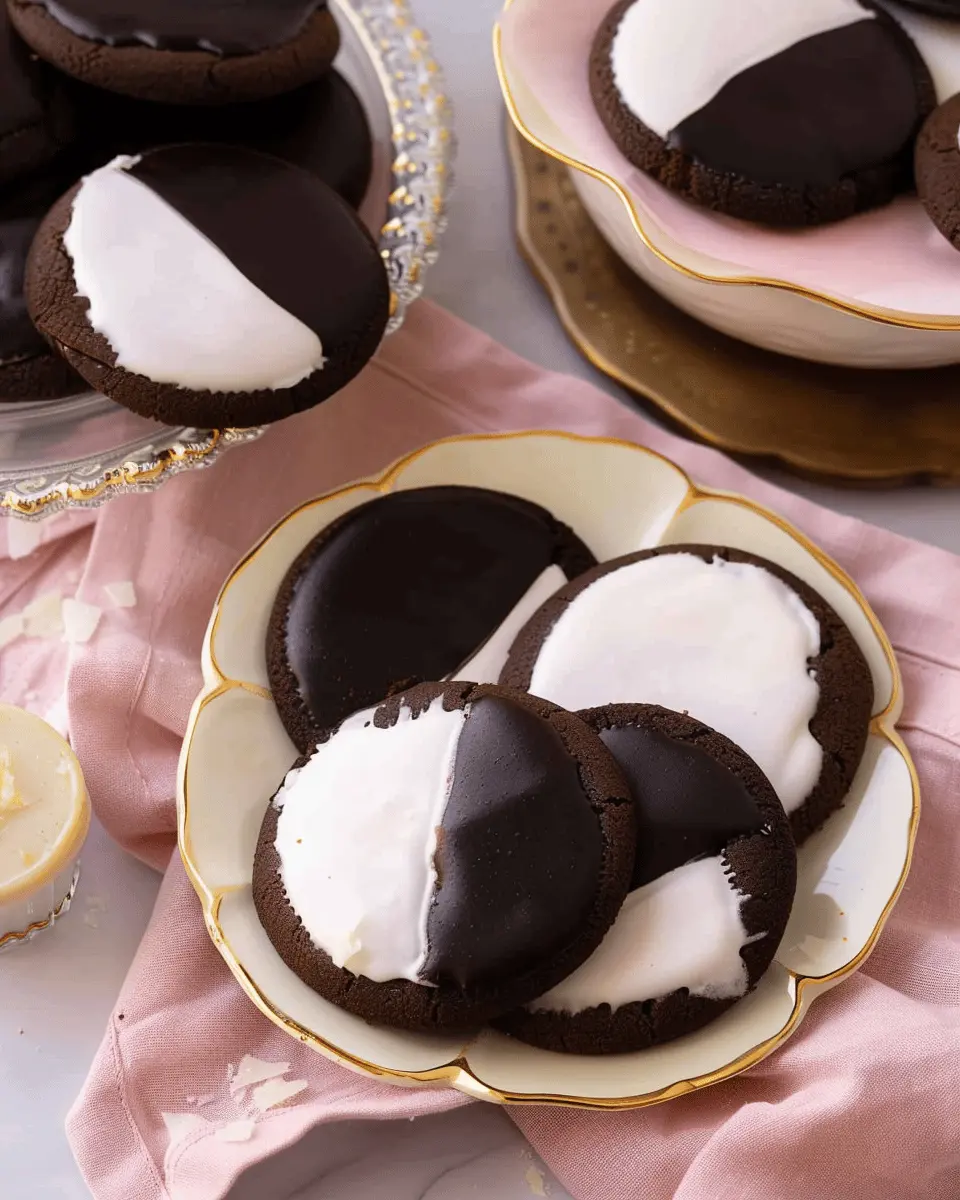
A Sweet Nostalgia: What Are Black and White Cookies?
If you’ve ever wandered the bustling streets of New York City, chances are you’ve stumbled upon a bakery showcasing those iconic black and white cookies. These delightful treats, soft and cake-like, are a fascinating blend of flavors and textures. One side is coated with smooth, rich chocolate fondant, while the other glistens with sweet vanilla icing. It’s the perfect balance of flavors that leaves you craving just one more bite — or maybe two!
But where do these cookies come from exactly? Their origin is as rich as their taste. Believed to have been created by German immigrants in the early 20th century, black and white cookies quickly captured the hearts of New Yorkers. They became emblematic of the city, often enjoyed with a cup of coffee for breakfast or as an afternoon snack. Their enduring popularity isn’t just a matter of taste; it also reflects a sweet sense of nostalgia tied to city life and cultural tradition. As someone who often finds joy in baking, I can attest to the warm memories these cookies evoke — perhaps from sharing them with friends or enjoying them during festive occasions.
This leads us to the quest for the perfect New York black and white cookies recipe. Achieving that ideal balance of vanilla and chocolate can be more challenging than it seems. Many recipes promise greatness, but the real trick lies in mastering the cookie’s texture — soft yet sturdy enough to hold up to that luscious glaze.
When it comes to baking these cookies, quality ingredients are essential. Using high-grade chocolate and real vanilla makes all the difference. You might even consider checking out resources like King Arthur Baking Company for expert tips and insights.
So, whether you’re an experienced baker or a reluctant novice, get ready to embark on a delightful journey of flavors with our perfect recipe. Trust me; the results will be worth every minute spent in the kitchen!
Ingredients for Perfect New York Black and White Cookies
Basic Ingredients
To craft perfect New York black and white cookies, you’ll need some staple ingredients that create that classic soft, thick texture. Here’s what you’ll need:
- Unsalted Butter: 1 cup, softened for just the right amount of richness.
- Granulated Sugar: 1 ½ cups for sweetness balanced with vanilla flavor.
- Eggs: 2 large eggs to bind the mixture perfectly.
- All-Purpose Flour: 3 cups, providing stability and structure.
- Baking Powder: 1 teaspoon to give those cookies a light rise.
- Milk: ½ cup, adding moisture and a subtle creaminess.
- Vanilla Extract: 1 tablespoon for a warm, inviting taste.
This combination lays the foundation for a delicious cookie that’s a New York classic.
Optional Add-ins
If you want to elevate your perfect New York black and white cookies recipe, consider incorporating these optional extras:
- Cocoa Powder: ¼ cup for a deeper, richer flavor.
- Chocolate Chips: For added texture—a popular twist!
- Zest of Orange or Lemon: A hint of citrus will brighten up the flavors.
Curious about how each ingredient contributes to the overall taste and texture? Dive deeper into the science of baking cookies with resources from Serious Eats for expert insights. Happy baking!
Step-by-Step Preparation of Black and White Cookies
Making black and white cookies at home is a delightful project that’ll fill your kitchen with an irresistible aroma. These cake-like cookies topped with luscious chocolate and vanilla frosting will impress anyone fortunate enough to taste them. Let’s walk through the process together for the perfect New York black and white cookies recipe.
Gather Your Ingredients
Start by assembling all the ingredients you’ll need for this baking adventure. Here’s what you’ll require:
-
For the Cookies:
-
2 cups all-purpose flour
-
1 teaspoon baking powder
-
1/2 teaspoon baking soda
-
1/2 teaspoon salt
-
1 cup unsalted butter, softened
-
1 cup granulated sugar
-
2 large eggs
-
1 teaspoon vanilla extract
-
1/4 cup milk
-
For the Frosting:
-
2 cups powdered sugar
-
2 tablespoons unsweetened cocoa powder
-
2 tablespoons milk
-
1 teaspoon vanilla extract
Double-check your pantry for these ingredients, as having everything prepared makes the process smoother!
Cream the Butter and Sugar
Now, let’s get mixing! In a large mixing bowl, cream together that soft, unsalted butter and granulated sugar. Using an electric mixer on medium speed, beat them together until the mixture is light and fluffy, which should take about 3-4 minutes. This step is crucial as it incorporates air into the dough, leading to that perfect, fluffy cookie texture. If you’ve never creamed butter and sugar before, it might feel like a bit of a workout, but it’ll be worth it!
Mix in the Eggs and Vanilla
Once your butter and sugar are beautifully combined, it’s time to add in the eggs and that lovely splash of vanilla extract. Beat in the eggs one at a time, making sure each is fully incorporated before adding the next. Your mixture should start looking even creamier and richer at this point. The vanilla extract adds a wonderful flavor that pairs perfectly with the cookies’ sweetness.
Combine Dry Ingredients
While the wet ingredients are coming together, take a moment to whisk together your dry ingredients separately. In another bowl, combine all-purpose flour, baking powder, baking soda, and salt. Gradually add this mixture to your wet ingredients, alternating with the 1/4 cup of milk. Mix just until combined — no need to overmix here, as that can lead to a tougher cookie. Your dough might be a bit thick, but that’s an indication you’re on the right track.
Form the Dough
With your dough ready, scoop out rounded tablespoons and form them into balls. Place each ball about 2 inches apart on a parchment-lined baking sheet. This allows the cookies room to expand while baking. If you want cookies that are uniform in shape, you can slightly flatten the balls before they go into the oven.
Bake the Cookies
Preheat your oven to 350°F (about 175°C) and bake the cookies for about 10-12 minutes. They should look set but still soft to the touch. Let them cool on the baking sheet for a few minutes before transferring them to a wire rack to cool completely. They should turn a lovely golden brown as they bake!
Make the Frosting
While the cookies cool, let’s whip up that decadent frosting. In a medium bowl, combine the powdered sugar with cocoa powder, milk, and vanilla extract to create a smooth chocolate frosting. You can adjust the thickness by adding a little more milk or powdered sugar as needed — just aim for a spreadable consistency.
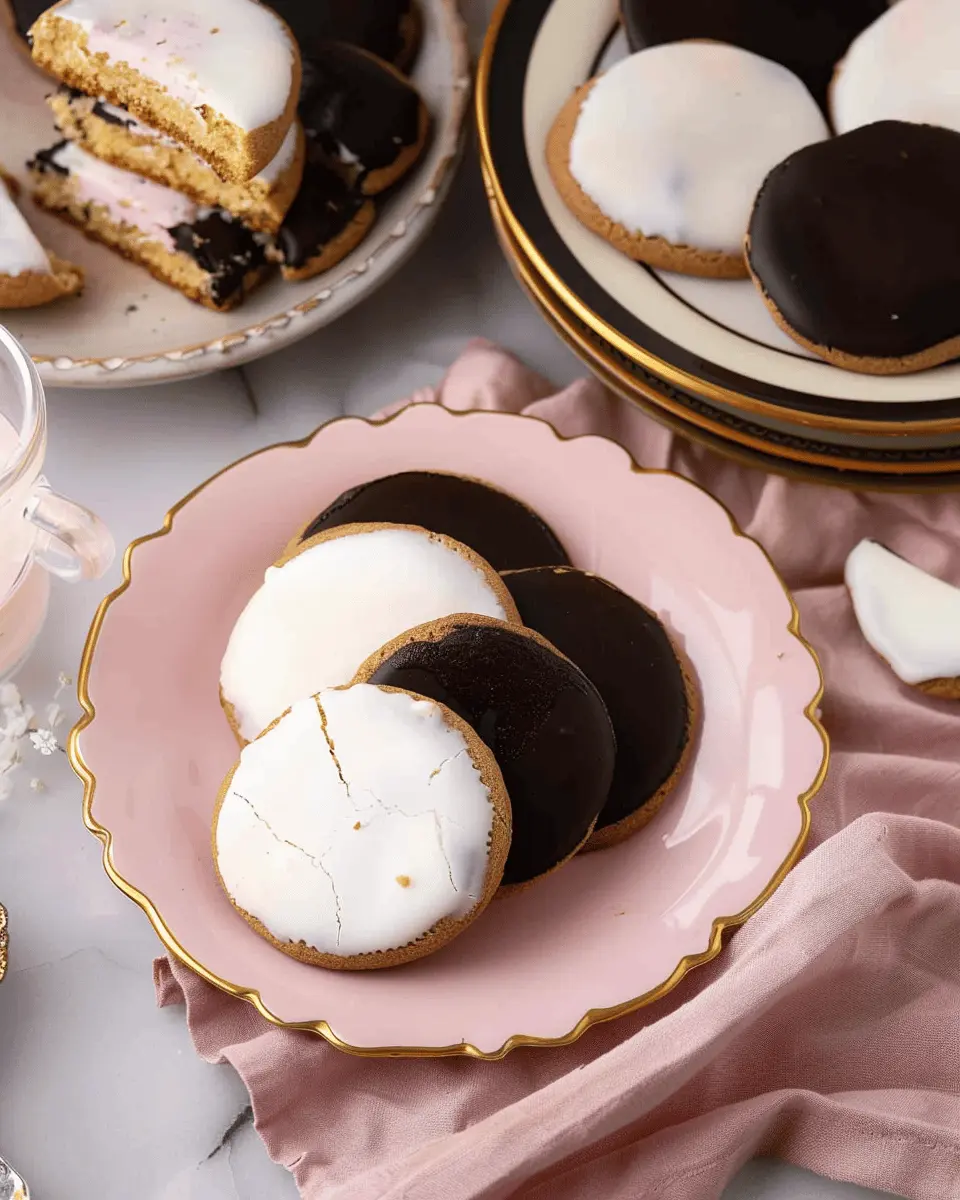
Decorate with Chocolate and Vanilla Glaze
Now for the fun part! Take a cooled cookie, spread a layer of chocolate frosting on one half, and a layer of vanilla frosting on the other. Don’t forget that traditional look of the black and white cookie! For the vanilla frosting, just use the same ingredients but omit the cocoa powder.
And there you have it: your perfect New York black and white cookies are ready to be enjoyed! Don’t be scared to experiment with your frostings, as adding a bit of lemon zest to the vanilla can provide a refreshing twist. Enjoy baking (and eating) these delightful treats!
Variations on Black and White Cookies
Black and white cookies hold a special place in the hearts of many, but why stop at the classic when there are so many delicious variations to explore? Here’s how you can put your own spin on the perfect New York black and white cookies recipe.
Lemon-Infused Black and White Cookies
If you’re looking to brighten up this classic treat, consider adding a hint of lemon. The tangy citrus flavor complements the sweetness of the icing beautifully.
- How to do it: Mix fresh lemon zest into your cookie dough for a refreshing twist.
- Icing variation: Replace some of the water in your icing with lemon juice for an extra zing that pairs well with the vanilla flavor.
This lemon-infused version is perfect for a summer gathering or when you simply want to bring a bit of sunshine to your day. Adding a citrus note not only makes the cookie lighter but also a bit more sophisticated, appealing to a broader range of taste preferences.
Gluten-Free Black and White Cookies
For those with dietary restrictions, gluten-free black and white cookies can be a game-changer.
- Flour swap: Use a quality gluten-free flour blend, ensuring it includes xanthan gum to help with texture.
- Keep it moist: Incorporate almond milk or coconut oil to maintain that desirable chewiness.
Many gluten-free cookie recipes can be bland, but with the right ingredients, these cookies will shine just as brightly as their traditional counterparts. Plus, they’re often just as simple to whip up!
Whether you’re accommodating friends with gluten sensitivities or simply looking to experiment in the kitchen, these variations on the traditional recipe will keep your baking fresh and exciting. For more gluten-free baking tips, check out resources from the Gluten Intolerance Group.
By trying these unique takes, you’re bound to surprise and delight anyone who takes a bite!
Cooking Tips and Notes for Black and White Cookies
Ensuring the Right Texture
When making perfect New York black and white cookies, achieving that soft, cake-like texture is crucial. Start by measuring your flour correctly—too much can lead to dry cookies. A scale is your best friend here; consider investing in one for consistent results. Also, make sure your butter is at room temperature, as it helps incorporate air into your batter, making them fluffier. If you want to learn more about perfecting cookie textures, check out the insights from America’s Test Kitchen.
Frosting Tips
The frosting is what elevates these cookies! For a smooth finish, ensure your cookies are completely cool before applying the glaze. Mix your icing ingredients until they reach a thick, spreadable consistency—add a splash of corn syrup for that glossy sheen. If you’d like a creative twist, try flavoring your frosting with a dash of vanilla or almond extract. This adds depth to your cookies, making them even more delectable.
By following these tips, you’ll be on your way to baking irresistibly delicious black and white cookies that are sure to impress!
Serving Suggestions for Black and White Cookies
Ideal Pairings with Beverages
When enjoying your perfect New York black and white cookies, beverage pairing can elevate the experience. Consider these delightful options:
- Coffee: A strong, rich brew complements the sweetness of the cookies beautifully. Go for a medium-roast to enhance the chocolate glaze.
- Iced Tea: A refreshing glass of unsweetened iced tea contrasts nicely, especially on warm days. Try a lemon-scented variety for added zing.
- Milk: You can’t go wrong with the classic combo of milk and cookies. Almond milk or oat milk offers a delightful nutty twist.
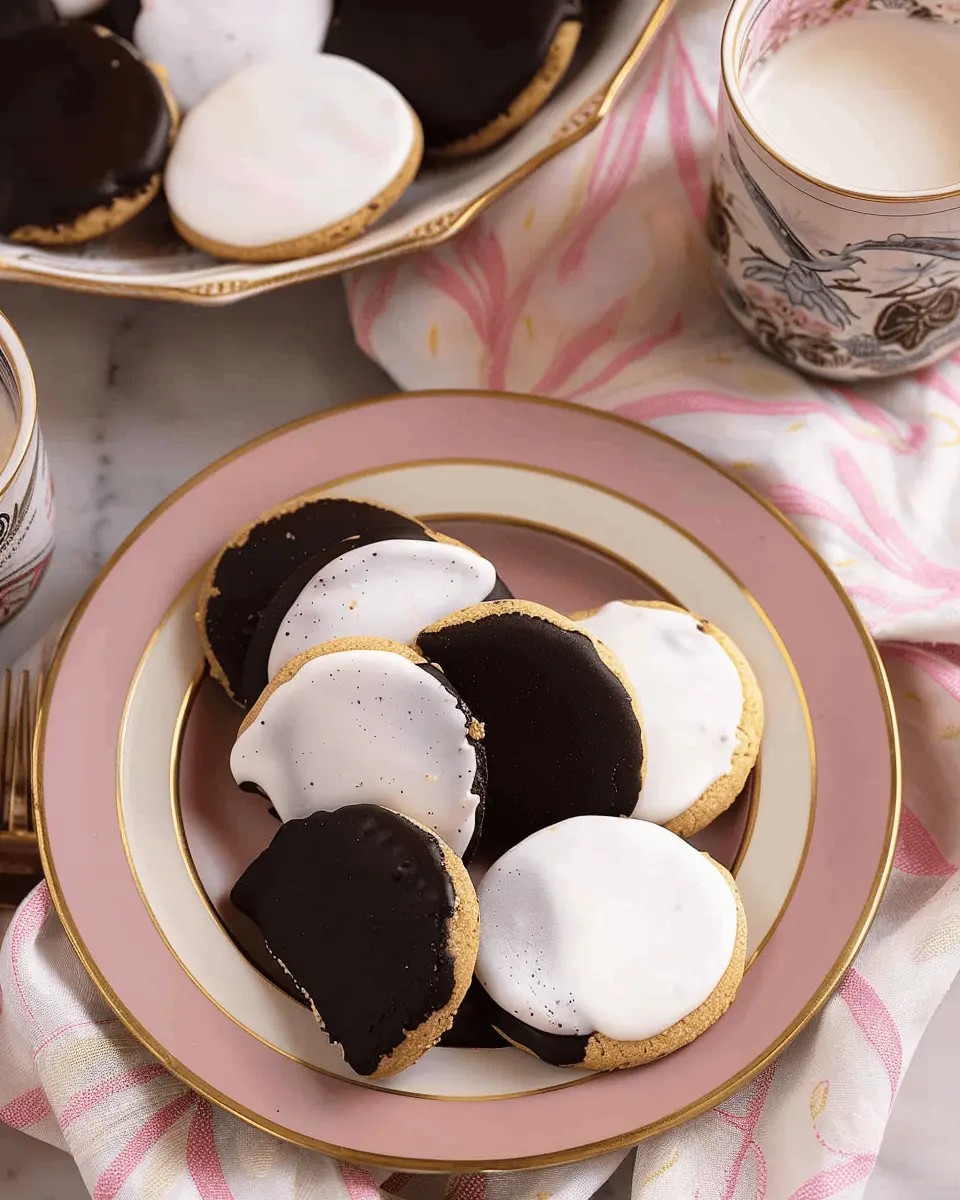
Presentation Ideas
Presentation matters! Here are some creative ways to showcase your cookies:
- Platter Display: Arrange the cookies on a large, colorful platter for a more inviting appeal. Mixing in some seasonal fruits like strawberries or mandarin slices adds vibrant color.
- Individual Wrapping: For gifts, wrap each cookie in clear cellophane and tie it with a ribbon. It’s a sweet touch that always resonates well.
- Layered Glass Jars: Stack cookies in glass jars for a rustic look—use it as a centerpiece for gatherings or a cozy home decor element.
Looking for more tips? Check out great sources like Food52 and Bon Appétit for additional inspiring serving ideas.
Time Breakdown for Black and White Cookies
Preparation Time
Making the perfect New York black and white cookies starts with preparation, which usually takes around 15-20 minutes. You’ll want to gather your ingredients—think flour, sugar, butter, and that famous fondant icing. It’s a straightforward process, but don’t rush. Take a moment to enjoy it; baking should be fun!
Baking Time
Once your dough is ready, the baking begins! Pop those beauties in the oven for about 12-15 minutes. You’ll want to keep an eye on them; the perfect cookie should be soft yet firm, with a slightly golden edge.
Total Time
In total, you’re looking at around 45 minutes to an hour, including cooling time. That’s just enough to whip up a sweet batch for a cozy Saturday at home or a gathering with friends. For tips on timing and technique, check out resources like Serious Eats. Happy baking!
Nutritional Facts for Black and White Cookies
When indulging in the perfect New York black and white cookies recipe, it’s essential to consider their nutritional profile. These delightful treats can be surprisingly satisfying, but understanding what you’re consuming is key. Let’s break down the nutritional facts for these beloved cookies:
Calories
A typical black and white cookie contains around 150-200 calories. While that might seem reasonable, it’s easy to lose track if you indulge in more than one!
Sugar Content
You can expect about 10-15 grams of sugar per cookie. This sweetness contributes to their irresistible taste, but keep in mind this can add up quickly—especially if you’re pairing them with coffee or tea.
Fat Content
Each cookie typically has around 6-10 grams of fat, depending on the recipe. The fats often come from butter, giving the cookies their rich, tender texture that pairs perfectly with the glaze.
Balancing treats like these with nutritious foods can enhance your enjoyment without derailing your health goals. For more insights into sugar content, consider exploring sources like the American Heart Association. Remember, moderation is key!
FAQs about Black and White Cookies
Can I freeze black and white cookies?
Absolutely! Freezing is a fantastic option for preserving the deliciousness of your black and white cookies. Just allow them to cool completely, then wrap each cookie individually in plastic wrap. For extra protection against freezer burn, pop them into a zip-top bag before placing them in the freezer. When you’re ready to enjoy them, let them thaw at room temperature. This method can keep your cookies fresh for up to three months!
How can I make the frosting shiny?
A shiny frosting can transform your cookies from delightful to dazzling! To achieve this, consider adding a touch of light corn syrup to your icing. Start with a ratio of about one tablespoon of corn syrup for every cup of powdered sugar in your frosting. Another trick is to use warm water when mixing your icing; it helps create a smoother texture. For more tips on perfecting your perfect New York black and white cookies recipe, check out this baking guide.
Is there an easy way to store leftover cookies?
Definitely! To keep your black and white cookies fresh, store them in an airtight container at room temperature. If you live in a particularly humid area, consider placing a piece of wax paper between layers of cookies to prevent them from sticking together. You can also add a slice of bread to the container — it absorbs moisture, keeping your cookies soft! If you’d like to learn more storage tips, this resource on cookie preservation offers great insights.
Feel free to incorporate these tips as you whip up your own batch. After all, enjoying a perfectly preserved black and white cookie is the cherry on top of your baking adventure!
Conclusion on Perfect New York Black and White Cookies
Embracing Tradition with a Homemade Twist
Now that you’ve ventured into the world of baking, creating your own perfect New York black and white cookies, you’re not just following a recipe—you’re embracing a delicious tradition. These cookies are a delightful mix of childhood nostalgia and culinary creativity, making them a favorite for many.
Sharing a batch with friends or enjoying them with a cup of coffee can transform a simple moment into a cherished experience. Consider exploring variations, like adding citrus zest for a refreshing twist, or experimenting with frosting techniques for a custom look.
So, why not dive back into the kitchen and bake up some memories? For further inspiration on baking techniques, check out resources like Serious Eats and America’s Test Kitchen. Your journey into the sweet art of baking has just begun!
PrintPerfect New York Black and White Cookies Recipe Made Easy
Learn how to make the perfect New York black and white cookies with this easy recipe.
- Prep Time: 20 minutes
- Cook Time: 15 minutes
- Total Time: 35 minutes
- Yield: 24 cookies 1x
- Category: Dessert
- Method: Baking
- Cuisine: American
- Diet: Vegetarian
Ingredients
- 2 cups all-purpose flour
- 1/2 teaspoon baking powder
- 1/4 teaspoon salt
- 1/2 cup unsalted butter, softened
- 1 cup granulated sugar
- 2 large eggs
- 1 teaspoon vanilla extract
- 1/2 teaspoon lemon juice
- 1/2 cup confectioners’ sugar
- 2 tablespoons milk
- 1/2 cup dark chocolate, melted
Instructions
- Preheat your oven to 350°F (175°C).
- In a bowl, whisk together flour, baking powder, and salt.
- In another bowl, cream together the butter and granulated sugar until light and fluffy.
- Add the eggs, one at a time, mixing well after each addition.
- Stir in the vanilla extract and lemon juice.
- Gradually add the dry ingredients to the wet ingredients.
- Drop spoonfuls of dough onto a prepared baking sheet.
- Bake for 12-15 minutes or until lightly golden.
- Let cool completely before glazing.
- Mix confectioners’ sugar and milk to create the white glaze.
- Dip half of each cookie into the melted chocolate and the other half into the white glaze.
Notes
- Cookies are best enjoyed fresh, but can be stored for up to a week.
- For a fun twist, add sprinkles on top of the chocolate glaze.
Nutrition
- Serving Size: 1 cookie
- Calories: 150
- Sugar: 10g
- Sodium: 75mg
- Fat: 6g
- Saturated Fat: 4g
- Unsaturated Fat: 1g
- Trans Fat: 0g
- Carbohydrates: 22g
- Fiber: 0g
- Protein: 2g
- Cholesterol: 20mg
Keywords: black and white cookies, New York cookies, dessert recipe