
Introduction to Santa’s Cookies
As December rolls in, one delightful holiday tradition takes center stage in homes across the world: leaving out Santa’s Cookies. But why do we indulge in this charming custom year after year? Well, the origins go beyond just a sweet tooth.
Why Are Santa’s Cookies a Holiday Tradition?
The tradition of leaving cookies for Santa dates back to the 1930s during the Great Depression, when families wanted to instill a sense of hope and joy in their children. It was common for kids to leave out a snack as a gesture of gratitude and good faith during a time when Christmas spirit needed a boost. This simple act has evolved, becoming synonymous with holiday cheer and the excitement of Christmas Eve.
When children put out Santa’s Cookies, they’re not merely providing a treat for the jolly old elf; they’re engaging in a delightful act of imagination that adds to the magic of the season. It not only fills a holiday tradition but also warms hearts and strengthens family bonds through the joy of preparation.
Leaving some cookies also comes with an extra layer of fun. Have you ever noticed how children often make it a point to craft their snacks with love? From chocolate chips to sprinkles, creating Santa’s Cookies becomes a spirited, creative activity that the entire family can participate in. There’s just something special about gathering in the kitchen, laughter ringing through the air as flour flies and delicious aromas waft through the house.
If you’re looking to dive deeper into the cultural significance of this beloved custom, National Geographic offers some historical insights that could inspire new traditions in your own household.
Moreover, as you prepare to make Santa’s Cookies, consider using recipes that reflect your family’s taste and heritage. Whether it’s classic sugar cookies or a twist that incorporates local flavors, the personalization makes it even more special.
The joy found in sharing these treats embodies the spirit of giving and community—elements that are vital during the holiday season. So as you plan your festive activities, remember that Santa’s Cookies are not just a snack; they’re a cherished holiday tradition that brings warmth and joy to all who partake.
Ingredients for Santa’s Cookies
When the holiday season rolls around, making Santa’s Cookies is a delightful way to spread cheer and share sweet treats with family and friends. Here’s a simple list of ingredients you’ll need to whip up these festive goodies!
Essential Components
- Butter: 1 cup, softened to bring that rich flavor and perfect texture.
- Granulated Sugar: 1 cup; this will sweeten up the dough beautifully.
- Brown Sugar: 1 cup; adds that cozy depth to each bite.
- Eggs: 2 large; they bind everything together for a soft cookie.
- Vanilla Extract: 2 teaspoons; for that warm aroma and taste of home.
- Flour: 3 cups; the main ingredient that gives structure to your cookies.
- Baking Soda: 1 teaspoon; helps them rise perfectly.
- Salt: 1/2 teaspoon; balances sweetness.
- Chocolate Chips: 2 cups; they’re a must for traditional Santa’s Cookies!
- Optional Add-ins: Nuts or festive sprinkles to jazz it up.
With these delightful ingredients on hand, you’re well on your way to making cookies that even Old Saint Nick couldn’t resist! For more baking tips and tricks, consider checking out the American Baking Guild for expert advice. Happy baking!
Step-by-Step Preparation for Santa’s Cookies
Making Santa’s Cookies is not just about whipping up a batch of treats; it’s about creating a memorable experience filled with holiday cheer. Let’s dive into this festive journey of preparation together!
Preheat the oven and prepare your baking sheet
Start your holiday cookie adventure by preheating your oven to 350°F (175°C). This is a very important step! A properly preheated oven ensures that your cookies bake evenly, so don’t skip this part. While the oven heats up, grab your trusty baking sheet. Line it with parchment paper or a silicone baking mat to prevent the cookies from sticking. This tiny detail makes a world of difference!
Cream the butter and sugars
Next up, let’s get down to business by creaming your butter and sugars. In a large mixing bowl, beat ½ cup (1 stick) of softened butter—it’s best at room temperature—along with ½ cup of granulated sugar and ¼ cup of brown sugar. Combine these until the mixture is light and fluffy. This process incorporates air into the dough, which will give your cookies that soft and tender texture we all love. Did you know that using the right butter can elevate your cookies? Check out this guide on butter types for more insights.
Add in the egg yolk and vanilla
Now, let’s make it even more delicious by adding a large egg yolk and 1 teaspoon of vanilla extract to the creamed mixture. Make sure to mix it well until everything is nicely combined. This step not only adds flavor but also helps bind your cookie dough together. Vanillin, the compound in vanilla, can enhance sweetness perception, making your Santa’s Cookies even more tantalizing.
Combine dry ingredients for the cookie dough
It’s now time to tackle the dry ingredients for the cookie dough, which are absolutely crucial. In another bowl, whisk together 1 cup of all-purpose flour, ½ teaspoon of baking soda, and a pinch of salt. The baking soda acts as a leavening agent, giving your cookies that delightful rise. Gradually mix these dry ingredients into the wet mixture. Do this gently—overmixing can lead to tough cookies, which is not what we want!
Fold in the festive mix-ins
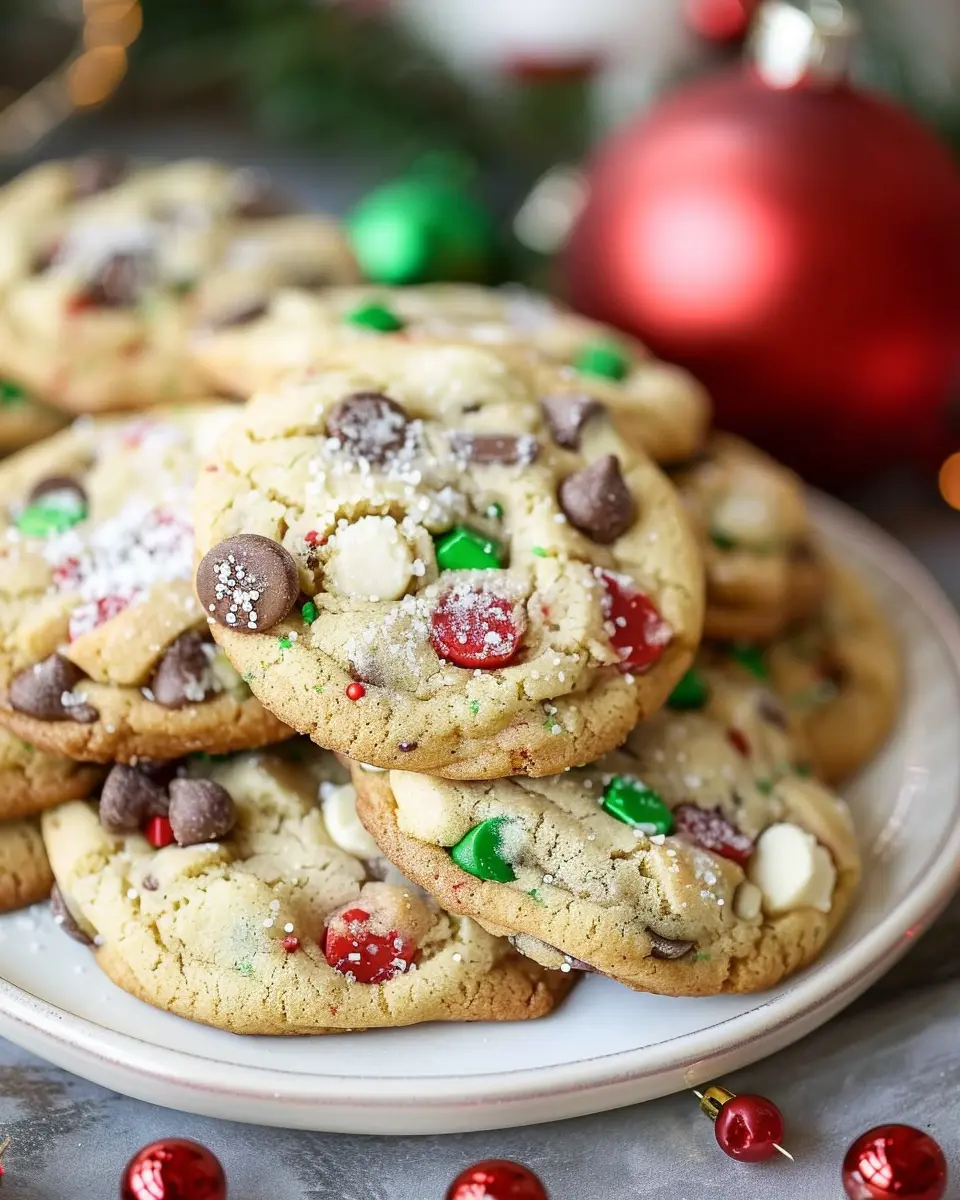
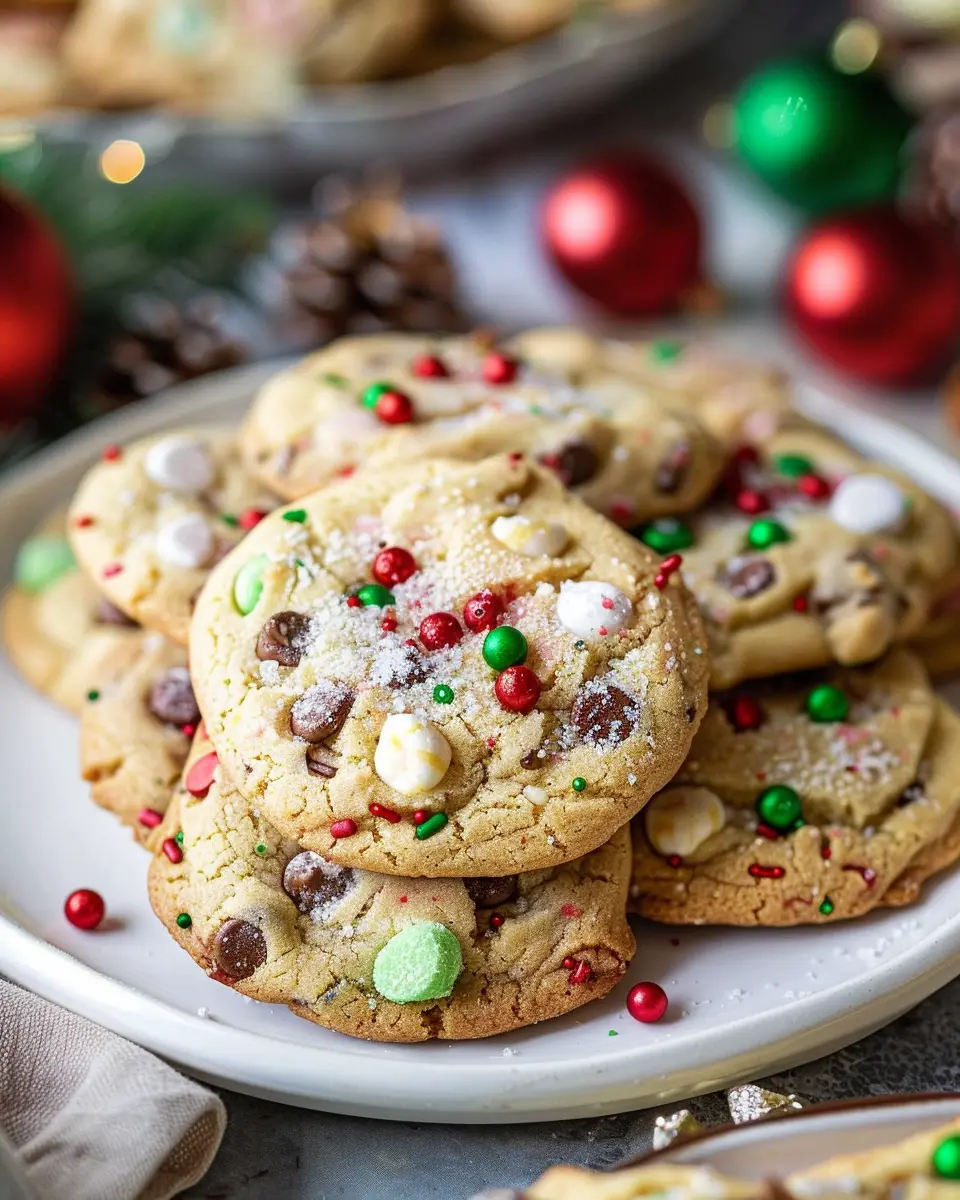
Here comes the fun part! Add in your choice of festive mix-ins. Think chocolate chips, chopped nuts, or even dried fruits. For a true holiday spin, consider using red and green M&Ms or festive sprinkles. About 1 cup of mix-ins should do the trick. Gently fold them into the dough, ensuring each bite will burst with flavor and color. This is the perfect moment to get creative!
Form and place cookie dough balls on the sheet
With your cookie dough ready, it’s time to get hands-on. Using a tablespoon or a cookie scoop, form balls of dough about 1 tablespoon in size. Place them on your prepared baking sheet, ensuring there’s enough space between them—about two inches apart, as they will spread while baking.
Bake and cool the cookies
Finally, it’s showtime! Pop your baking sheet into the oven and bake your Santa’s Cookies for 10–12 minutes or until the edges are golden brown. Keep a close eye on them, as ovens can vary. Once baked, remove them from the oven and let them cool on the baking sheet for a few minutes before transferring them to a wire rack. This cooling process helps them firm up while retaining that melt-in-your-mouth quality.
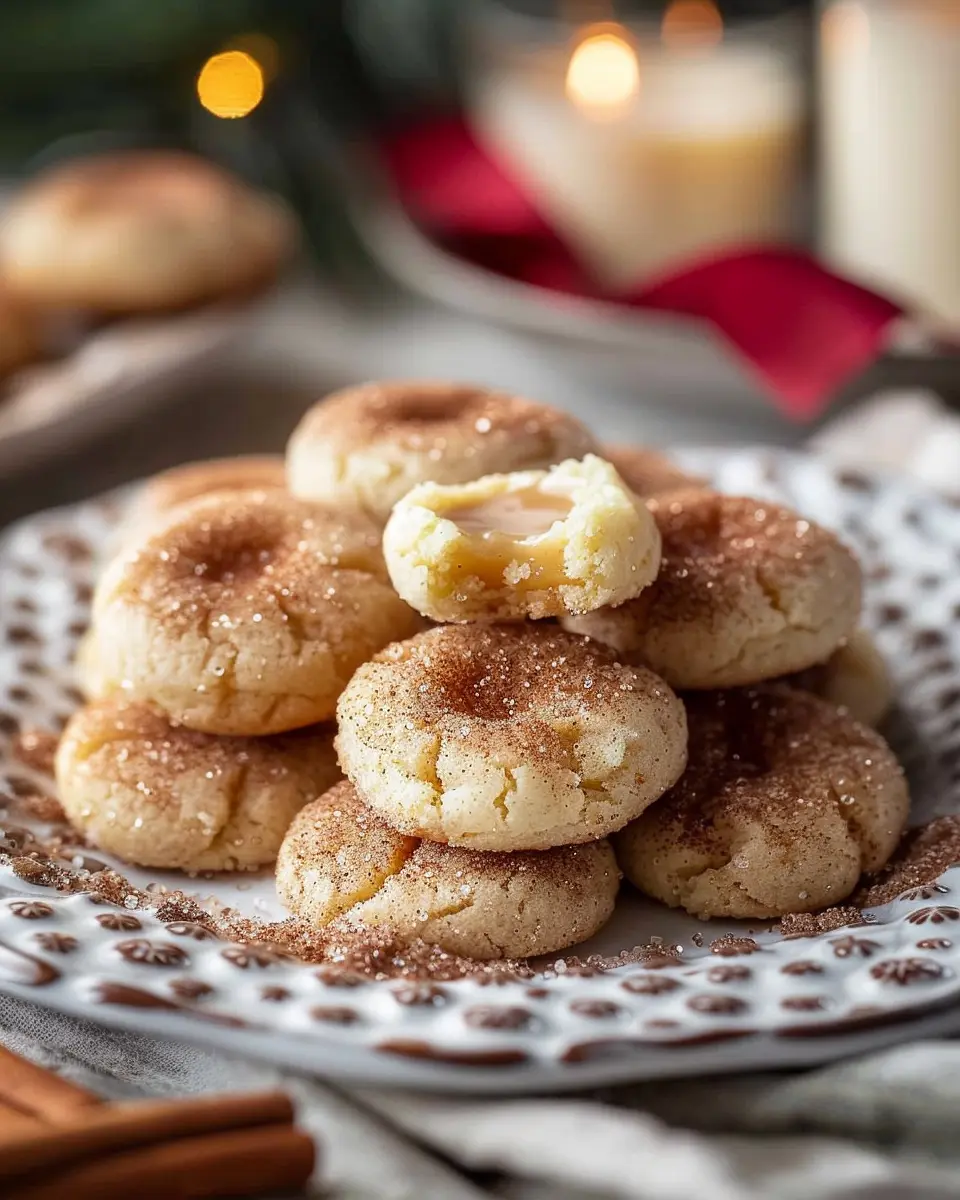
And there you have it! You’re now ready to spread some holiday cheer with your beautifully baked Santa’s Cookies. This festive treat is perfect for leaving out on Christmas Eve or sharing with friends and family during the holiday season. Enjoy every crumb!

Variations on Santa’s Cookies
When it comes to Santa’s Cookies, the classic chocolate chip version is always a favorite. However, why not surprise Santa (and your friends and family) with some delightful variations? Let’s dive into a couple of fun options that will keep those holiday vibes alive, while accommodating different tastes and dietary preferences.
Spiced Santa’s Cookies
For those who love a little warmth in their holiday treats, spiced Santa’s Cookies are a fantastic option. With a blend of cinnamon, nutmeg, and ginger, these cookies will fill your kitchen with an inviting aroma that says “holiday cheer.”
Ingredients:
- 2 cups all-purpose flour
- 1 teaspoon baking soda
- 2 teaspoons ground cinnamon
- 1 teaspoon ground ginger
- 1/2 teaspoon ground nutmeg
- 1/2 teaspoon salt
- 1 cup softened butter
- 1 cup sugar
- 1 cup brown sugar
- 2 large eggs
- 2 teaspoons vanilla extract
- 2 cups chocolate chips
Instructions:
- Preheat your oven to 350°F (175°C).
- In one bowl, whisk together flour, baking soda, spices, and salt.
- In another bowl, cream the butter and sugars until light and fluffy. Add eggs and vanilla.
- Gradually mix in the dry ingredients and fold in the chocolate chips.
- Scoop onto a baking sheet and bake for 10-12 minutes.
You can find more enticing recipes like this at AllRecipes.
Nut-Free Santa’s Cookies
If you’re baking for someone with nut allergies, fear not! Nut-free Santa’s Cookies can be just as delicious. By simply omitting nuts and complementing the cookie with other textures, you’ll create a treat everyone can enjoy.
Ingredients:
- 2 cups all-purpose flour
- 1 cup rolled oats
- 1 teaspoon baking powder
- 1 teaspoon salt
- 1 cup softened butter
- 1 cup granulated sugar
- 1 cup brown sugar
- 2 large eggs
- 2 teaspoons vanilla extract
- 2 cups mini chocolate chips
Instructions:
- Preheat your oven to 350°F (175°C).
- In a bowl, mix flour, oats, baking powder, and salt.
- In another bowl, beat the butter and sugars until creamy. Add eggs and vanilla extract.
- Combine the wet and dry ingredients, then fold in the chocolate chips.
- Scoop onto a prepared baking sheet and bake for 10-12 minutes.
With these simple variations on Santa’s Cookies, you’re sure to have something for everyone—even Santa! Whether you choose spiced or nut-free, your cookies will surely make the season brighter. Happy baking!
For more on adapting recipes, check out Food Network for expert tips and inspiration.
Cooking Tips and Notes for Santa’s Cookies
Baking Santa’s Cookies can be a delightful experience, especially when you add a sprinkle of creativity! Here are some essential tips to ensure your cookies turn out perfectly every time:
Use Quality Ingredients
Always choose high-quality ingredients. Fresh butter, organic flour, and real vanilla can make a noticeable difference in flavor. Consider using baking chips or nuts that are your favorites; it personalizes the recipe!
Keep Your Dough Chilled
If your dough feels too sticky, chill it for about 30 minutes before baking. This step will make handling the dough easier and help your cookies maintain shape while baking.
Experiment with Flavor
Don’t hesitate to add a twist to your Santa’s Cookies. A dash of sea salt can enhance sweetness, while citrus zest can add a refreshing kick.
Store with Care
After baking, store your cookies in an airtight container. They tend to stay fresher longer when you layer them with parchment paper!
For more helpful tips on baking, check sites like Serious Eats or America’s Test Kitchen for expert advice. Happy baking!
Serving Suggestions for Santa’s Cookies
When it comes to serving Santa’s Cookies, presentation can elevate your festive spirit! Here are some delightful ways to serve these treats that will not only impress your guests but also keep the magic alive for the kids.
Create a Festive Platter
As you lay out a beautiful platter, consider mixing Santa’s Cookies with other holiday-themed goodies. Imagine crunchy gingerbread men, peppermint bark, or even festive fruit skewers. A splash of color will catch the eye and create a cheerful atmosphere. For more creative plating ideas, check out this resource.
Pair with Delicious Beverages
A cozy drink can elevate the experience of enjoying Santa’s Cookies. Hot chocolate topped with marshmallows or a warm spiced apple cider are excellent choices. For something a bit different, try serving a creamy eggnog or a rich chai latte. Remember, the right beverage can enhance the flavors of the cookies!
Share the Joy
If you’re looking to spread some holiday cheer, consider bundling up some Santa’s Cookies in cute packaging and sharing them with neighbors or friends. Personal touches, like a handwritten note or festive ribbon, can make this small gesture even more meaningful. After all, nothing warms the heart quite like a cookie shared with love!
These serving tips can turn these delightful cookies into a memorable experience for everyone!
Time Breakdown for Santa’s Cookies
Getting ready for the holiday season is always extra sweet with Santa’s Cookies! Here’s a quick breakdown of what to expect time-wise to whip up these tasty treats.
Preparation Time
Plan for about 15–20 minutes to gather your ingredients and mix the dough. Dirtying your hands is part of the fun, right? Be sure to have everything ready to make your experience enjoyable.
Baking Time
Once the dough is prepped, these cookies will take about 10–12 minutes in the oven. Keep an eye on them—nobody wants burnt cookies on Christmas Eve!
Total Time
In total, you’re looking at roughly 30–35 minutes from start to finish. Perfect timing to sip on some hot cocoa while waiting for these delightful goodies to bake. For more tips on how to make your baking experience smoother, check out Food Network’s baking tips. Enjoy the process of creating these magical Santa’s Cookies!
Nutritional Facts for Santa’s Cookies
When preparing Santa’s Cookies, it’s always a good idea to know what you’re indulging in. Here’s a quick breakdown of the key nutritional facts that keep those festive feelings merry and bright!
Calories
Each cookie contains roughly 150 calories. While that might seem like a treat, it’s perfect for keeping your spirits high during the holiday season. Moderation is key!
Protein
With about 2 grams of protein per cookie, Santa’s Cookies deliver a little something extra aside from the sweetness. You might be surprised to know that even a sweet treat can contribute protein to your diet!
Sugar
Let’s talk sugar—these cookies contain approximately 10 grams per serving. While delicious, being mindful of sugar intake is wise. Balance it with some wholesome snacks during the day, and you’re set for those cozy nights by the fire.
For more tips on maintaining a balanced diet during the holidays, check out resources from the American Heart Association. Enjoy every bite, and don’t forget to leave a few for Santa!
FAQs about Santa’s Cookies
When it comes to baking Santa’s Cookies, you may have a few questions. No worries! Here are some common queries that can help you create the perfect batch this holiday season.
How can I make my cookies softer?
If you’re aiming for that melt-in-your-mouth texture, consider the following tips:
- Use brown sugar: It retains moisture better than white sugar, contributing to a softer cookie.
- Underbake slightly: Take the cookies out when the edges are set but the centers are still a bit soft.
- Add an extra egg yolk: This can help create a chewier texture while keeping the cookies soft.
Can I use egg substitutes in Santa’s Cookies?
Absolutely! If you’re looking for egg substitutes, you have several options:
- Unsweetened applesauce: Use 1/4 cup for each egg.
- Mashed bananas: About 1/2 of a banana per egg works well too.
- Flaxseed meal: Mix 1 tablespoon of flaxseed meal with 2.5 tablespoons of water for one egg equivalent.
These alternatives can maintain the deliciousness of Santa’s Cookies while catering to dietary preferences.
What’s the best way to store Santa’s Cookies?
Storing your cookies properly is key to keeping them fresh. Here’s how:
- Cool before storing: Let cookies cool completely before placing them in an airtight container.
- Layer with parchment paper: If stacking, place parchment paper between layers to prevent sticking.
- Freeze for longer storage: You can freeze Santa’s Cookies for up to three months. Just ensure they’re well wrapped!
For more tips on preserving baked goods, you might want to check out sources like Cook’s Illustrated for expert advice. Happy baking!
Conclusion on Santa’s Cookies
As we wrap up our journey into the magical world of Santa’s Cookies, it’s clear they’re more than just a festive treat. These cookies become a delicious way to create cherished traditions with family and friends. Whether you bake them solo or involve everyone in the kitchen, the memories you make will last longer than the cookies themselves.
Don’t forget to experiment with flavors and toppings, making them uniquely yours. After all, what better way to spread holiday cheer than by sharing cookies made with love? Be sure to check out our cookie decorating tips and get inspired for years to come. Happy baking!
For more delightful recipes and ideas, you may want to explore Serious Eats and Bon Appétit for inspiration!
PrintSanta’s Cookies: The Best Easy Recipe for Irresistible Treats

The perfect cookies for Santa! Soft, chewy, and loaded with flavor, these cookies are sure to impress.
- Prep Time: 15 minutes
- Cook Time: 10 minutes
- Total Time: 25 minutes
- Yield: 24 cookies 1x
- Category: Desserts
- Method: Baking
- Cuisine: American
- Diet: Vegetarian
Ingredients
- 1 cup butter, softened
- 1 cup granulated sugar
- 1 cup brown sugar, packed
- 2 large eggs
- 2 teaspoons vanilla extract
- 3 cups all-purpose flour
- 1 teaspoon baking soda
- 1 teaspoon salt
- 2 cups chocolate chips
Instructions
- Preheat the oven to 350°F (175°C).
- In a large bowl, cream together the butter, granulated sugar, and brown sugar.
- Beat in the eggs one at a time, then stir in the vanilla.
- Combine the flour, baking soda, and salt in a separate bowl; gradually blend into the creamed mixture.
- Fold in the chocolate chips.
- Scoop dough onto baking sheets.
- Bake for 10-12 minutes until golden brown.
Notes
- For extra flavor, try adding nuts or different types of chocolate chips.
- Chill the dough for 30 minutes for thicker cookies.
Nutrition
- Serving Size: 1 cookie
- Calories: 200
- Sugar: 15g
- Sodium: 150mg
- Fat: 10g
- Saturated Fat: 5g
- Unsaturated Fat: 4g
- Trans Fat: 0g
- Carbohydrates: 25g
- Fiber: 1g
- Protein: 2g
- Cholesterol: 30mg
Keywords: Santa’s Cookies, Christmas Cookies, Easy Cookie Recipe