Introduction to Sister to Red Velvet Cheesecake
When you think about desserts that not only dazzle the taste buds but also wow the senses, sister to red velvet cheesecake definitely deserves a spot at the top of the list. This dessert is more than just a pretty face; it’s a harmonious blend of flavors, textures, and memories that make it a go-to for any occasion.
Why Sister to Red Velvet Cheesecake is the Perfect Dessert
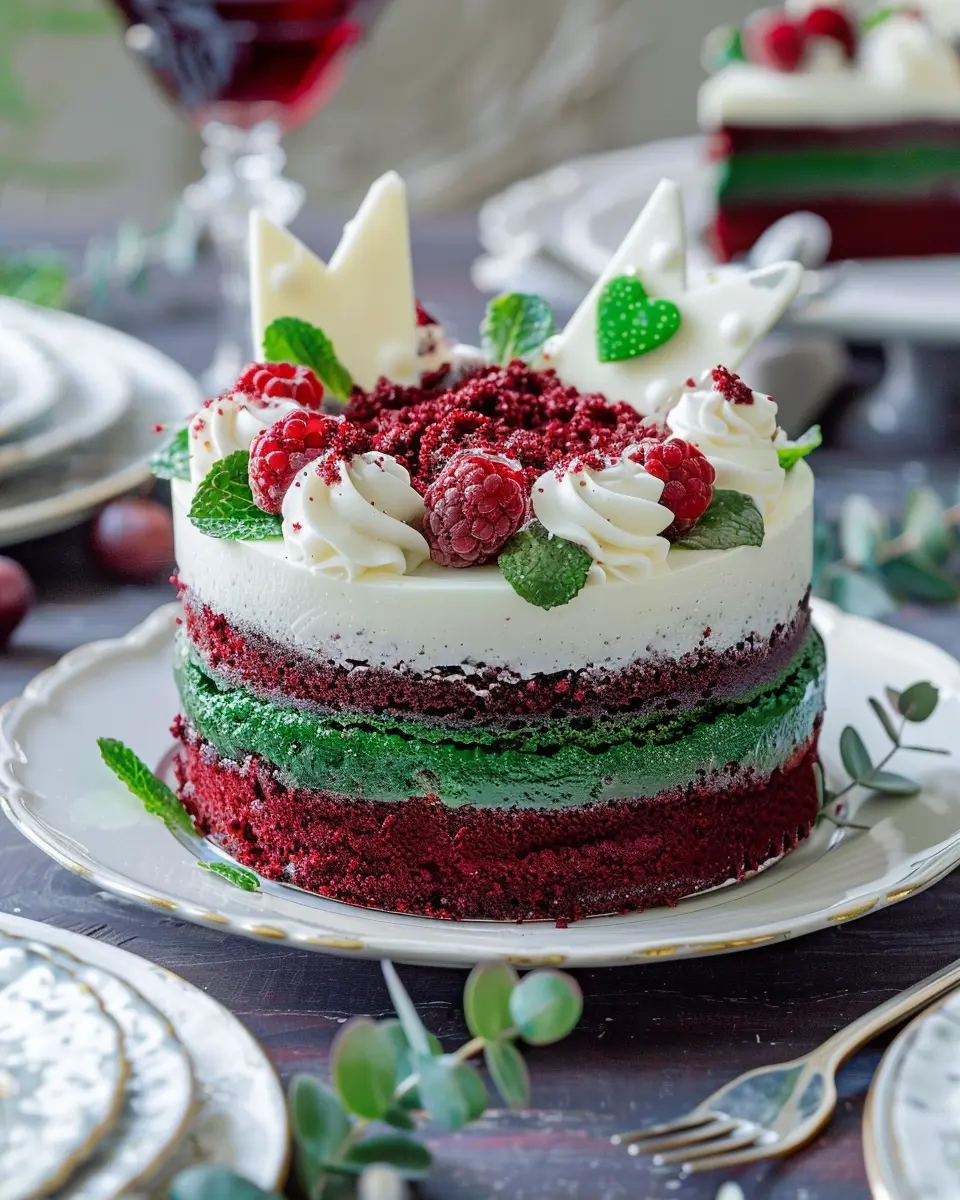
Imagine hosting a dinner party or a casual get-together with your friends, and you want to impress them with a showstopper of a dessert. The sister to red velvet cheesecake is your answer! With its enchanting layers of rich red velvet cake and velvety cream cheese frosting, it’s a delightful treat that caters to both the eyes and the palate.
But what sets this dessert apart? Here are a few reasons:
-
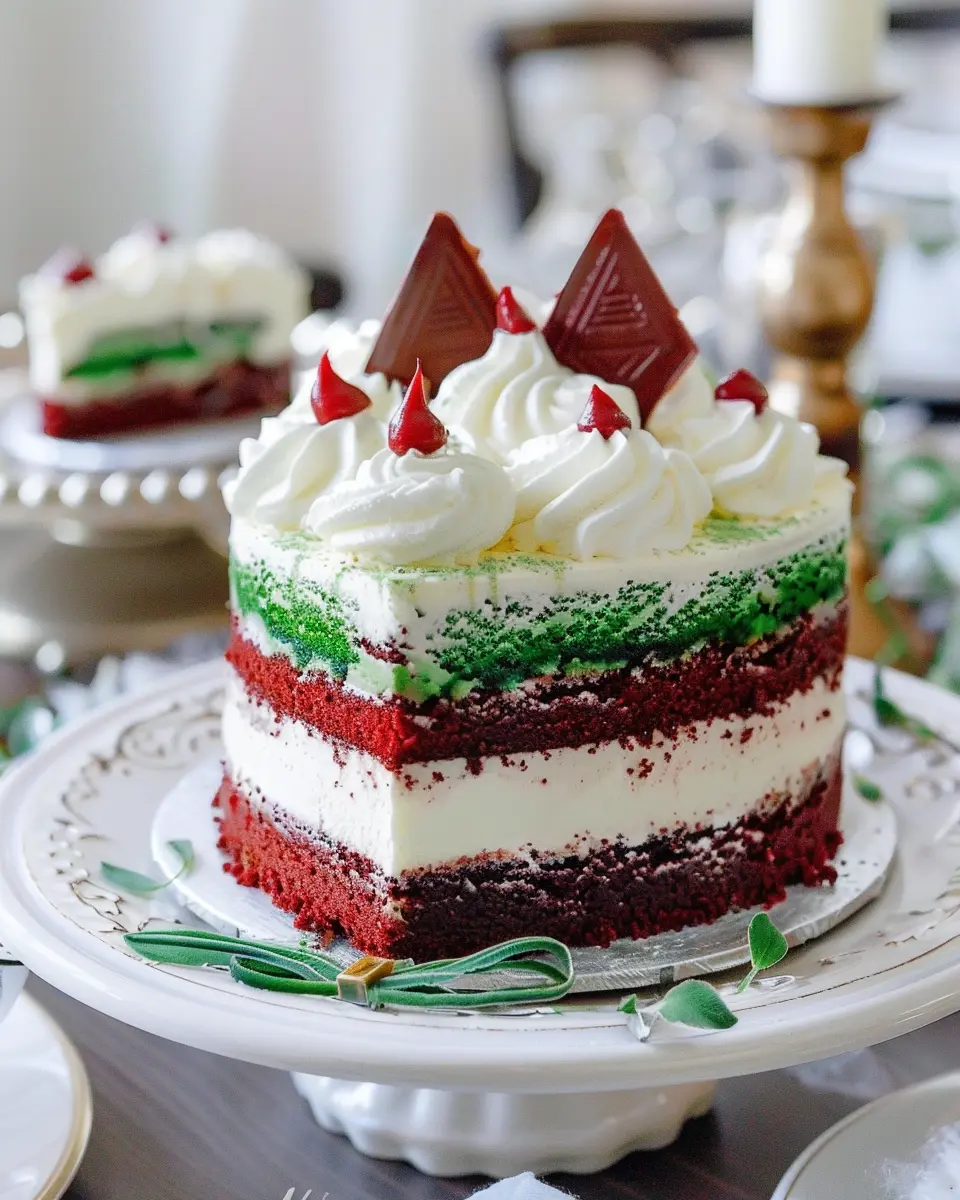
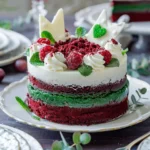
Visual Appeal: That striking red hue against the creamy backdrop creates a stunning centerpiece. You’ll see jaws drop when you reveal it!
-
Flavor Fusion: Soft, moist red velvet cake paired with lush cream cheese filling creates an exquisite taste experience. Each bite is a perfect balance of sweetness and a hint of tang.
-
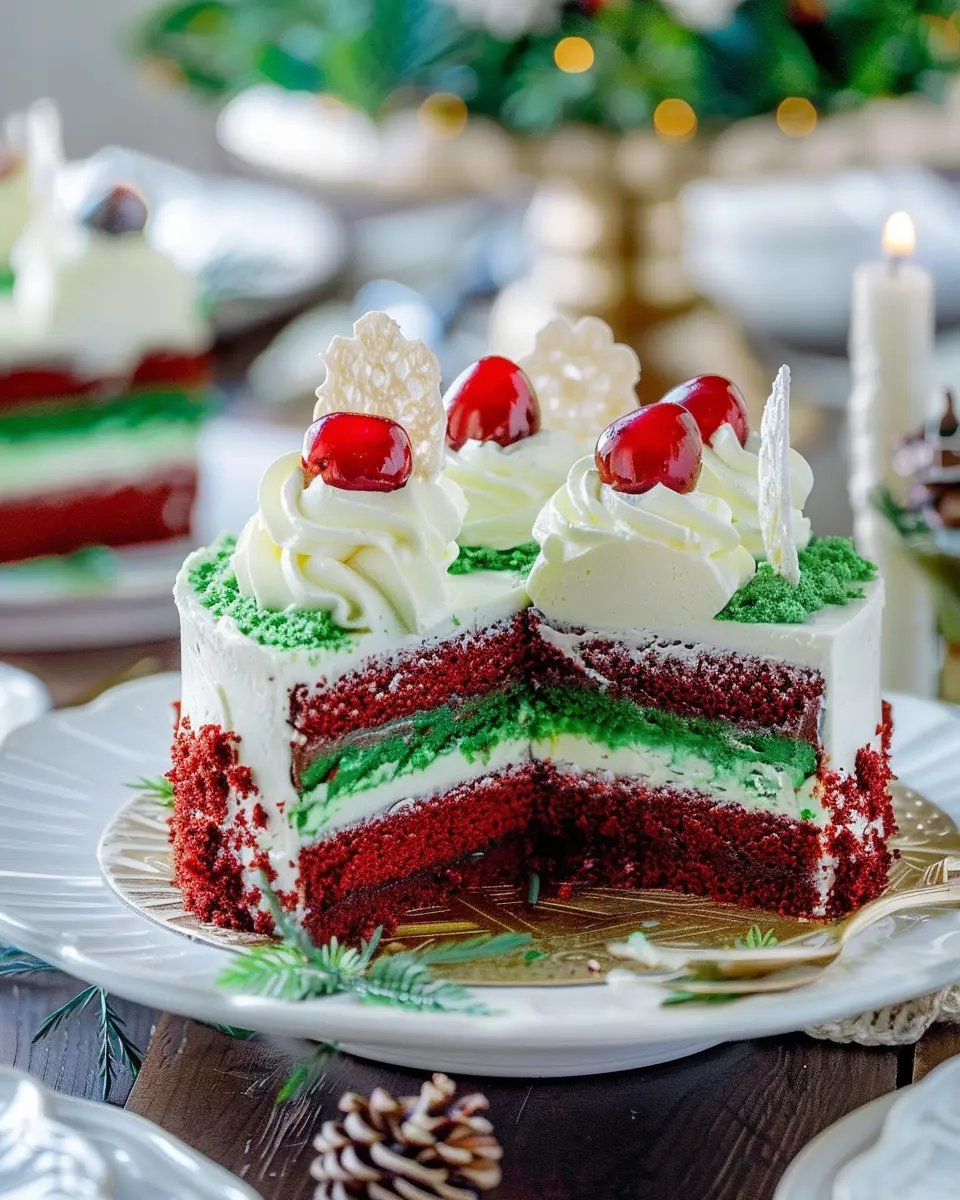
Versatility: Whether it’s a birthday, holiday, or just a Tuesday, this cheesecake fits the bill. You can easily customize it by adding toppings like chocolate shavings or fresh fruit to suit your guests’ tastes.
Interestingly, studies show that visually appealing dishes can enhance the dining experience. According to researchers at the University of Oxford, food aesthetics can dramatically influence our perception of taste. So when you serve a dessert as attractive as your sister to red velvet cheesecake, you aren’t just feeding the body but also nourishing the soul, creating lasting memories.
Additionally, this dessert can be paired with delightful alternatives to traditional drinks, such as sparkling cider or herbal teas, to elevate the dining experience further.
In the world of desserts, nothing quite compares to the sister to red velvet cheesecake. Start planning to surprise your friends or family with this culinary masterpiece, and watch as they fall in love with every luscious layer. Whether enjoyed at a party or as a weekday treat after a long day, this dessert brings joy with every slice.
Ingredients for Sister to Red Velvet Cheesecake
When you’re ready to whip up your sister to red velvet cheesecake, gathering the right ingredients is essential for that perfect flavor and texture. Let’s break it down:
Key Ingredients for the Crust
- Graham cracker crumbs: These add a delightful crunch and sweetness.
- Butter: Melted butter creates a rich base and helps bind the crumbs together.
- Sugar: A dash of granulated sugar enhances the sweetness in your crust.
To create a crust that complements the creaminess of your cheesecake, mix these ingredients until they’re well combined. For an extra layer of flavor, consider using flavored cookies or adding a pinch of salt.
Essential Ingredients for the Cheesecake Filling
- Cream cheese: The star of the show, providing the luscious base.
- Sour cream: This contributes a slight tang and smooth texture.
- Sugar: You’ll want a good amount to balance the tartness.
- Eggs: Incorporating eggs ensures a rich, creamy consistency.
Utilizing these ingredients will set you on the path to cheesecake perfection.
Optional Ingredients for Cream Cheese Buttercream Topping
- Powdered sugar: For sweetness and a smooth finish.
- Vanilla extract: Elevates the flavor profile.
- Heavy cream: Whipped into your buttercream for added fluffiness.
For those finishing touches, this cream cheese buttercream is optional but absolutely worth considering. Each ingredient enhances the overall experience, making your sister to red velvet cheesecake unforgettable!
For more baking tips, check out King Arthur Baking for expert advice and recipes!
Step-by-Step Preparation of Sister to Red Velvet Cheesecake
Creating a sister to red velvet cheesecake may feel daunting, but trust me—it’s more about the joy of layering flavors and textures than complicated techniques. Let’s dive in together and break down the steps for a delightful dessert that’s sure to impress at any gathering.
Prepping the Crust
The crust is, in many ways, the foundation of any cheesecake. For this recipe, we want a buttery, flavorful base that complements the richness of the filling.
- Gather Your Ingredients: You will need:
- 1 and ½ cups of crushed graham crackers (or chocolate cookies for a twist)
- ½ cup of unsalted butter, melted
- ¼ cup of granulated sugar
- A pinch of salt
-
Mix the Ingredients: In a mixing bowl, combine the crushed graham crackers, melted butter, sugar, and salt. Stir until you achieve a moist, crumbly texture.
-
Form the Crust: Lightly grease a 9-inch springform pan, then press the mixture firmly into the bottom and up the sides. This creates a solid base that will hold your cheesecake together.
-
Pre-Bake the Crust: Preheat your oven to 350°F (175°C). Place the crust in the oven for about 8-10 minutes, until slightly golden. Allow it to cool while you prepare the filling.
Making the Cheesecake Filling
Now for the star of the show: the sister to red velvet cheesecake filling! It’s creamy, rich, and oh-so-delicious.
- Ingredients to Gather:
- 16 oz (two packages) of cream cheese, softened
- 1 cup of granulated sugar
- 3 large eggs
- 1 cup of sour cream
- 1/4 cup of all-purpose flour
- 1 teaspoon of vanilla extract
- Optional: A splash of milk or heavy cream for extra creaminess
-
Mix It Up: In a large mixing bowl, beat the softened cream cheese until smooth. Gradually add sugar, mixing until well combined.
-
Incorporate the Eggs: Add the eggs one at a time, beating well after each addition. This helps incorporate air, ensuring a fluffy texture.
-
Mix in Remaining Ingredients: Finally, add the sour cream, flour, and vanilla extract. Mix until combined, but don’t overdo it!
Baking the Cheesecake
With your crust and filling ready, it’s time to bring it all together.
-
Prepare Your Oven: Preheat your oven to 325°F (160°C). A lower temperature is essential for a creamy outcome and prevents cracking.
-
Assemble: Pour the cheesecake filling into the cooled crust, smoothing the top with a spatula.
-
Water Bath Technique (Optional): For an extra creamy texture, place the springform pan in a larger baking dish filled with hot water. This creates a steam effect, making your cheesecake less likely to crack.
-
Bake: Place your cheesecake in the oven and bake for 50-60 minutes. The edges should be set, but the center may still wiggle slightly.
-
Cool Down: Turn off the oven and leave the cheesecake inside for another hour. This gradual cooling helps prevent cracks.
Optional: Preparing the Cream Cheese Buttercream Topping
Though the cheesecake is delicious on its own, a creamy topping can elevate it even higher!
- Ingredients Needed:
- 8 oz of cream cheese, softened
- 1/2 cup of unsalted butter, softened
- 4 cups of powdered sugar
- 1 teaspoon of vanilla extract
- A splash of milk (as needed)
-
Mix Your Toppings: Beat together the cream cheese and butter until light and fluffy. Gradually add the powdered sugar and vanilla extract, mixing well.
-
Adjust Consistency: If the mixture is too thick, add a splash of milk until you reach your desired consistency.
-
Top Your Cheesecake: Once your cheesecake has cooled completely, spread the topping over the top, and watch it come to life!
Now, you’re all set to impress everyone with your very own sister to red velvet cheesecake! Be sure to consider pairing it with a nice fruit compote or a warm chocolate sauce for an added flair.
For more delightful dessert recipes, check out sites like Food Network or Bon Appétit for inspiration!
Variations on Sister to Red Velvet Cheesecake
When you think of the delightful sister to red velvet cheesecake, you might envision a creamy, decadent dessert that’s perfect for celebrations. But what if you have dietary preferences or restrictions? Not to worry! There are several variations that can help you enjoy this classic treat without compromising on flavor.
Gluten-Free Version
For those following a gluten-free diet, it’s easy to adapt the crust and ensure everyone can indulge in this sweet delight. Simply swap regular flour with a high-quality gluten-free blend, which works wonderfully in the crust. Additionally, ensure your other ingredients, like the cream cheese and sugar, are also gluten-free certified. By making these adjustments, you can serve a delicious gluten-free sister to red velvet cheesecake that everyone at the table can enjoy.
Vegan-Friendly Topping Options
If you’re looking to create a vegan version of your sister to red velvet cheesecake, there are plenty of scrumptious alternatives!
- Use vegan cream cheese: This rapid advancement in plant-based products means you can find delicious vegan cream cheese that mimics the taste beautifully.
- Aquafaba for fluffiness: If your recipe requires whipped cream, aquafaba (the liquid from a can of chickpeas) can be whipped into stiff peaks, offering a dairy-free alternative.
- Top it with coconut whipped cream: For a tropical twist, consider coconut whipped cream. Just refrigerate a can of coconut milk overnight, scoop out the solidified cream, and whip it for a light, airy topping.
These variations allow you to tailor your dessert to suit various dietary needs while keeping that rich, velvety flavor everyone loves. Remember, you can explore more about gluten-free and vegan baking tips from reputable sources like America’s Test Kitchen to enhance your culinary adventures!
Cooking Tips and Notes for Sister to Red Velvet Cheesecake
When crafting your sister to red velvet cheesecake, there are a few common pitfalls to watch out for.
Common pitfalls and how to avoid them
- Overmixing the Batter: This can lead to a dense cheesecake. Mix just until the ingredients are combined for a light, fluffy texture.
- Incorrect Oven Temperature: Always check your oven with a thermometer. An oven that’s too hot can cause cracks in your cheesecake.
- Skipping the Water Bath: A water bath helps regulate the baking temperature and keeps the cheesecake creamy. Don’t skip this step!
Essential tools for success
To create the perfect sister to red velvet cheesecake, equip yourself with the right tools:
- Springform Pan: Ideal for easy removal and presentation.
- Hand Mixer or Stand Mixer: For smooth, well-blended ingredients.
- Baking Thermometer: Ensures your cheesecake is cooked perfectly.
For in-depth baking tips, check out this comprehensive guide on cheesecake baking. Remember, a little patience and care can elevate your dessert to the next level! Have fun experimenting, and don’t hesitate to reach out if you have any questions.
Serving Suggestions for Sister to Red Velvet Cheesecake
Perfect Pairings: What to Serve with Your Cheesecake
When indulging in your sister to red velvet cheesecake, you’ll want to complement its luxurious flavor and velvety texture with the right accompaniments. Here are some delightful suggestions that won’t overpower your cheesecake but will elevate the entire experience.
-
Fresh Berries: A medley of strawberries, blueberries, and raspberries adds a refreshing contrast to the rich cheesecake. Their natural sweetness and slight tartness balance the dense creaminess perfectly.
-
Whipped Cream: Light and airy, a dollop of homemade whipped cream can enhance each bite. Try folding in some vanilla extract for an extra touch of flavor.
-
Coffee or Tea: A warm cup enhances the dessert experience, giving you that cozy feeling. Consider a rich, brewed coffee or a soothing chai to sip alongside your cheesecake.
-
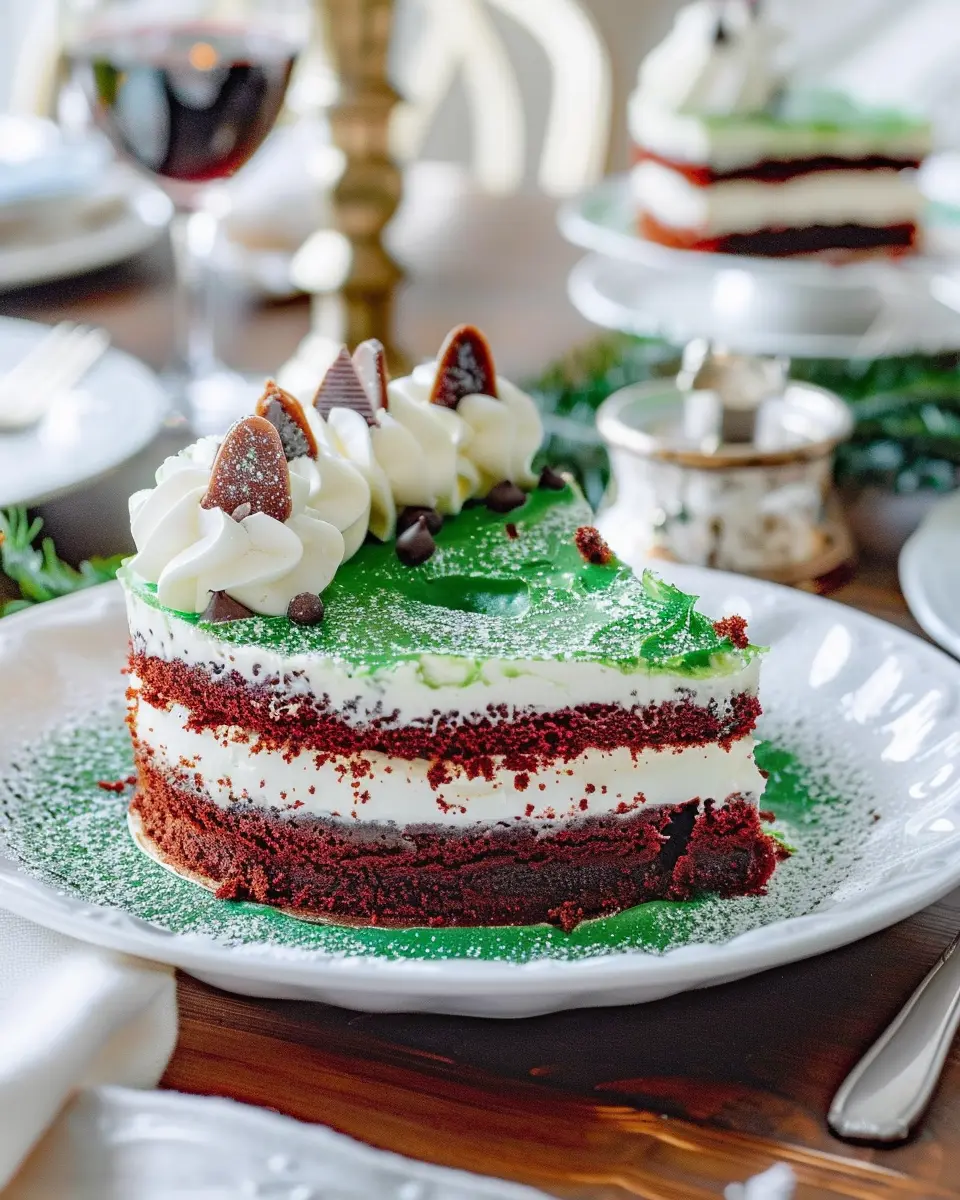
Chocolate Sauce: Drizzling a bit of chocolate ganache over a slice can take your sister to red velvet cheesecake to the next level, offering a decadent twist that’s hard to resist.
These pairings not only enrich the flavors but create a delightful sense of occasion. Enjoy your cheesecake moment! For more tips on ideal dessert pairings, check out The Joy of Baking for unique dessert inspiration.
Time Breakdown for Sister to Red Velvet Cheesecake
Preparation Time
Getting started with your sister to red velvet cheesecake is a breeze! You’ll need about 20 minutes to measure your ingredients, mix your batter, and prepare your springform pan. Pro tip: having all your ingredients at room temperature helps create a smoother batter.
Baking Time
Once your batter is ready, pop it in the oven for approximately 35–40 minutes. This is where the magic happens as the cheesecake transforms into a luscious treat. Keep an eye on it; you want the center to have a slight jiggle when you gently shake the pan.
Cooling Time
After baking, cooling is crucial. Allow it to cool at room temperature for at least an hour before transferring it to the fridge. Give it at least 4 hours in the fridge, but overnight is even better! The chilling time enhances the flavors and helps it set beautifully.
Total Time
In total, you’re looking at approximately 5 to 6 hours from start to finish, including cooling time. However, most of that is hands-off, so you can use it to clean up or maybe even prepare a delicious meal featuring turkey bacon or chicken ham!
Nutritional Facts for Sister to Red Velvet Cheesecake
Calories per slice
When indulging in the sister to red velvet cheesecake, it’s good to be aware of what you’re treating yourself to. Each slice typically contains around 350 calories. While this delightful dessert is rich and creamy, it’s essential to enjoy it mindfully. Pairing it with fresh fruit can enhance flavor and add a nutritional boost.
Key nutrients
This decadent slice isn’t just about the calories; it also packs a punch in terms of nutrients. Here’s what you can expect per slice:
- Protein: Approximately 6 grams, perfect for muscle repair and satiety.
- Calcium: Around 150 mg, crucial for strong bones and teeth.
- Vitamin A: Important for eye health and immune function.
- Carbs: A boosting 40 grams, providing a quick energy source.
For more insights into the nutritional benefits of dessert, check out Healthline’s guide on dessert nutrition. Enjoy your sister to red velvet cheesecake in moderation, and savor every bite!
FAQs about Sister to Red Velvet Cheesecake
Can I Make This Cheesecake Ahead of Time?
Absolutely! Making your sister to red velvet cheesecake in advance is not just possible, but recommended. In fact, letting it chill in the fridge for at least 6 hours (or overnight if you can wait!) enhances its flavors and texture. Just be sure to cover it well with plastic wrap so it doesn’t absorb any odors from your fridge. It’s a great way to kick back and reduce the last-minute stress on special occasions.
How Do I Store Leftovers?
Storing leftover slices of your sister to red velvet cheesecake is a breeze! Place them in an airtight container and store in the refrigerator. They can last for about 3 to 5 days. If you really want to extend their shelf life, consider wrapping individual slices in plastic wrap and then placing them in a freezer bag to freeze. These can last for up to 2 months, making them perfect for those lazy cravings later on. Just thaw in the fridge overnight before indulging.
What Are Some Alternatives to Food Coloring?
If you’re looking to dress your sister to red velvet cheesecake without using conventional food coloring, there are plenty of natural alternatives! Beet juice is a popular choice, giving a lovely red hue while adding a bit of health benefit. Another option is pomegranate or berry puree, which can also enhance the flavor profile. For pale shades, consider using cocoa powder. Not only does it serve as a coloring agent, but it also complements the chocolate notes in the dish nicely!
For more tips on how to naturally color your desserts, check out resources on natural food colorings for creative ideas.
Conclusion on Sister to Red Velvet Cheesecake
In wrapping up this delightful exploration of the sister to red velvet cheesecake, it’s clear that this dessert deserves a special place in your repertoire. With its rich flavors, smooth texture, and eye-catching appearance, it not only brings joy to your taste buds but also makes a stunning centerpiece for any gathering.
When you whip up this cheesecake, you’re not just baking a dessert—you’re creating memories with friends and family over slices of indulgence. Remember to pair this treat with a refreshing drink like iced tea or sparkling water to balance its richness.
If you’re ready to impress, jump into the kitchen and embrace your inner chef. For more fabulous recipe ideas, check out resources from Cooking Light or Food Network. Enjoy your baking journey!
PrintSister to Red Velvet Cheesecake: An Indulgent Twist on Tradition
A delightful dessert that combines the rich flavors of traditional red velvet with creamy cheesecake, creating a truly indulgent treat.
- Prep Time: 20 minutes
- Cook Time: 35 minutes
- Total Time: 55 minutes
- Yield: 8 servings 1x
- Category: Desserts
- Method: Baking
- Cuisine: American
- Diet: Vegetarian
Ingredients
- 1 cup all-purpose flour
- 1/2 cup unsweetened cocoa powder
- 1 teaspoon baking powder
- 1/2 teaspoon baking soda
- 1/4 teaspoon salt
- 1 cup granulated sugar
- 1/2 cup unsalted butter, softened
- 3 large eggs
- 1 teaspoon vanilla extract
- 1 tablespoon red food coloring
- 1 cup cream cheese, softened
- 1/2 cup powdered sugar
- 1 teaspoon lemon juice
Instructions
- Preheat the oven to 350°F (175°C) and grease a 9-inch springform pan.
- In a bowl, whisk together flour, cocoa powder, baking powder, baking soda, and salt.
- In a separate bowl, beat together sugar and butter until creamy. Add in eggs one at a time, mixing well after each addition.
- Stir in vanilla extract and red food coloring.
- Gradually mix in the dry ingredients until just combined.
- Pour half of the batter into the prepared pan, then mix the cream cheese, powdered sugar, and lemon juice together until smooth and spread it over the batter.
- Top with the remaining batter and smooth the top.
- Bake for 30-35 minutes or until a toothpick inserted comes out clean. Let cool completely before serving.
Notes
- For a richer flavor, consider adding crushed chocolate cookies to the crust.
- Serve with a dollop of whipped cream for extra indulgence.
Nutrition
- Serving Size: 1 slice
- Calories: 350
- Sugar: 25g
- Sodium: 200mg
- Fat: 18g
- Saturated Fat: 10g
- Unsaturated Fat: 8g
- Trans Fat: 0g
- Carbohydrates: 40g
- Fiber: 2g
- Protein: 5g
- Cholesterol: 80mg
Keywords: Sister to Red Velvet Cheesecake, desserts, cheesecake, red velvet