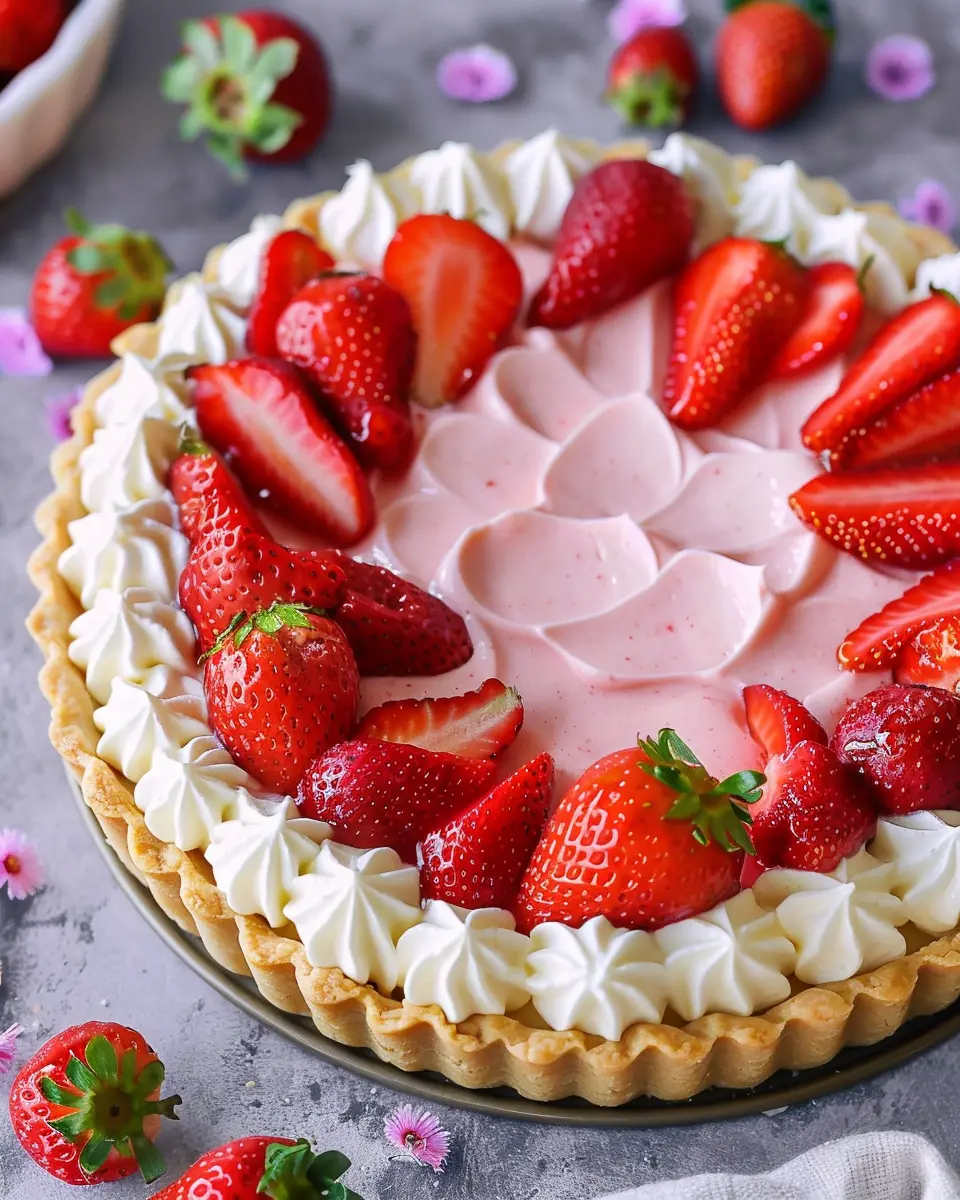
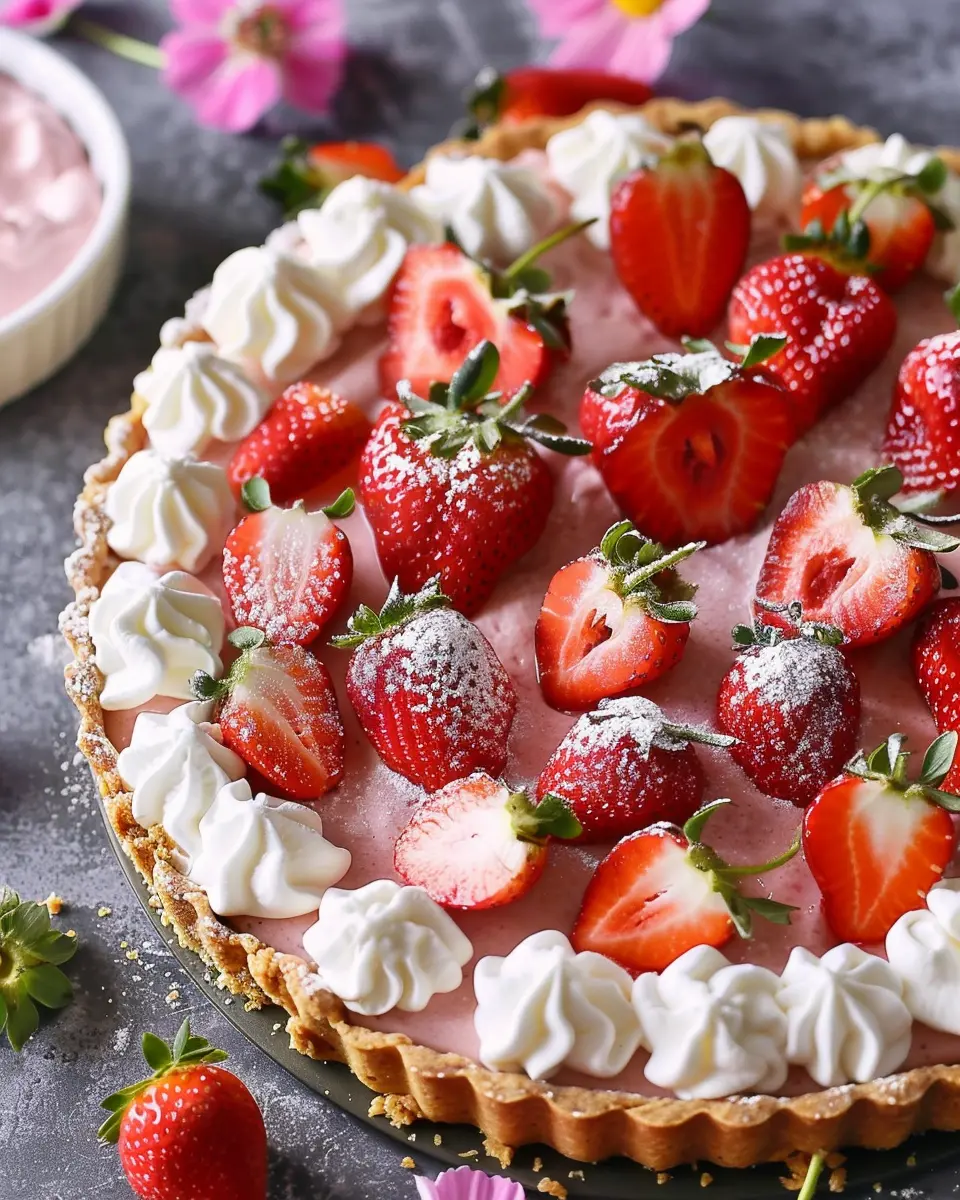
Introduction to Whipped Strawberry Tart
Creating a whipped strawberry tart in your own kitchen is not just about making a dessert; it’s an enjoyable experience that elevates your culinary skills. There’s something genuinely special about homemade tarts. When you make a tart from scratch, you have complete control over the ingredients, ensuring that everything is fresh and flavorful. This is especially true when it comes to fruits like strawberries, which are often at their best when they’re organic and in season.
Why Homemade Tarts Make a Difference
Homemade tarts like the whipped strawberry tart offer numerous advantages over store-bought options. For starters, you can choose quality ingredients, allowing you to accommodate any dietary preferences or restrictions you may have. Fresh strawberries, rich cream, and perhaps a hint of vanilla or citrus can create a delightful flavor that is simply unbeatable. According to a study from the Harvard T.H. Chan School of Public Health, the consumption of fresh fruits is linked to numerous health benefits, including reduced risk of chronic diseases. So why not indulge in something that not only tastes incredible but is also good for you?
Making a tart also gives you the opportunity to get creative. You can customize your whipped strawberry tart with various toppings, such as crushed nuts or a sprinkle of mint for extra zest. Engaging in the cooking process can be therapeutic, providing a lovely break from our busy, often hectic lives. Think about it: you can unwind in your kitchen, mix sweet ingredients, and at the end of it all, have something delicious to share with friends or family.
Plus, who doesn’t love the smell of freshly baked pastry wafting through your home? It turns the space into a delightful haven that invites all to gather. Whether it’s a picnic with friends or a sweet treat after dinner, your homemade tart will serve as a centerpiece that brings joy to everyone around.
Ready to embark on your tart-making adventure? Let’s dive into this delicious recipe and get those taste buds tingling!
Ingredients for Whipped Strawberry Tart
Creating a delightful whipped strawberry tart is all about selecting the right ingredients that complement the natural sweetness of strawberries. Here’s a list to get you started:
- Fresh Strawberries: Aim for about 2 cups of ripe strawberries for that vibrant flavor and beautiful color.
- Cream Cheese: You’ll need 8 ounces, softened to add that rich and creamy texture.
- Heavy Whipping Cream: About 1 cup is essential for achieving the perfect whipped consistency.
- Powdered Sugar: Use ½ cup to balance the tartness of the strawberries and add just the right amount of sweetness.
- Vanilla Extract: Just a teaspoon will amplify the flavors beautifully.
- Prepared Tart Shell: You can opt for a pre-made crust for convenience or make your own from scratch.
Feel free to explore alternatives for whipped toppings, like coconut cream or silken tofu for a vegan option — it’s all about flexibility!
For more tips on selecting the best strawberries, check out this helpful guide to elevate your tart-making game. Happy baking!
Step-by-Step Preparation of Whipped Strawberry Tart
Creating a whipped strawberry tart is a delightful experience that never fails to impress friends and family. This vibrant dessert combines the sweetness of strawberries with a light and airy whipped filling—all nestled in a buttery crust. Let’s dive into the preparation steps to make your tart a success!
Prepare the tart crust
To start, gather your ingredients for the crust. You’ll need:
- 1 ½ cups all-purpose flour
- ½ cup unsalted butter, softened
- ¼ cup powdered sugar
- 1 large egg yolk
- 1 tablespoon cold water
- A pinch of salt
Follow these steps for the crust:
-
Mix dry and wet ingredients: In a medium bowl, blend the flour, powdered sugar, and salt. Then, beat the softened butter into the mix until it achieves a crumbly texture.
-
Incorporate the egg yolk: Add your egg yolk and cold water. Stir until the mixture begins to form a dough. If it’s too crumbly, add a little more cold water, one teaspoon at a time.
-
Form the dough: Shape the dough into a disk, wrap it in plastic wrap, and refrigerate for at least 30 minutes. This helps the butter solidify, which results in a flakier crust.
Chill the crust
After the dough has chilled, it’s time to roll it out!
-
Roll out the dough: On a floured surface, roll out the dough until it’s about ¼ inch thick. You want it wide enough to fit into your tart pan.
-
Place it in the pan: Carefully transfer the rolled dough into the tart pan. Press it gently into the edges and trim any excess.
-
Pre-bake: Preheat your oven to 350°F (175°C) and bake the crust for about 15–20 minutes or until it’s golden brown. Allow it to cool completely before adding the filling. This step is crucial because a warm crust will melt the filling!
Make the whipped strawberry filling
Now that your tart crust is ready, let’s focus on the star of the show: the filling!
- 2 cups fresh strawberries, hulled and sliced
- 1 cup heavy whipping cream
- ½ cup powdered sugar
- 1 teaspoon vanilla extract
Follow these steps for your whipped strawberry tart filling:
-
Blend strawberries: In a blender or food processor, puree the sliced strawberries. You can leave a few chunks for added texture if you prefer.
-
Whip the cream: In a large bowl, beat the heavy cream, powdered sugar, and vanilla extract until stiff peaks form. It’s best to use a chilled bowl and beaters for optimal results.
-
Fold in the strawberries: Gently fold the strawberry puree into the whipped cream until fully combined. This will ensure a light, airy filling.
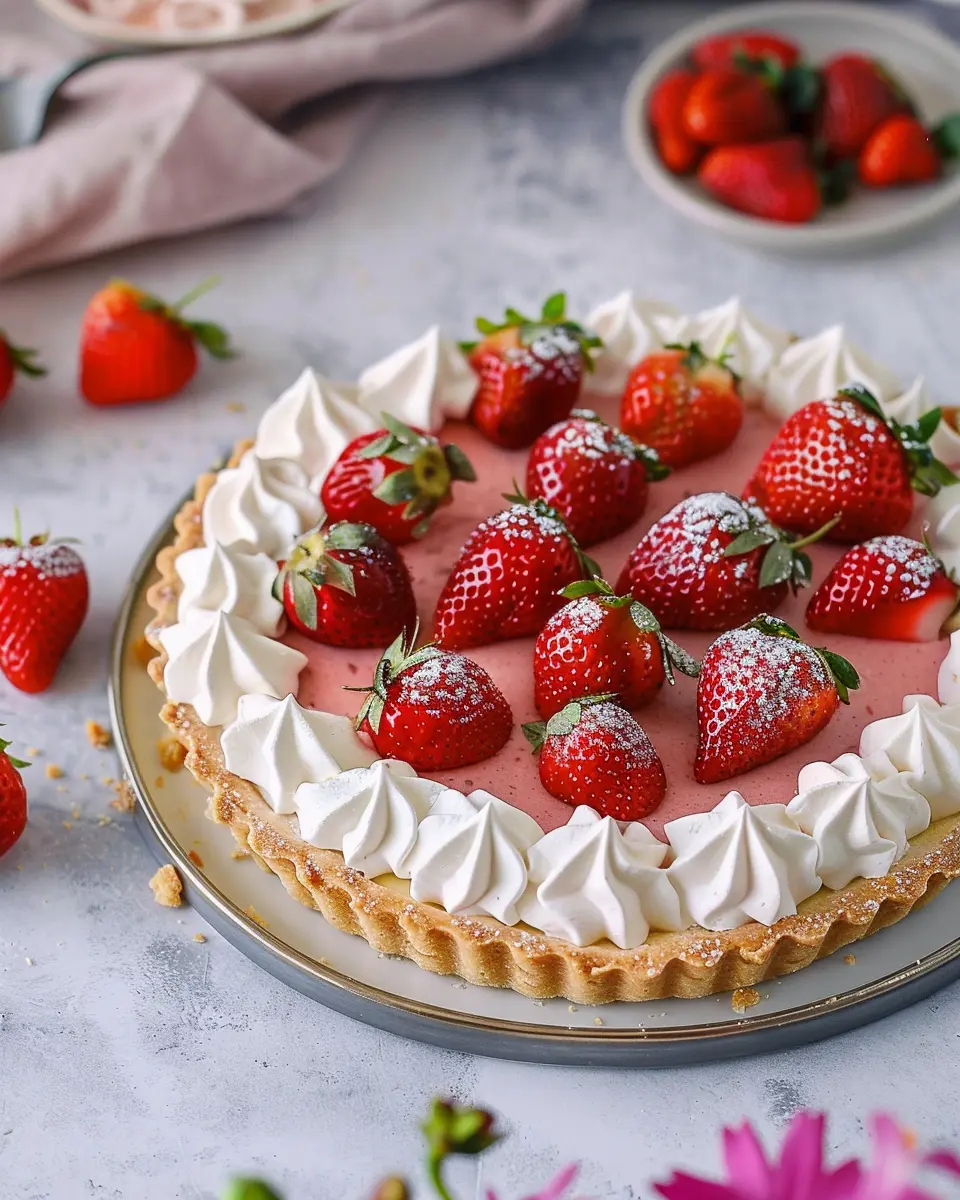
Assemble the tart
With both components ready, assembling your tart can begin!
-
Fill the tart crust: Spoon the whipped strawberry filling into the cooled tart shell, spreading it evenly. You want to be generous here—this is all about that creamy goodness!
-
Decorate: For an extra touch, reserve some strawberry slices to decorate the top of your tart.
Chill until set
Once your tart is fully assembled, it’s time to let it set:
-
Refrigerate: Cover the tart with plastic wrap and refrigerate for at least 2 hours. This allows the filling to firm up, making slicing easier.
-
Serve and enjoy: When you’re ready to serve, remove the tart from the refrigerator and slice it into wedges. You’ll be met with smooth, creamy layers that taste absolutely delightful!
And there you have it—the step-by-step preparation of your very own whipped strawberry tart. Take your time with each step, and enjoy the process. This tart is a sure way to impress, whether it’s for a dinner party or a sweet treat just for you. For more tips on baking and ingredient substitutions, feel free to explore this helpful guide on tart making. Happy baking!
Variations on Whipped Strawberry Tart
Alternative Fruit Tarts
While the classic whipped strawberry tart is undeniably delicious, don’t hesitate to get creative with other fruits! You can swap out strawberries for fresh seasonal fruits like blueberries, peaches, or even a mix of tropical fruits such as mango and pineapple. Here are some ideas for delightful variations:
- Blueberry Bliss Tart: Replace strawberries with fresh blueberries, and enhance the filling with a touch of lemon zest for a refreshing twist.
- Peach Paradise Tart: Use ripe peaches for a juicy summer treat. A hint of cinnamon can elevate the flavor profile wonderfully.
- Tropical Medley Tart: Combine diced mango, banana, and pineapple for a tropical explosion that will transport you to a sunny beach.
Gluten-free Options
If you’re catering to a gluten-free audience, don’t worry! Making your whipped strawberry tart gluten-free is simple. Here are a couple of ways to ensure everyone can indulge:
- Almond Flour Crust: Substitute traditional flour with almond flour. This nutty base pairs beautifully with the tart’s sweetness, providing a delightful crunch.
- Coconut Flour Variation: For a unique taste, use coconut flour! Just be sure to adjust the liquids, as coconut flour absorbs more moisture than regular flour.
Both of these options not only accommodate dietary preferences but also introduce new flavors that can make your tart even more exciting. Don’t forget to check out gluten-free baking tips from sources like Celiac Disease Foundation for additional insights!
Whichever route you choose, remember that the heart of any tart is celebrating fresh, delectable ingredients—so have fun experimenting!
Cooking Tips and Notes for Whipped Strawberry Tart
Creating a delightful whipped strawberry tart is a rewarding experience, so let’s ensure it turns out perfectly!
Choose the Best Strawberries
- Freshness Matters: Pick strawberries that are bright red and firm, without any signs of mold. The flavor intensifies significantly with ripe strawberries! Learn more about selecting fruit with this helpful guide.
Perfecting the Crust
- Chill Before Baking: Allow your tart crust to chill for at least 30 minutes before baking. This helps keep it flaky and prevents shrinkage in the oven.
Layering the Filling
- Cream Cheese Whip: When mixing your whipped topping, ensure your cream cheese is at room temperature for a smooth texture. A little lemon zest can enhance the flavor beautifully, striking a lovely contrast with the sweetness of the strawberries.
Serving and Enjoying
- Right Before Serving: For the best texture, assemble your tart right before serving. This keeps the crust from getting soggy and maintains that delightful crunch!
With these tips, your whipped strawberry tart will not only look stunning but taste incredible, too! Want more tips on dessert preparation? Explore culinary hacks here. Happy baking!
Serving Suggestions for Whipped Strawberry Tart
When it comes to serving your whipped strawberry tart, the possibilities are as vibrant as the dessert itself! Here are some delightful ways to enhance your presentation and flavor experience:
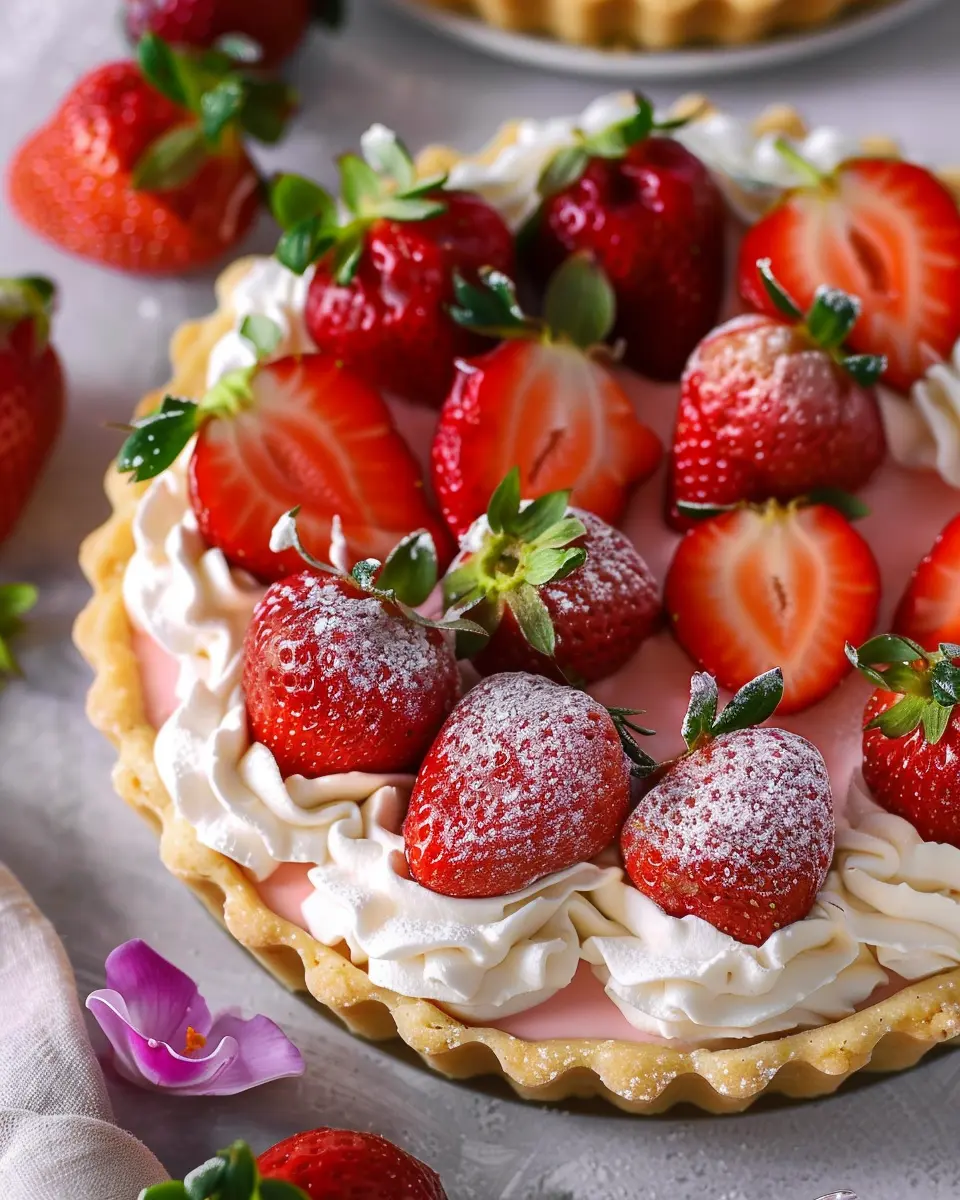
Add a Fresh Kick with Mint
A sprinkle of fresh mint leaves can elevate your tart, providing a refreshing contrast to the sweetness of strawberries. The bright green color adds visual appeal, making your dessert look even more appetizing.
Pair with Complementary Flavors
Think about serving your whipped strawberry tart with a side of tangy Greek yogurt or a dollop of light mascarpone cheese. These toppings introduce a creamy, slightly savory component that balances the sweetness of the strawberries perfectly.
Create a Berry Trio
Why stop at just strawberries? Consider adding a medley of mixed berries, such as blueberries and raspberries, on top. This not only enhances the flavor but also creates a beautiful, colorful topping that welcomes guests to dig in.
Drink Ideas to Accompany Your Tart
For a lovely refreshment, serve your tart alongside sparkling water infused with lemon or mint. This light drink complements the dessert without overpowering its fruity essence.
Remember, a gorgeous whipped strawberry tart deserves a beautiful presentation—so don’t shy away from experimenting with these suggestions! Happy serving!
Time Breakdown for Whipped Strawberry Tart
When preparing a delightful whipped strawberry tart, it’s essential to manage your time wisely. Here’s a quick breakdown to help you plan your baking session effectively.
Preparation time
Getting started is quick! You’ll need about 20 minutes to prepare the crust and the whipped strawberry filling. This includes chopping strawberries, mixing the ingredients, and assembling everything.
Chilling time
After prep, the tart needs to chill. Allow at least 2 hours for it to set in the refrigerator. This step is crucial for achieving that perfect firm yet creamy texture.
Total time
In total, you’re looking at around 2 hours and 20 minutes from start to finish. While it sounds like a while, most of this is hands-off time. Perfect for grabbing a cup of coffee or catching up on your favorite show! For additional ideas on enhancing your tart, check out sources like Fine Cooking and BBC Good Food for inspiration.
Nutritional Facts for Whipped Strawberry Tart
When it comes to satisfying your sweet tooth with a Whipped Strawberry Tart, understanding its nutritional profile can help you enjoy it guilt-free. Here’s a quick breakdown of what you’re getting in one serving:
Calories
A slice of this delightful tart typically contains around 250 calories. This makes it a sweet treat that fits nicely into a balanced meal plan, especially when you’re craving a light dessert.
Protein
Surprisingly, the protein content is around 4 grams per serving, thanks to the creamy filling and any added nuts or yogurt. It’s a simple way to incorporate a bit of extra protein into your diet while enjoying a delicious dessert.
Sugar Content
With about 18 grams of sugar per slice, the whipped strawberry tart provides a sweet burst of flavor, primarily from fresh strawberries and a touch of added sugar. Opting for a natural sweetener can help reduce this amount without sacrificing taste.
For more insights into the benefits of strawberries, check out Healthline’s nutrition profile on strawberries. Pairing it with a low-calorie whipped cream can further enhance the experience while keeping your dessert deliciously light. Enjoy every bite!
FAQs about Whipped Strawberry Tart
How can I make my tart crust perfectly flaky?
Creating a flaky tart crust is all about technique. Here are some tips:
- Chill your ingredients: Use cold butter and ice water. This ensures that your fat remains solid during the mixing process, leading to a flakier texture.
- Don’t overmix: When you combine your flour and butter, stop as soon as you see pea-sized pieces. Overmixing develops gluten, which makes the crust tough.
- Use a food processor: This can help streamline the mixing process and maintain the cold temperature of your ingredients.
For more in-depth advice, check out this guide on tart crusts.
What’s the best way to store leftover tart?
Storing your whipped strawberry tart properly is key to preserving its freshness. If you have leftovers, here’s what you should do:
- Refrigerate: Cover the tart with plastic wrap or foil and store it in the refrigerator. It should last for 2-3 days.
- Avoid freezing: While you can freeze certain desserts, freezing a tart can change its texture. If needed, store the filling and crust separately, but this is typically not recommended for the best quality.
Can I use frozen strawberries instead of fresh?
Yes, you can definitely use frozen strawberries for your whipped strawberry tart! Just make sure to:
- Thaw and drain: This prevents excess moisture from making your tart soggy.
- Adjust sweetness: Frozen strawberries may be slightly less sweet, so consider adding a bit more sugar to achieve your desired flavor.
Using frozen berries can be a lifesaver when fresh strawberries are out of season, allowing you to enjoy this tart year-round!
Conclusion on Whipped Strawberry Tart
In summary, the whipped strawberry tart is not just a dessert; it’s an experience that combines ease of preparation with a touch of elegance. Perfect for summer gatherings or a cozy evening at home, this tart brings a burst of fresh strawberry flavor that’s hard to resist.
Consider trying different toppings like mint leaves or even chocolate shavings for an added twist. And if you have leftover filling, it works wonderfully as a spread for toasted bread or pancakes. Always remember to share your creations on social media; your friends will thank you! For more delightful recipes, check out sites like Simply Recipes for inspiration.
PrintWhipped Strawberry Tart: The Best Easy Recipe for Summer Bliss

Enjoy the flavors of summer with this easy whipped strawberry tart recipe that is perfect for any occasion.
- Prep Time: 15 minutes
- Cook Time: 0 minutes
- Total Time: 2 hours 15 minutes
- Yield: 8 servings 1x
- Category: Dessert
- Method: No-bake
- Cuisine: American
- Diet: Vegetarian
Ingredients
- 1 cup fresh strawberries, sliced
- 1 cup heavy cream
- 1/3 cup powdered sugar
- 1 tsp vanilla extract
- 1 pre-baked tart shell
Instructions
- In a mixing bowl, combine sliced strawberries and a tablespoon of sugar. Let them sit for 10 minutes.
- In another bowl, whip the heavy cream, powdered sugar, and vanilla extract until soft peaks form.
- Fold in the strawberries gently into the whipped cream.
- Pour the mixture into the pre-baked tart shell and spread evenly.
- Chill in the refrigerator for at least 2 hours before serving.
Notes
- For added flavor, you can mix in some lemon zest.
- Serve with extra strawberries on top for garnish.
Nutrition
- Serving Size: 1 slice
- Calories: 250
- Sugar: 20g
- Sodium: 50mg
- Fat: 18g
- Saturated Fat: 10g
- Unsaturated Fat: 8g
- Trans Fat: 0g
- Carbohydrates: 22g
- Fiber: 1g
- Protein: 2g
- Cholesterol: 60mg
Keywords: Whipped Strawberry Tart, easy summer dessert, strawberry tart recipe